
Note:
For Form 2 maintenance instructions after a resin spill or failed print, check the following articles:

The Form 2 is a complex machine that needs regular maintenance to remain in good working condition. Some maintenance is situational, such as cleaning your printer after a resin spill. Other maintenance may be needed after experiencing an error code or if the quality of parts degrades. For assistance with your Form 2, contact Formlabs Support or your authorized reseller.
Note:
For Form 2 maintenance instructions after a resin spill or failed print, check the following articles:
Diagnosing a need for maintenance
Match the issue you are currently experiencing against the list of below symptoms to find the right maintenance procedure for your problem.
Notice:
Only attempt a maintenance procedure on a Form 2 if you are experiencing one of the associated problems or symptoms. For further assistance, contact Formlabs Support or your authorized reseller.
| Procedure | Component | Problems & symptoms |
|---|---|---|
| Tuning the cam lock |

A cam lock is unevenly securing a build platform.
|
|
| Reseating the galvanometer cables |
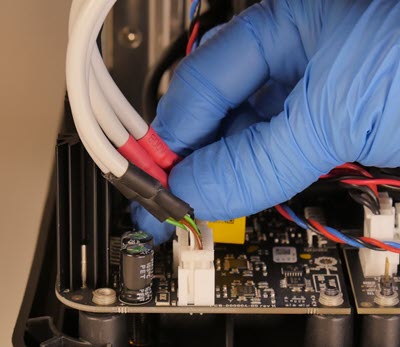
The connection point between the galvanometers and the circuit board.
|
|
| Cleaning the galvo mirrors |

A failed optics test as a result of contaminated galvanometer mirrors.
|
|
| Lubricating the lead screw |
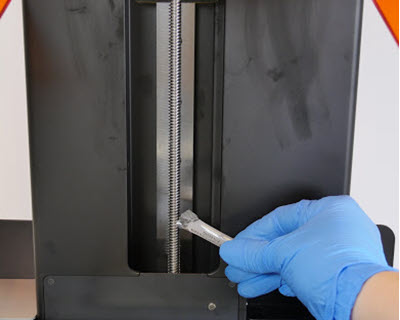
Lubricant is being applied to the Z-tower lead screw.
|
|
| Reseating the LevelSense grounding screws |
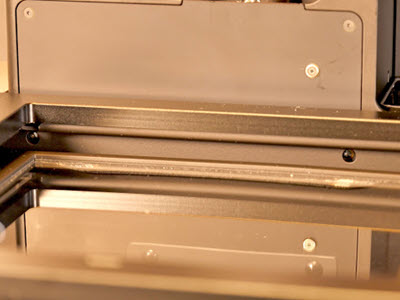
The LevelSense grounding screws are located under the tank carrier and against the board.
|
|
| Cleaning the underside of the optical window |
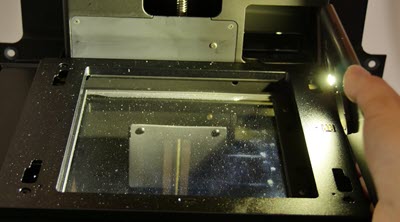
The glass optical window is being inspected.
|
|
| Cleaning the main mirror |

The main mirror at the bottom of the optical cavity is being inspected after removing the optical window.
|
|
Tuning the cam lock
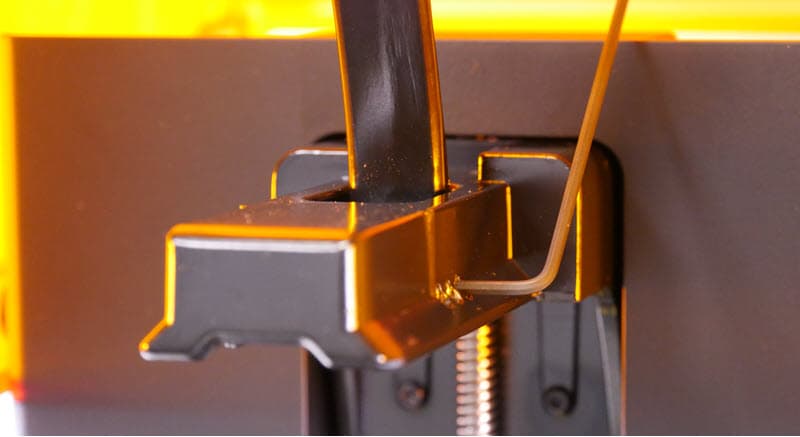
The cam lock is the mechanism inside the build platform carriage. The cam lock secures the build platform on the build platform carriage, and the cam lock spring allows the cam handle to move up and down to release.
Estimated time: 15–20 minutes
Download links: Tuning the Form 2 cam lock
Further troubleshooting:
Notice:
Only tune the cam lock if your cam lock cannot secure the build platform. Performing this maintenance procedure improperly may cause:
Reseating the galvanometer cables
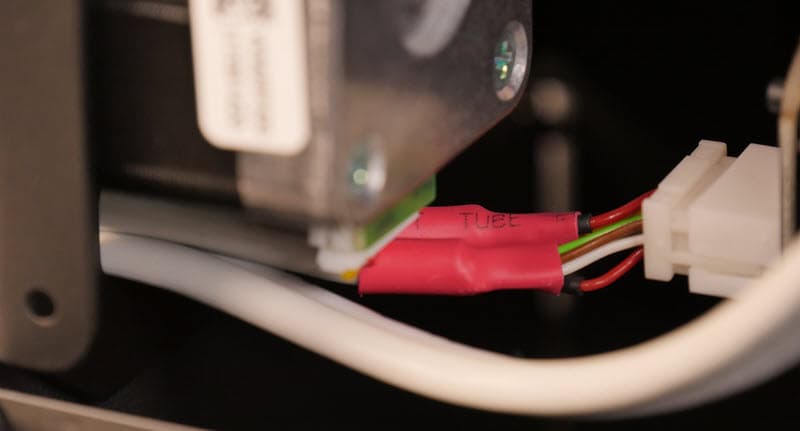
The galvanometers are motors that turn the small mirrors that direct the laser. The connectors that attach the cables to the motherboard can sometimes loosen due to shipping vibrations. Unseated cables can cause brownouts and an Error 41 message on the touchscreen.
Estimated time: 20 minutes
Before you begin:
Download links: Reseating the Form 2 galvanometer cables
Notice:
Only reseat the galvanometer cables if your printer experiences a brownout or displays Error 41 on the touchscreen. Performing this maintenance procedure improperly may cause:
Cleaning the galvanometer mirrors
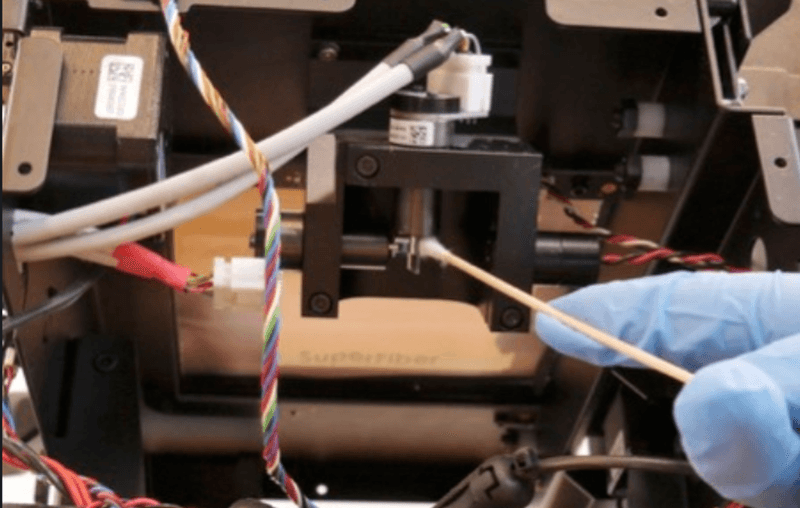
The galvanometer mirrors are part of the optical system of the Form 2. These small mirrors are affixed to the galvanometers to guide the laser toward the main mirror. Contaminated galvo mirrors can result in print errors and inaccuracies, and may require cleaning.
Estimated time: 20–30 minutes (preparing the workspace and cleaning the galvo mirrors) plus 75–90 minutes (completing the optics test print).
Before you begin:
Download links: Cleaning the Form 2 galvo mirrors
Notice:
Only clean the galvanometer mirrors if you are experiencing a significant drop in print quality. Performing this maintenance procedure improperly may cause:
Lubricating the lead screw
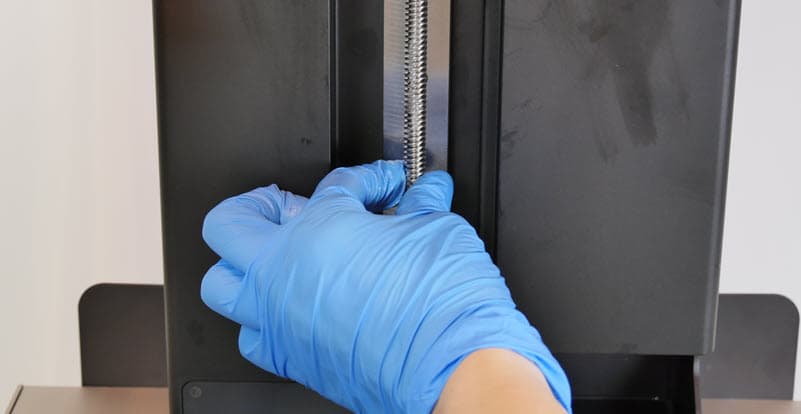
Lubricating the lead screw in the Z-axis can reduce print noise and improve printer functionality.
Estimated time: 5–10 minutes
Download link: Lubricating the Form 2 lead screw
Notice:
Only lubricate the lead screw if your printer emits loud noises as the build platform raises and lowers. Performing this maintenance procedure improperly may cause:
Reseating the LevelSense grounding screws
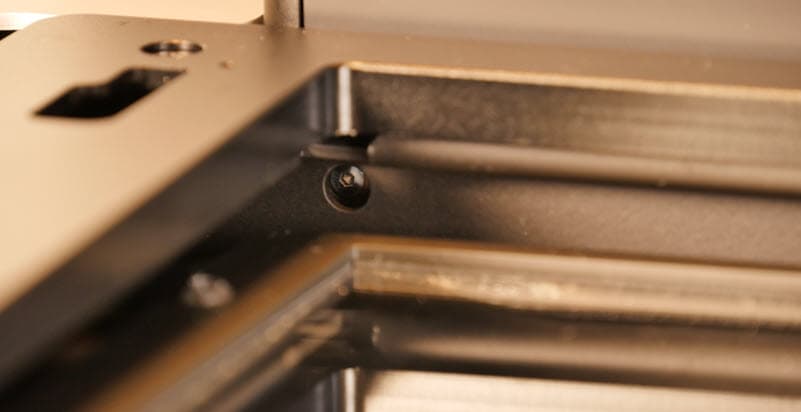
The LevelSense board regulates the refill rate of the resin in the tank. Two grounding screws on the bottom of the LevelSense board secure the panel to the Z-tower and also ground the board. Proper grounding is critical for accurate LevelSense readings.
Estimated time: 5 minutes
Before you begin:
Download links: Reseating the Form 2 LevelSense grounding screws
Notice:
Only reseat the LevelSense grounding screws if your printer is unable to correctly read the amount of resin in multiple resin tanks even after cleaning the LevelSense board. Performing this maintenance procedure improperly may cause:
Cleaning the underside of the optical window
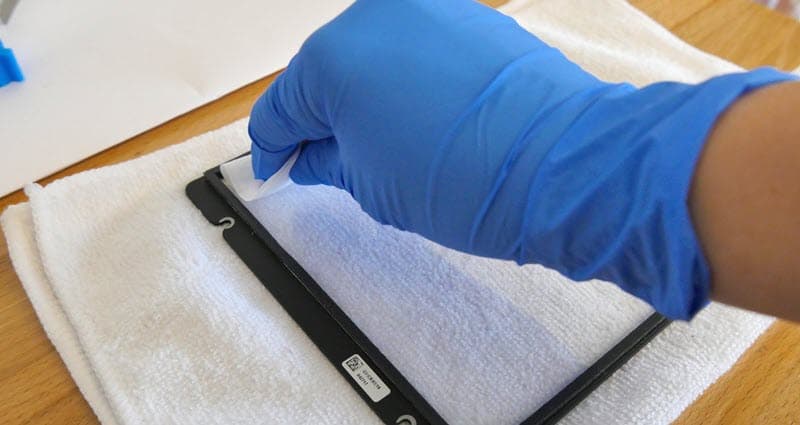
The glass optical window is one of the optical surfaces of the Form 2. The optical window sits below the resin tank and protects the internal mirrors in the optical cavity. Dust, debris, and other contaminants can settle on the underside of the glass optical window and cause the laser light to diffuse or weaken, resulting in print failures.
Estimated time: 20–30 minutes
Before you begin:
Download links: Cleaning the underside of the Form 2 optical window
Notice:
Only clean the underside of the optical window if there are visible contaminants present beneath the glass. Performing this maintenance procedure improperly may cause:
Cleaning the main mirror
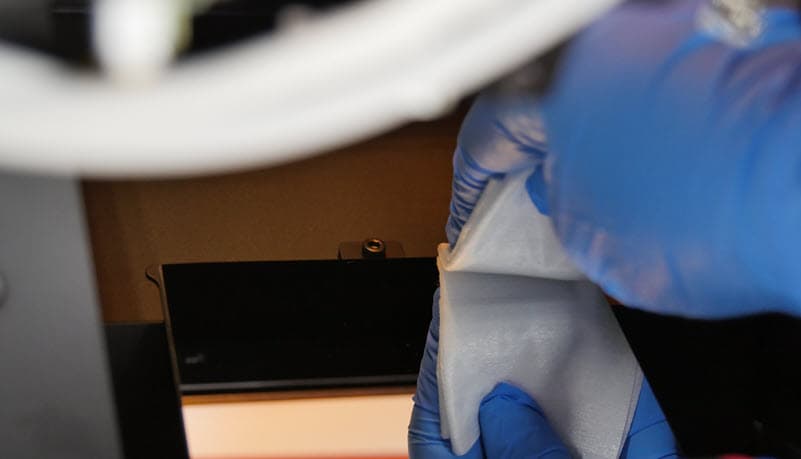
The main mirror is part of the optical system of the Form 2. After the laser bounces off the galvo mirrors, the beam is reflected upward into the resin tank by the main mirror. A contaminated main mirror can result in print errors and inaccuracies, and may require cleaning.
Estimated time: 20–30 minutes
Before you begin:
Download links: Cleaning the Form 2 main mirror
Notice:
Only clean the main mirror if there are visible contaminants inside the optical cavity atop the main mirror. Performing this maintenance procedure improperly may cause: