
Note:
Check the support article Choosing the right powder to determine whether the powder you are using requires inert atmospheric control.

Note:
Check the support article Choosing the right powder to determine whether the powder you are using requires inert atmospheric control.
Inert atmospheric control is the process of removing air from an enclosed space by replacing it with an inert gas. In SLS 3D printing, the inert gas is typically nitrogen. SLS polymers tend to oxidize when held at elevated temperatures for extended periods of time. Limiting oxidation improves the material properties of printed parts and allows you to print with a lower refresh rate.
For example, printing with Nylon 11 in nitrogen allows you to use a 30% refresh rate to print parts with increased ductility compared to parts printed in air at a 50% refresh rate.
The Fuse 1+ 30W is equipped with a sealed chamber held at a partial positive pressure to ensure a low oxygen concentration when printing in an inert atmosphere. The Fuse 1+ 30W includes plumbing, sensors, and controls to enable a plug-and-play inert atmospheric control process. The Fuse 1+ 30W does not contain nitrogen generation capabilities, so an external nitrogen source is needed if inert atmospheric control is desired.
Sourcing
Nitrogen may be sourced in several forms including compressed gas cylinders, liquid nitrogen dewars, or nitrogen generators.
Nitrogen supplies that meet the following requirements are suitable for use with the Fuse 1+ 30W:
For more information about sourcing supplies, read the support article Formlabs-approved distributors for supplies (SLS). The table below summarizes the trade-offs between options:
| Nitrogen generator | Compressed gas cylinder | Liquid nitrogen dewar | Micro-bulk/bulk tank | |
|---|---|---|---|---|
| Example image | 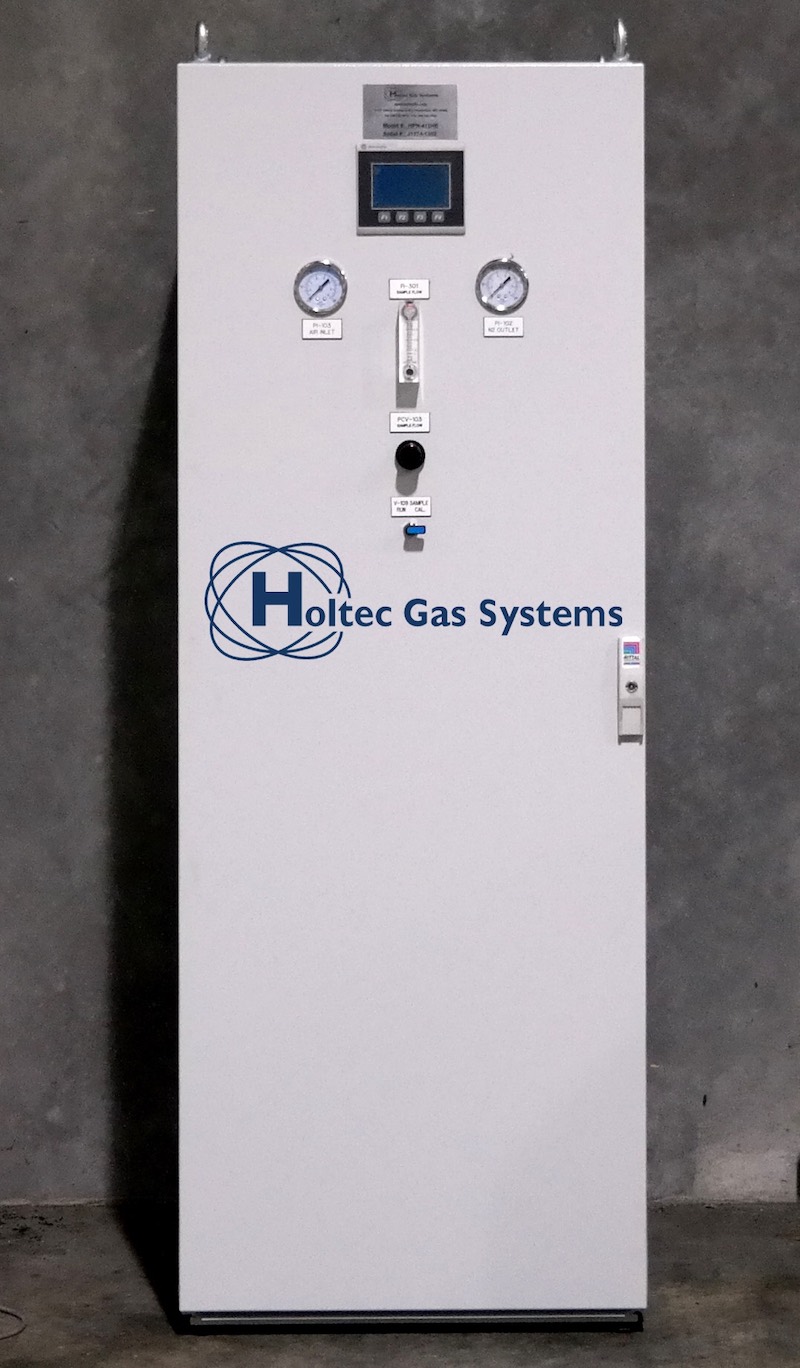 |  | 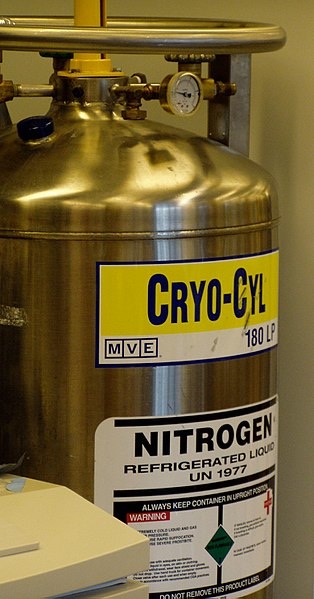 |  |
| Capacity | Continuous | Roughly 300 SCF (8,495 L) of nitrogen or 10 hours of printing per cylinder | Roughly 5,760 SCF (163,105 L) of nitrogen or 6–7 days of printing per 230 L dewar (with losses) | Depends on installation type and capacity |
| Cost | 4,000–10,000 USD per generator | 80–120 USD per cylinder | 70–120 USD per dewar | |
| Site requirements |
|
|
| Dedicated installation: consult with vendors for site requirements |
| Other considerations |
|
|
| |
| Recommended vendors |
Holtec Gas Systems (North America) | Airgas | Airgas | Airgas |
Nitrogen generators
Nitrogen generators convert a compressed air source into a flow of high-purity nitrogen gas, with most of the oxygen removed. The resulting flow of nitrogen can serve as a nitrogen source for the Fuse 1+ 30W. A primary benefit of using nitrogen generators is that they do not require replacing or refilling bottled nitrogen sources.
Air compressors may have a high startup power draw and should be powered by a separate circuit from the printer to prevent print interruption.
Formlabs recommends using a dedicated air compressor or one with sufficient capacity to prevent pressure drops if used by other devices during printing. Compressed air fed into a nitrogen generator must be filtered to remove moisture, oil, and particulate matter.
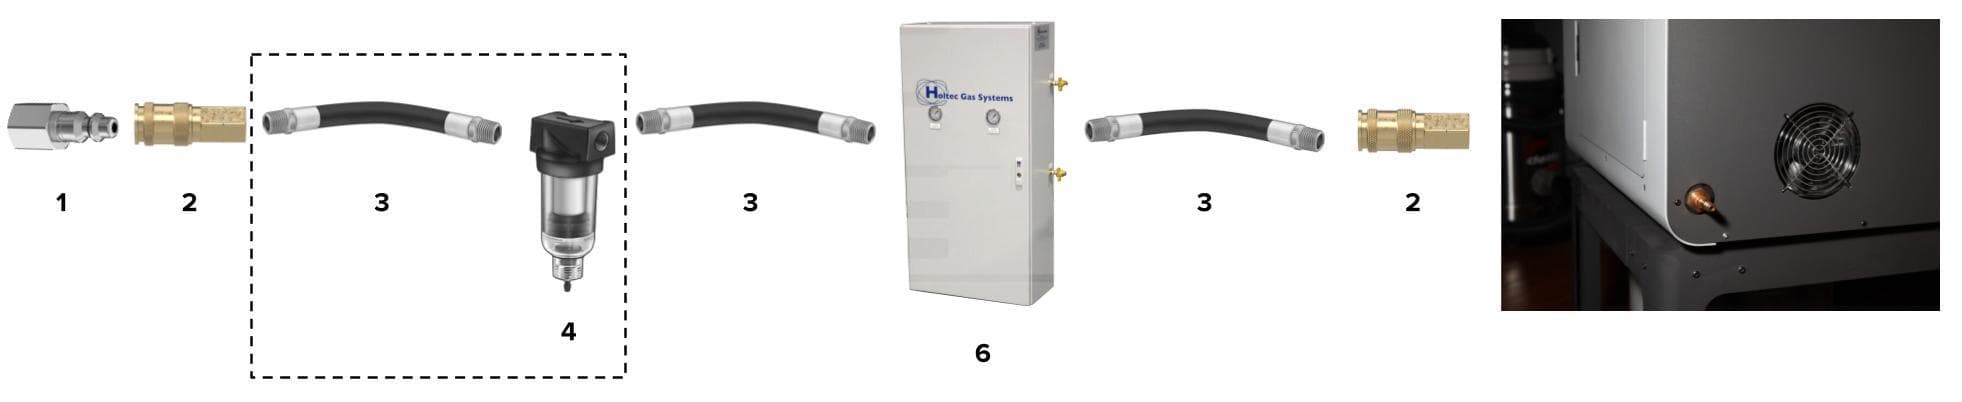
For recommended nitrogen generators and associated fittings, please see the Formlabs-approved distributors for supplies support article. The listed fittings are compatible with the recommended HSS-7 or HSS-3 model nitrogen generator from Holtec Gas Systems. The fittings include:
The diagram below depicts how the components above are assembled to successfully provide nitrogen to the Fuse 1+ 30W, starting with an air compressor (not shown). Note that the items in the dashed box are not required if your air compressor is pre-equipped with a filter.
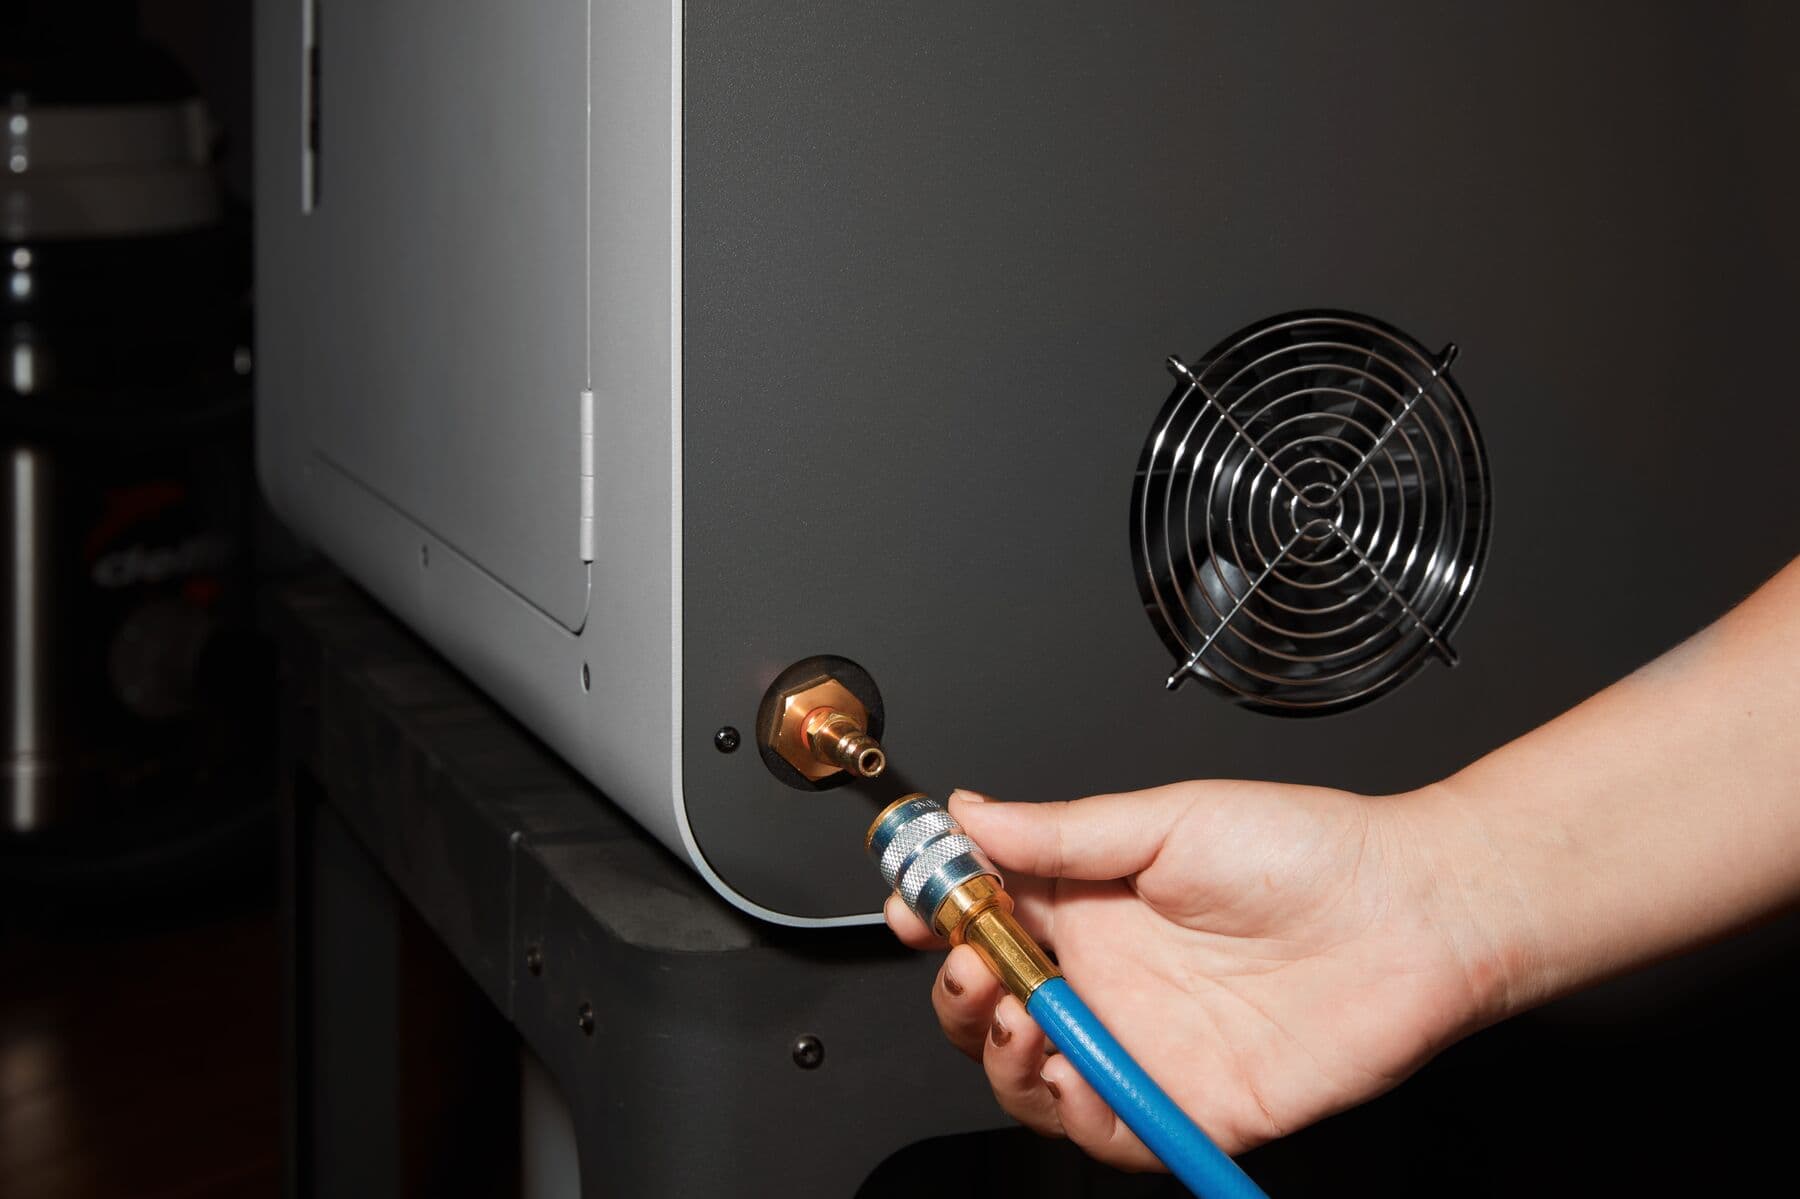
The picture below shows the location of the nitrogen inlet on the Fuse 1+ 30W. Note that the included quick disconnect hose coupling is installed.
Nitrogen bottles, dewars, and tanks
Nitrogen may also be supplied to the Fuse 1+ 30W from nitrogen containers such as compressed gas cylinders, liquid nitrogen dewars, or micro-bulk or bulk containers. The best option depends on printing volume, budget, and facilities. For a recommendation on your best option for nitrogen, use the Formlabs Gas Calculator developed by Airgas.
Nitrogen cylinders may serve as a low cost way to begin printing with an inert gas atmosphere without the need to invest in a compressor and nitrogen generator. Bulk supplies may also serve as a cost-effective option for high-volume printing in production environments.
When using compressed gas sources of nitrogen, install a regulator at the outlet of the compressed gas source in order to lower the nitrogen pressure to the input range of the Fuse 1+ 30W.
When using liquid nitrogen sources, install an evaporator at the outlet of the liquid nitrogen source in order to convert it to a gas which can be used as an input to the Fuse 1+ 30W.
Preparing the nitrogen system (Fuse 1+ 30W only)
The Fuse 1+ 30W has the option to use nitrogen as an inert gas atmosphere in the print chamber. The inert nitrogen atmosphere prevents the oxidation of plastic powder.
The Fuse 1+ 30W has two atmospheric control modes:
To prepare the Fuse 1+ 30W for printing with an inert gas atmosphere:
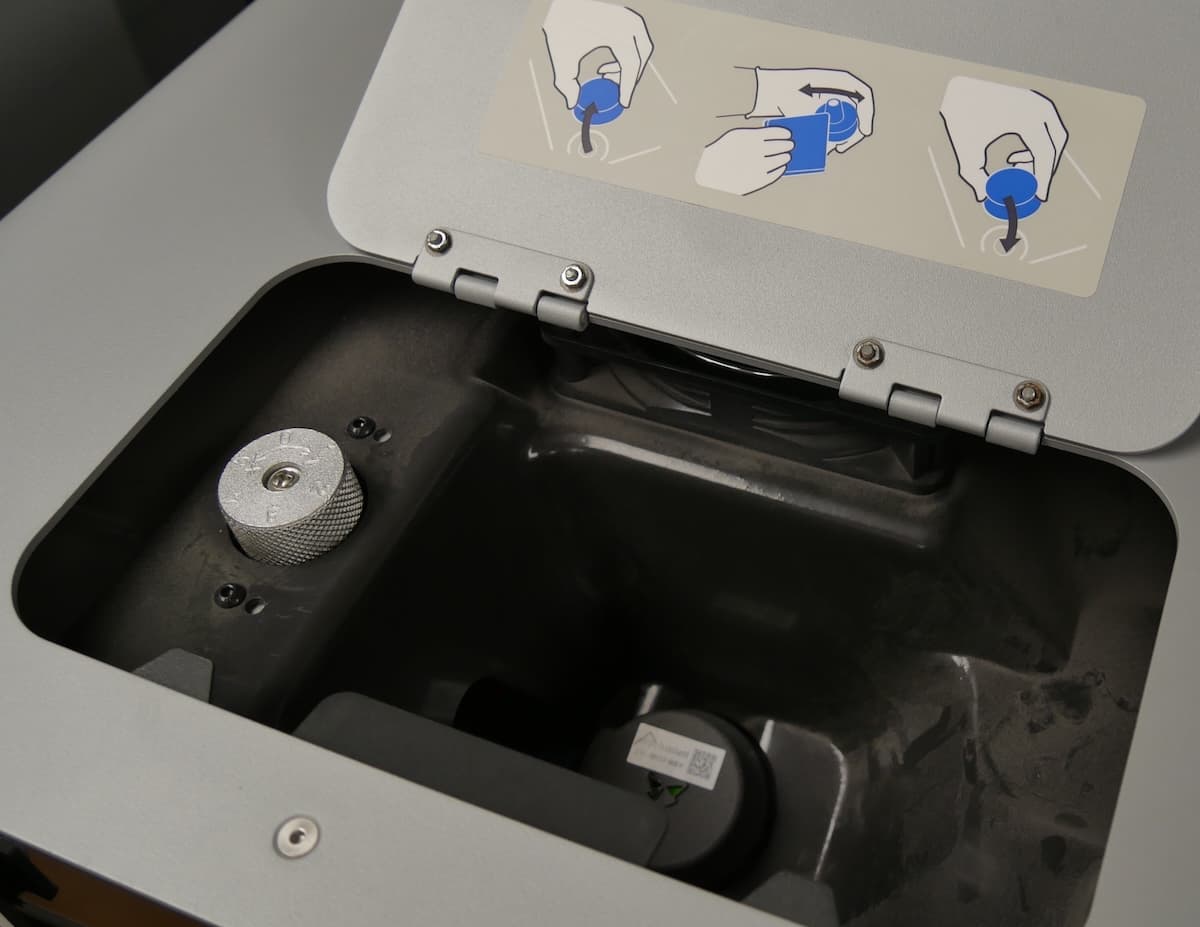
To adjust the valve pressure:
Note:
The nitrogen pressure knob is extremely sensitive. If the onscreen needle is jumping between pressure readings, make smaller adjustments.
Safety
Warning:
Ensure that proper ventilation is available to prevent health and safety issues associated with lack of oxygen.
If a nitrogen source malfunctions or is set up improperly and nitrogen displaces the existing oxygen in the room containing the printer, a significant hazardous situation may be created. A safety assessment should be performed by your company’s safety officer in order to ensure that your nitrogen system is set up and operated in a safe manner.