
Note:
If the printer does not initialize and display the onboarding prompts, ensure that the cover is closed.

Powering the printer on
Connect the power cord to the printer and a power source. Turn on the power switch on the back left of the printer.
The first time the printer is connected to power, it displays a series of onboarding steps on the touchscreen. The onboarding steps include instructions for inserting consumables (resin tank, resin cartridge, and build platform) into the printer. Follow these steps to prepare the printer for use.
Note:
If the printer does not initialize and display the onboarding prompts, ensure that the cover is closed.
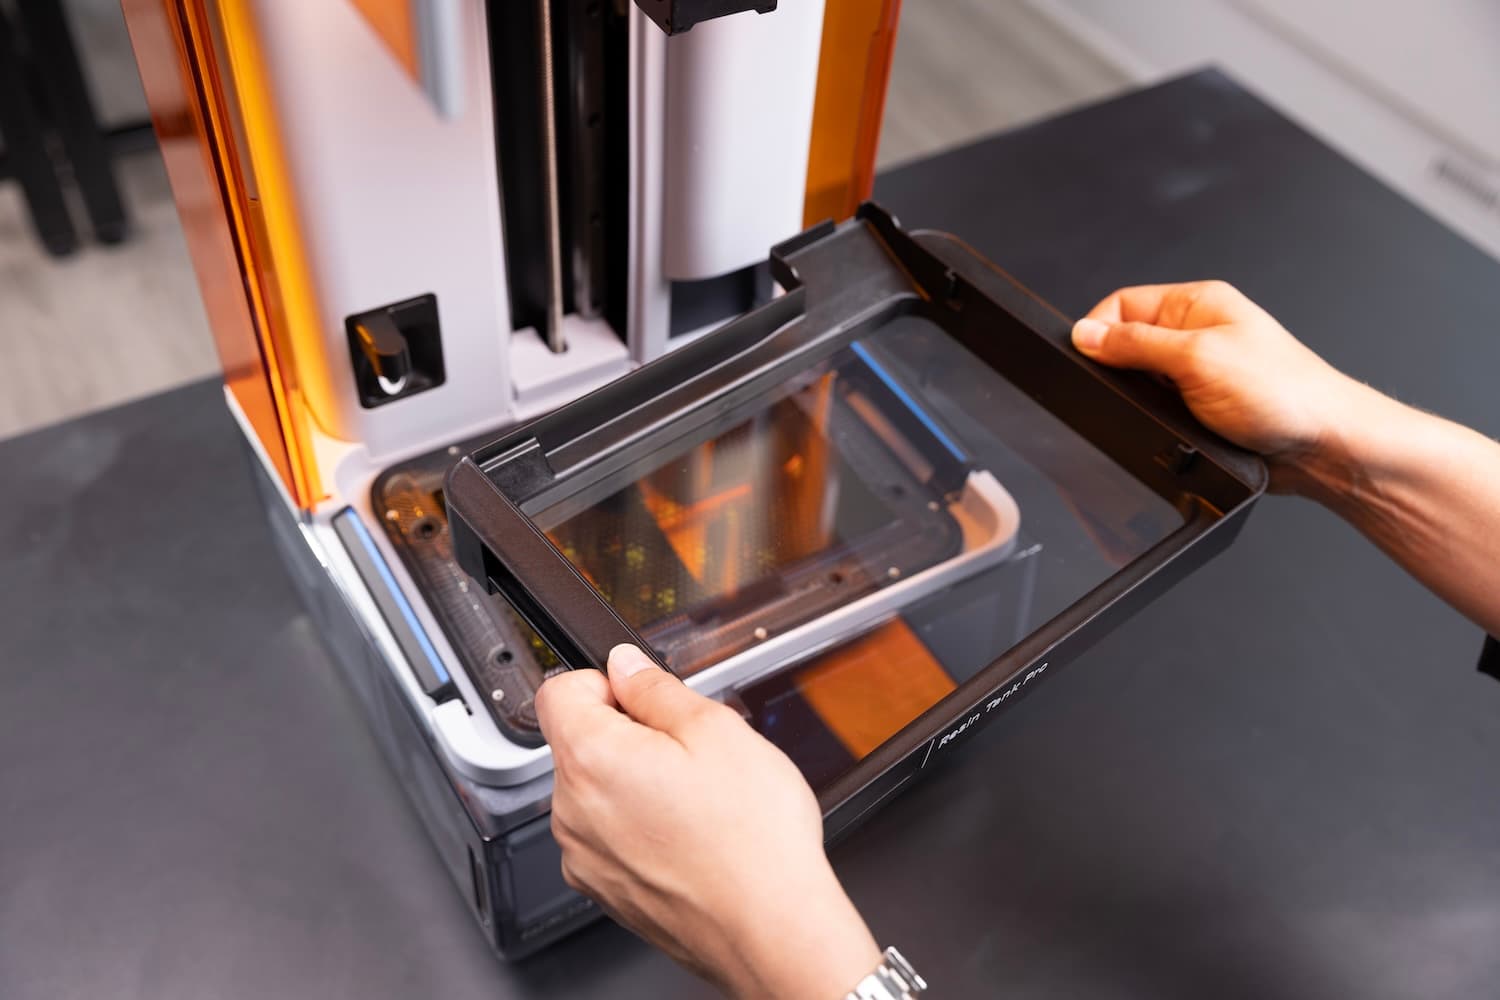
Inserting the resin tank
The resin tank is the primary container for holding resin after it is dispensed from the cartridge. Resin is cured onto the build platform when light passes through the tank's bottom film during printing.
Warning:
Resin may cause skin irritation or an allergic skin reaction. Wear gloves when handling liquid resin or resin-coated surfaces. Wash skin with plenty of soap and water.
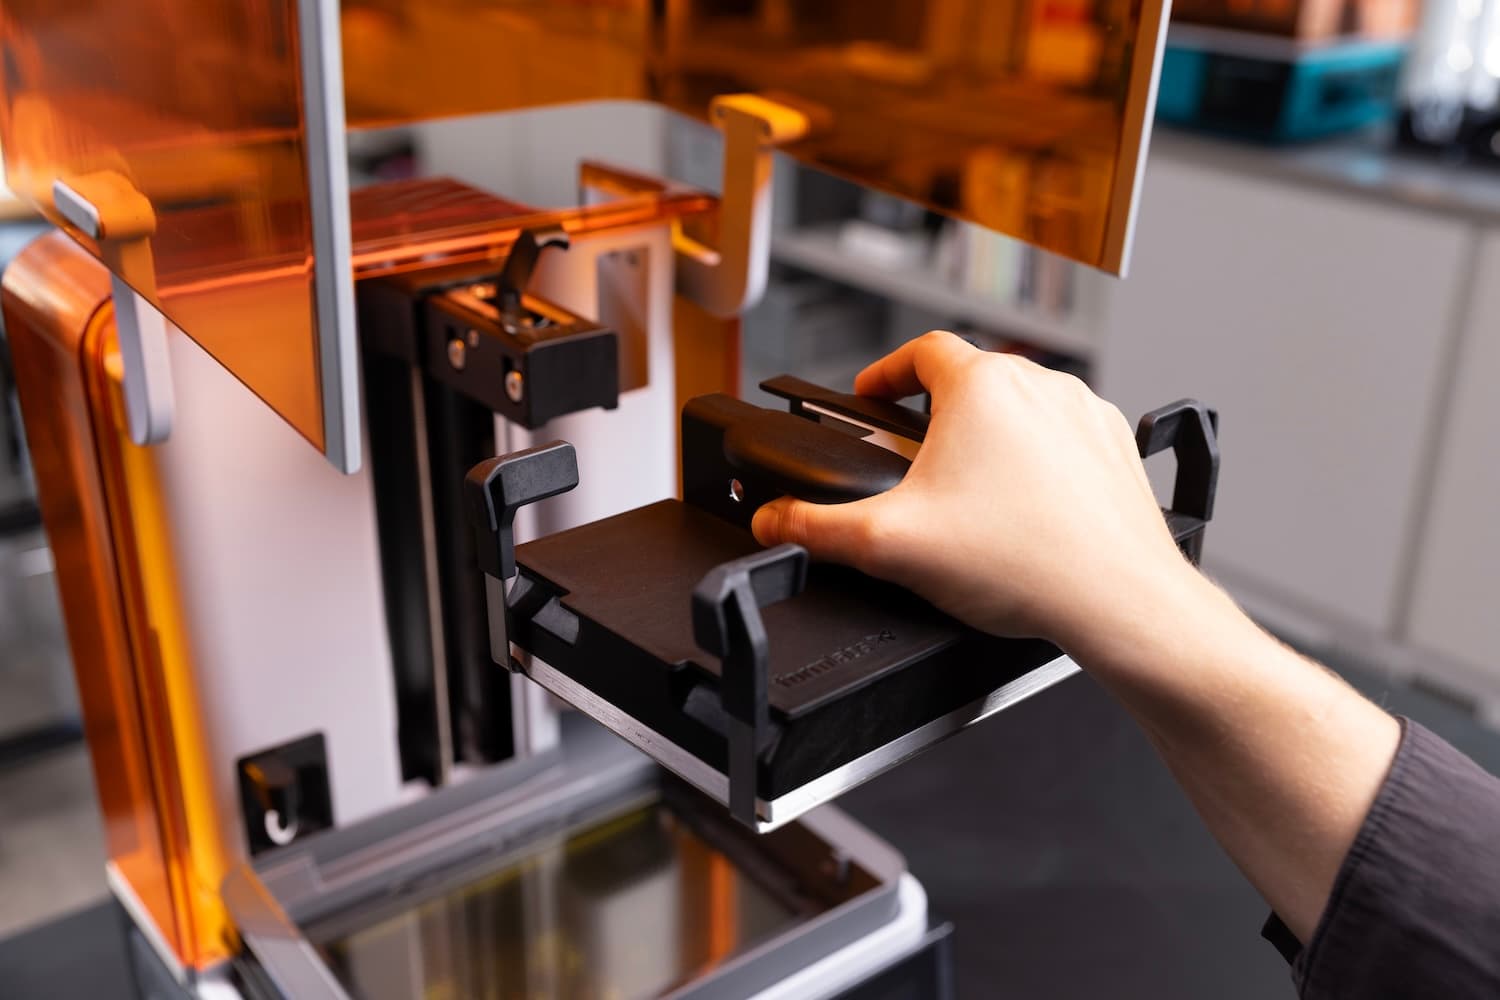
Inserting the build platform
The build platform is the surface that each part prints onto. To insert the build platform:
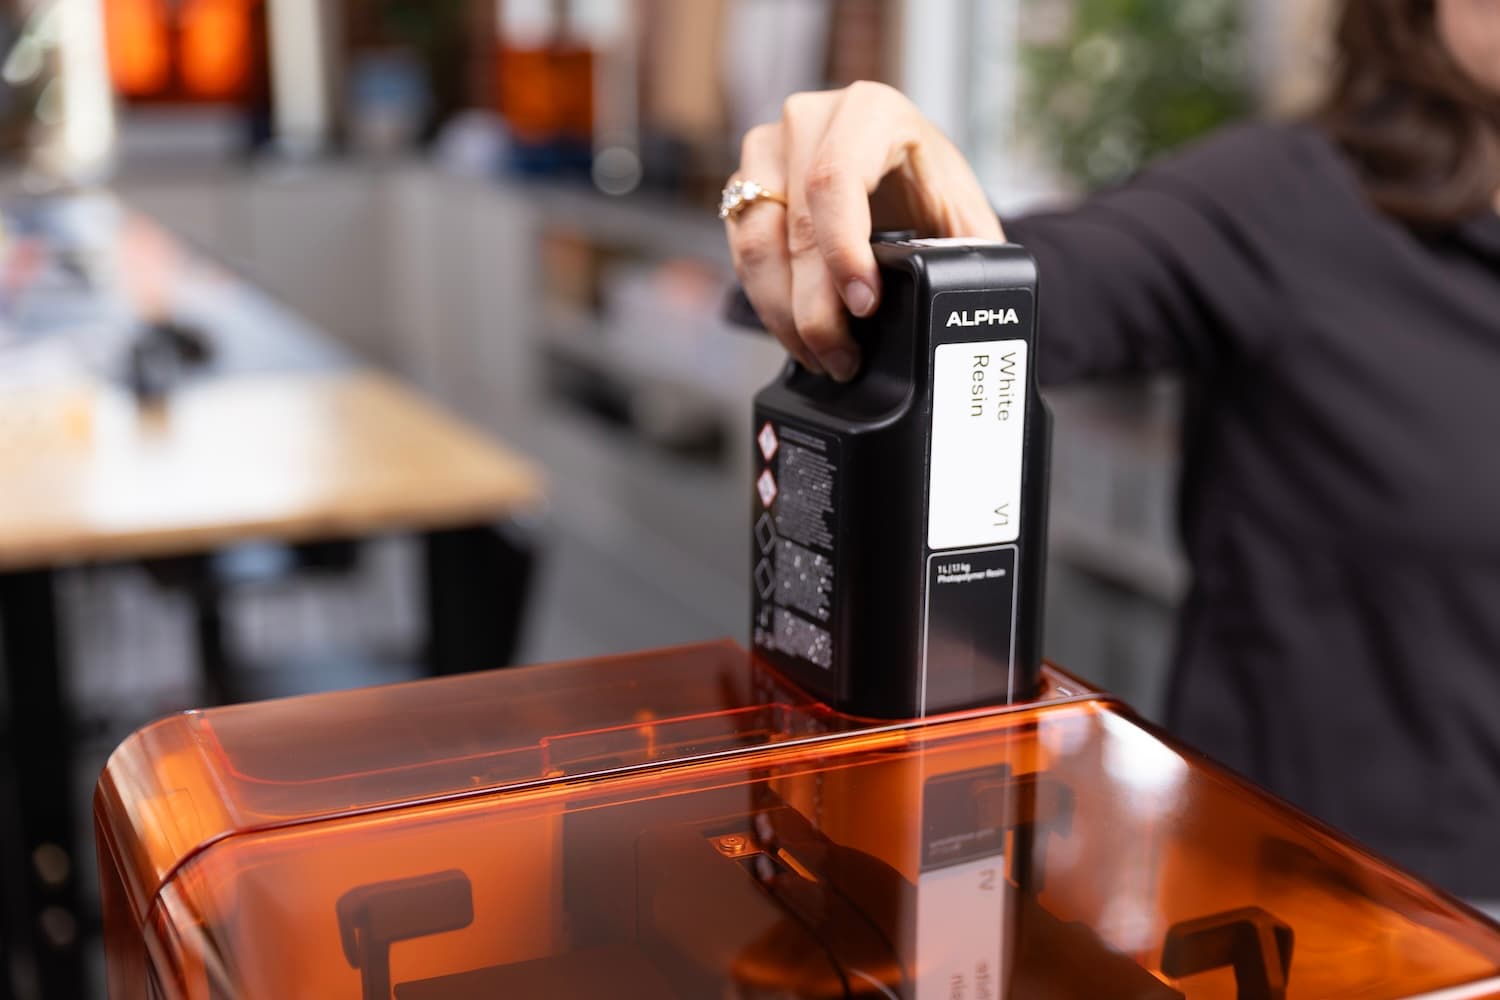
Inserting the resin cartridge
The resin cartridge stores resin to be dispensed into the resin tank. To prepare the resin cartridge:
Notice:
Do not remove the rubber valve at the bottom of the cartridge or poke it with a sharp instrument. This bite valve controls the release of the resin. Removing the rubber bite valve would allow resin to continuously flow and cause extreme damage to the machine. This damage is not covered by the warranty.
Setting up the Form Studio 1 accessories
Build platform jig
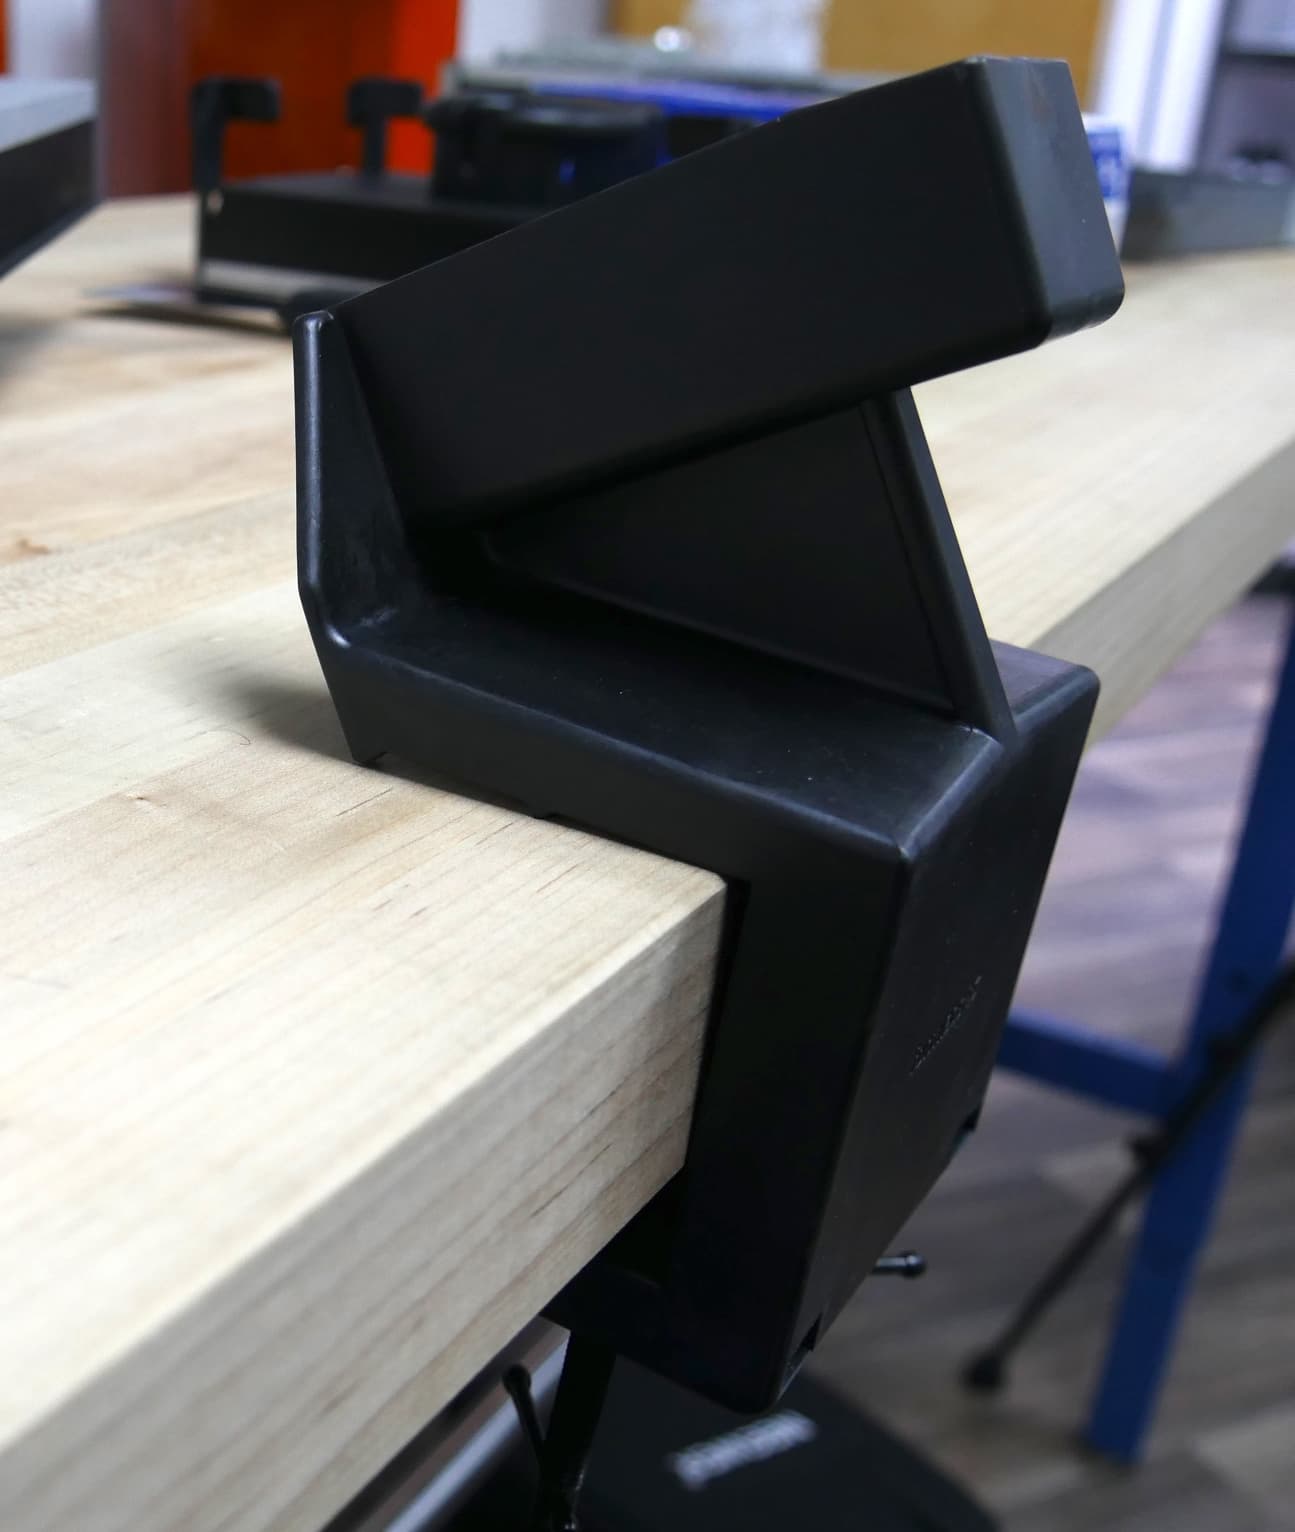
If you purchased a build platform jig with your Form Studio 1, attach it to your work surface so it’s ready for your first print.
Installing the build platform jig
Secure the build platform jig to the edge of your work surface by tightening the screw clamps underneath the work surface. Ensure that there is enough space around the jig for you to work.
Attaching the build platform to the jig
With your print facing upwards, slide the build platform handle onto the corresponding mount on the jig.
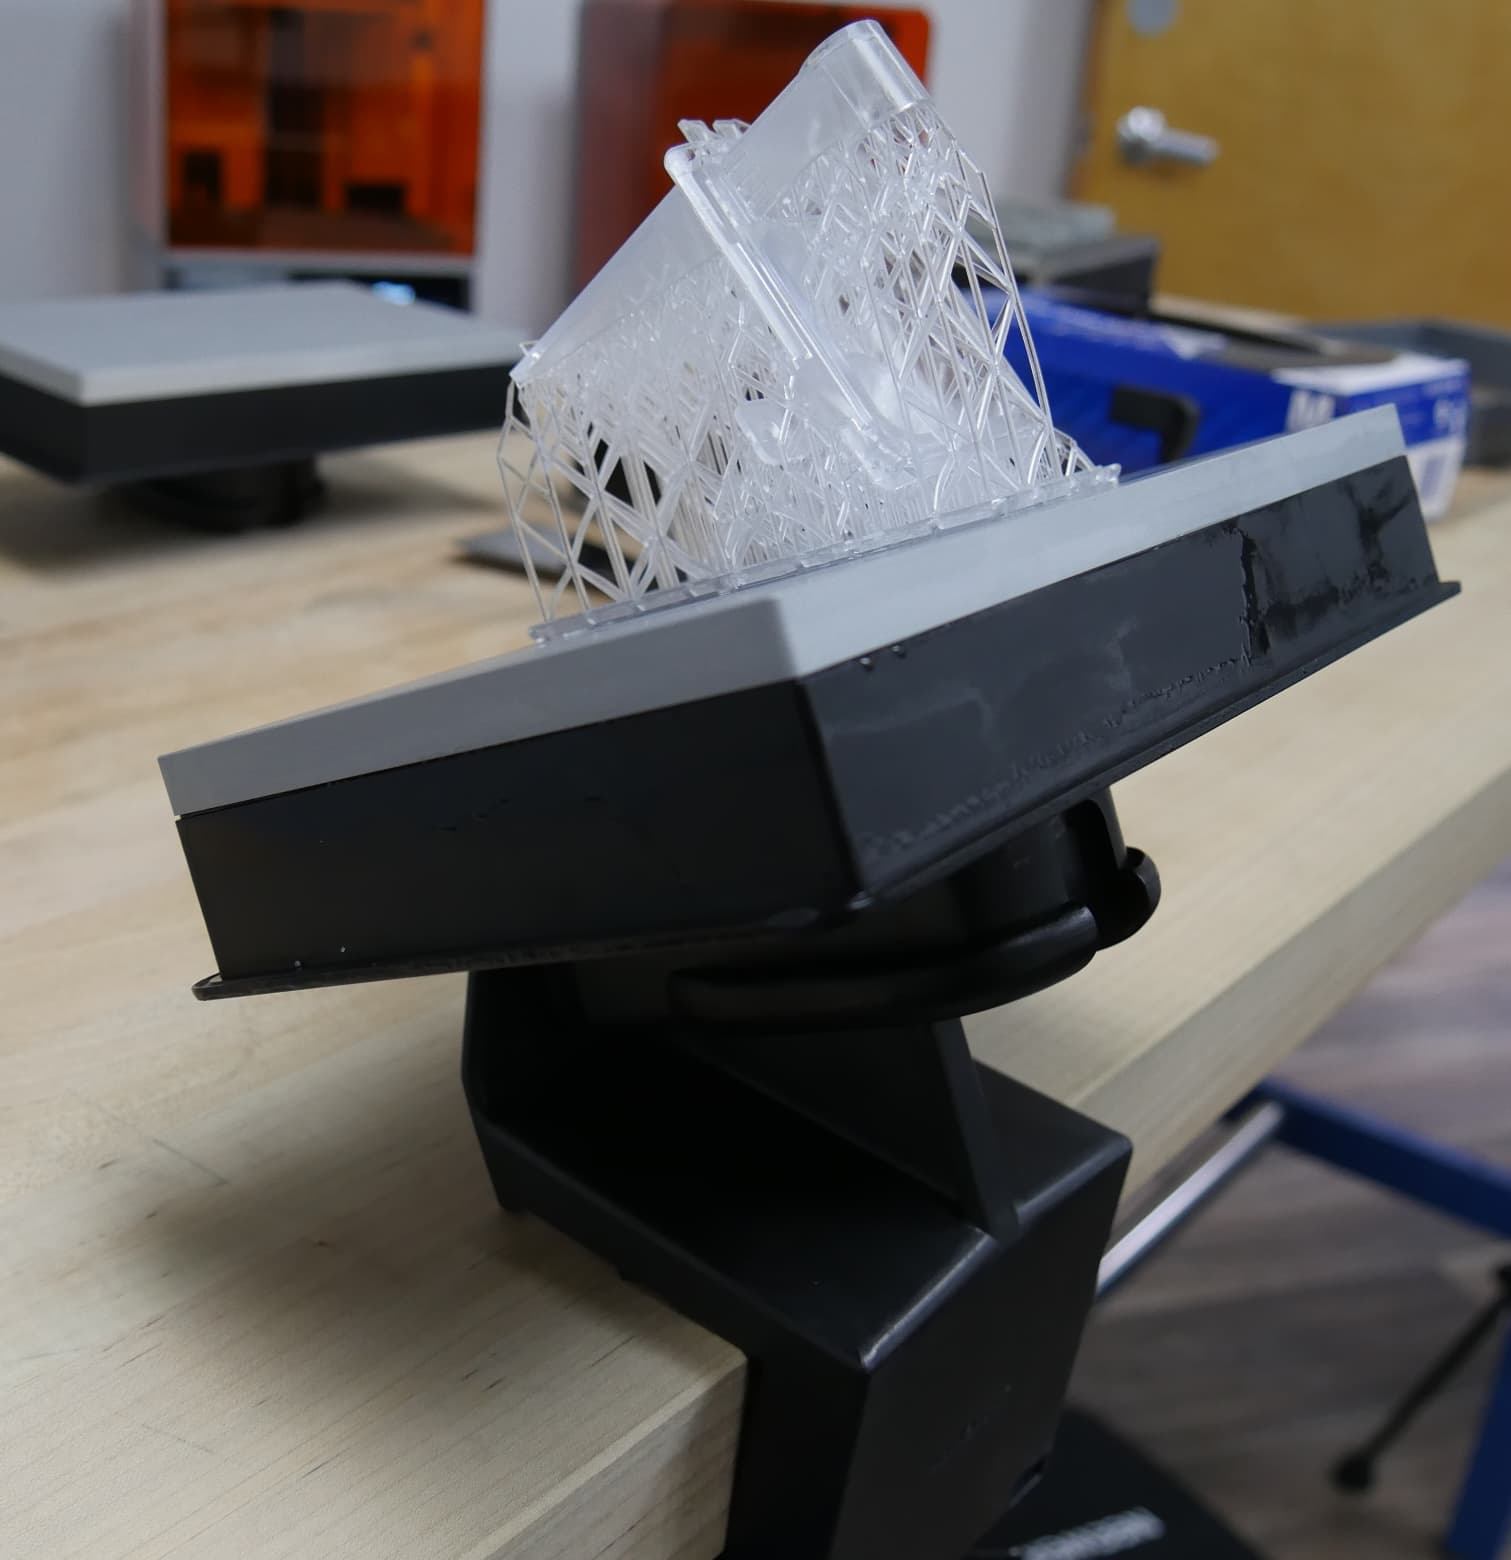
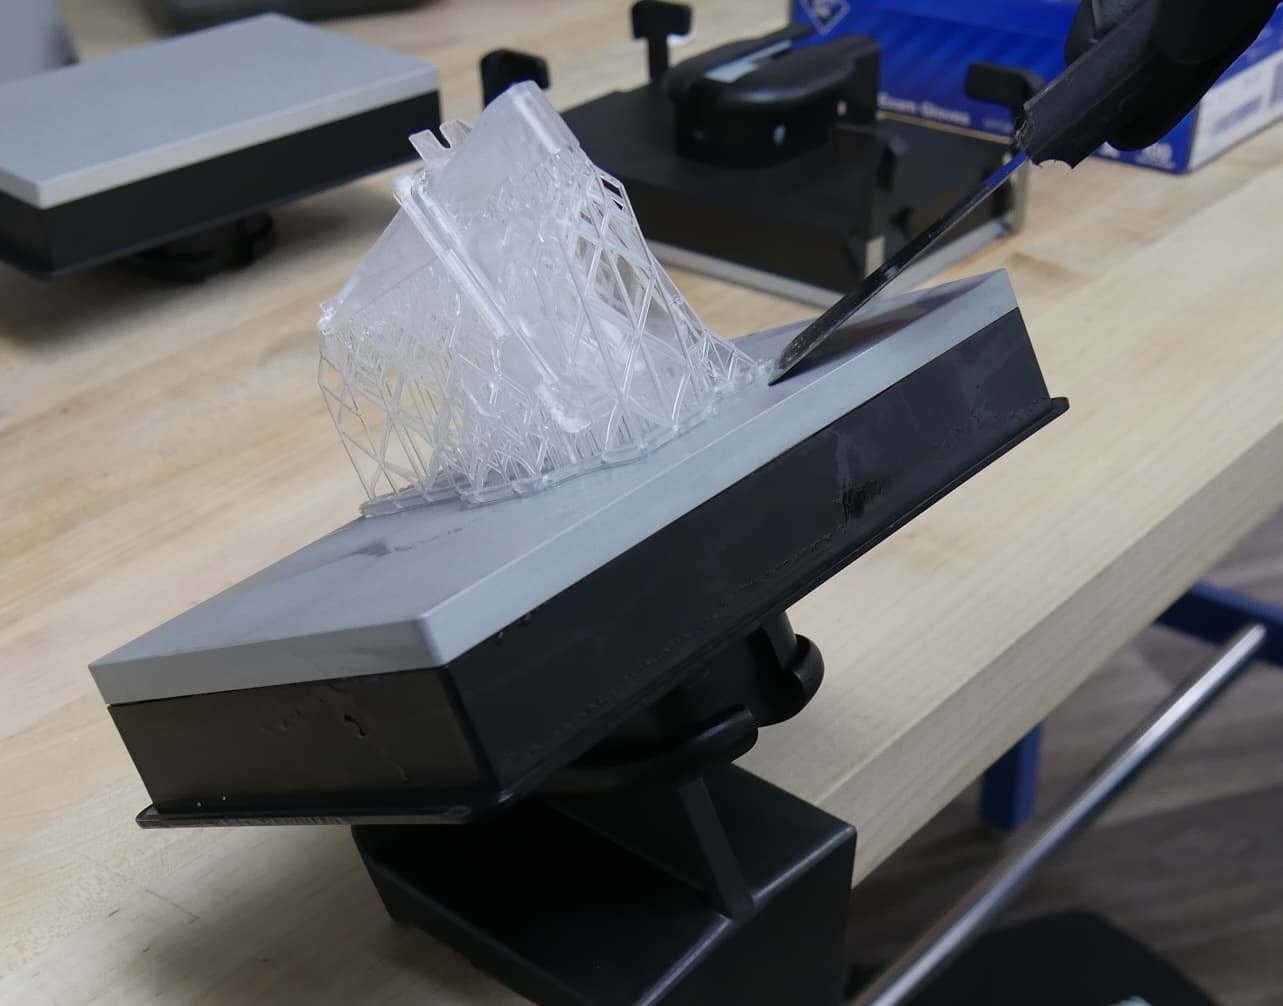
Removing printed parts from the build platform
Use a metal scraper or other similar tool to remove your printed parts from the build platform.
Caution:
Using sharp tools on slippery surfaces such as a resin-coated build platform can result in sudden movement. Orient sharp tools away from yourself, especially when cutting or scraping.
Cleaning sheet removal tool
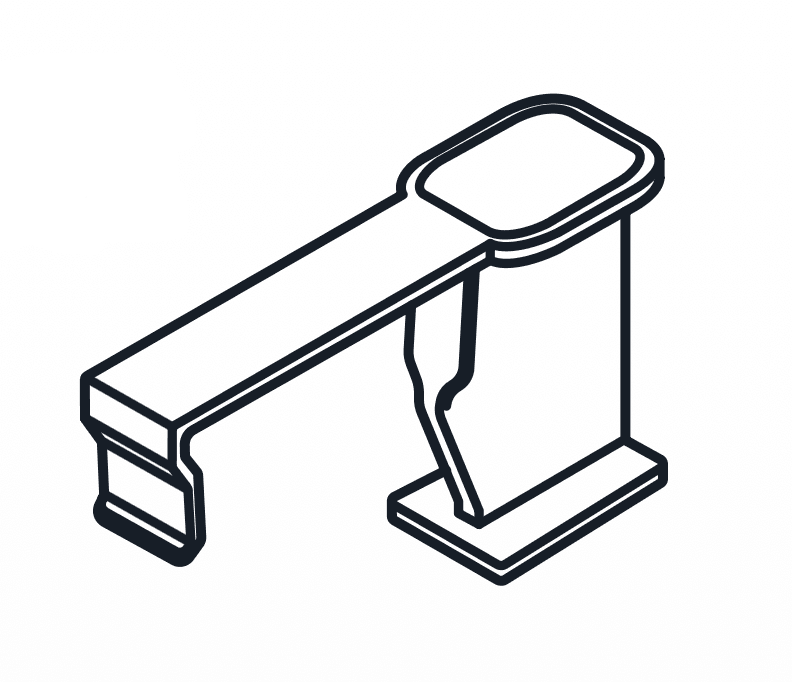
Print failures can be messy. The plastic scraper tool may have trouble gripping and removing cured resin if it is small or oddly shaped. Instead, Form Studio 1 printers have the option to print a cleaning sheet that binds the cured resin together into a single piece that can be easily extracted from the tank. The Form Studio 1 comes with a tool that, when placed in the resin tank before printing a cleaning sheet, helps you remove and handle the cleaning sheet.
Printing with the Form Studio 1
Now that the printer is set up: