
Tip:
Contact Formlabs Support or your authorized reseller immediately if the resin spill is extensive or if resin may have reached inside the printer. Provide photos of the resin spill.

Promptly clean and inspect the printer after a resin spill to minimize any cosmetic or functional damage to the printer. Learn about the primary causes of resin spills and how to prevent spills.
Tip:
Contact Formlabs Support or your authorized reseller immediately if the resin spill is extensive or if resin may have reached inside the printer. Provide photos of the resin spill.
What to do immediately after a resin spill
Small resin spills on the printer exterior are harmless and can occur during normal use. More extensive resin spills may require additional cleaning and support to assess and reduce potential damage. Resin inside the printer may contaminate or erode critical components. For more extensive spills, photograph the spill and contact Formlabs Support or your authorized reseller for further assistance.
Overview
Warning:
Resin may cause skin irritation or an allergic skin reaction. Wear gloves when handling liquid resin or resin-coated surfaces. Wash skin with plenty of soap and water.
Recommended supplies:
Prepare the printer for inspection and cleaning by disconnecting it from power and removing all consumables.
Preparing the printer
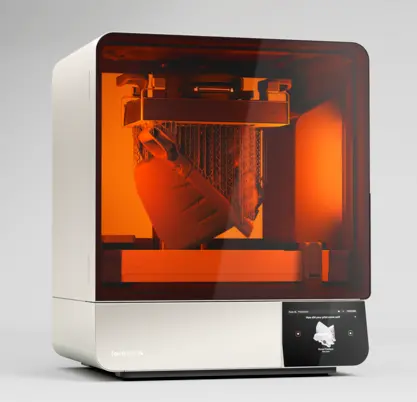
Liquid resin on the outside of the printer can make the printer difficult to use or contaminate other work surfaces. Clean the cover, shell, and ports if resin spills on them.
Orange cover
Shell
Note:
The Form 4L features a groove on the left to redirect resin spills behind the left shell and outside of the printer to prevent possible damage to the machine’s components.

Touchscreen
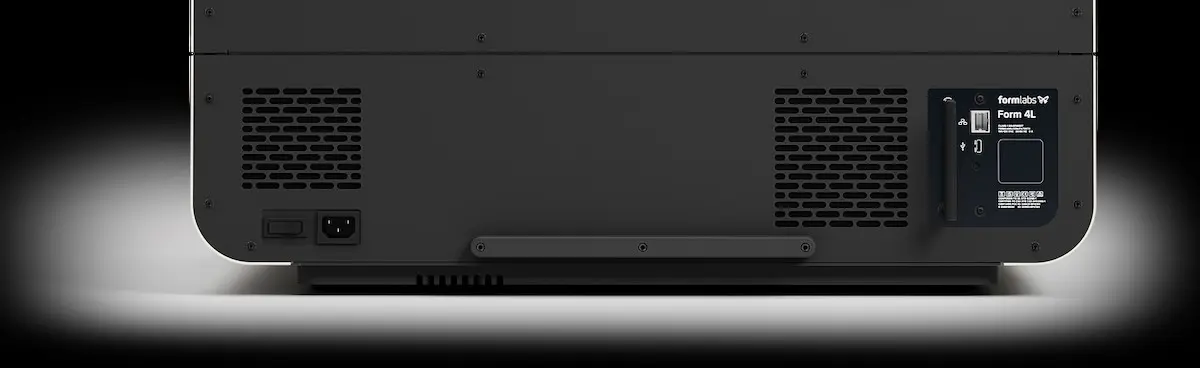
USB port, Ethernet port, power jack, and power switch
Inspecting the Z-axis
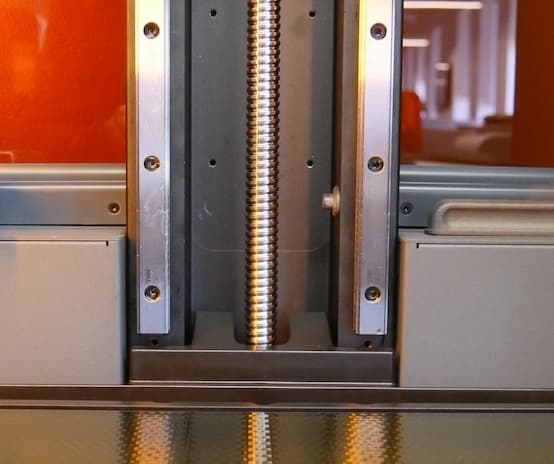
The Z-axis assembly contains the motor and ball screw that drive the build platform carriage. They must be clean for the build platform to move smoothly and accurately. There is a drip catcher below the cartridge slot, which can help prevent or mitigate any future resin spills.
Z-tower

Tip:
If the ball screw is cleaned with IPA, lubricate the ball screw with Rheolube 362HB or another similar lubricant before printing again to prevent build platform movement issues.
Inspecting the resin tank
Resin spills are sometimes caused by a failed print. The failed print will also leave cured resin in the resin tank. Inspect and clean the resin tank before running any further prints.
Inspecting the release texture
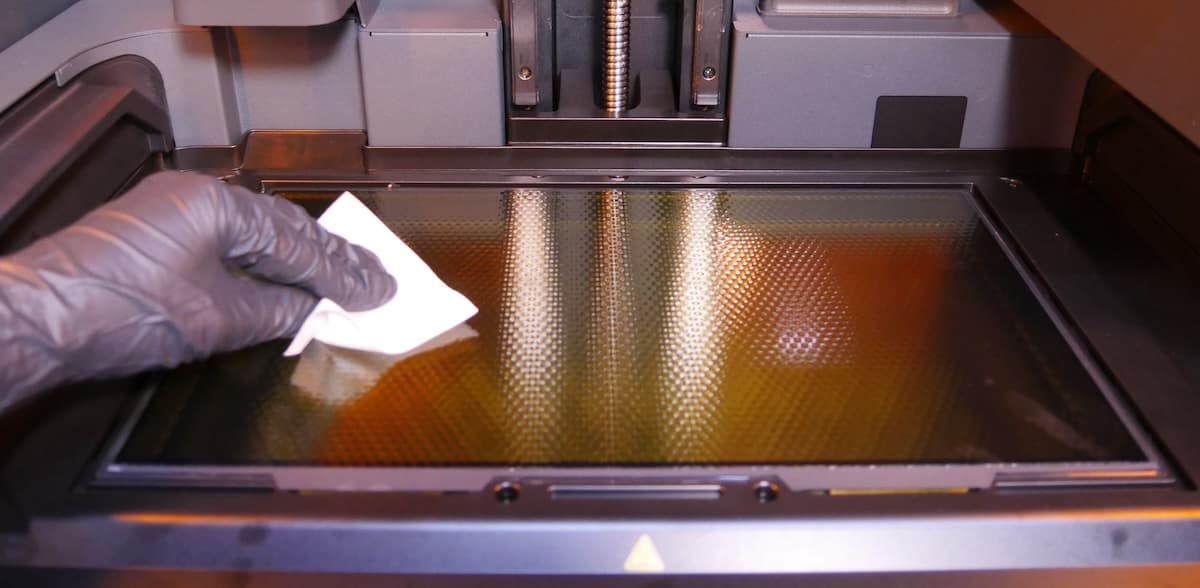
Liquid resin on the release texture can contaminate the bottom of the resin tank and affect the quality of subsequent prints.
Clean any resin on the release texture with disposable non-abrasive lint-free wipes. Dampen the wipes with isopropyl alcohol if necessary to fully remove the resin.
Removing and cleaning optical components after an extensive resin spill
In some cases, liquid resin can seep under the edge of the LPU and contaminate it, the diffuser panel, or the Backlight Unit. If you see during cleaning that resin has gotten under the edge of the LPU, you can remove and clean these optical components.
Follow the part replacement guides listed below to remove the LPU, Backlight Unit, and diffuser panel. The Backlight Unit must be removed to access the diffuser panel. If you see any liquid resin or other contamination, apply a small amount of clean IPA to a lint-free cloth and wipe the affected surface. Allow the component to air dry before reinstalling it.
Cleanup
Always dispose of resin and any supplies contaminated with it according to the SDS. Put the container of soapy water and any soiled paper towels or swabs in a window or other sunny space so that the resin cures in ambient light. Once the resin cures, it can be disposed of with regular household waste.
Notice:
Allow all components to dry completely before reconnecting the printer to power.
Contacting Formlabs Support
Contact Formlabs Support or your authorized reseller if the resin spill is extensive or if resin has reached the inside of the printer. Include the following with the support request:
Preventing resin spills
Learn how to recognize common causes of resin spills and how to minimize the likelihood of resin spills.
While resin spills occur for a variety of reasons, the most common reasons are failed prints in the resin tank, damage to the resin tank, and damage to the resin cartridge bite valve.
When a print fails, the entire print or a part of the print may fall into the resin tank. The mixer is designed to detect such a failure and pause the printer, but some resin may still be spilled.
To avoid print failures, exercise these Form 4L best practices:
A damaged resin tank can cause resin to leak onto the printer. The composite flexible film at the bottom of the tank can be damaged by improper storage (such as placing a tank down on top of another object) or rough handling (such as using a sharp tool to remove cured resin). Similarly, the plastic frame of the resin tank can crack due to an impact or other significant force. Use the provided plastic tank scraper to inspect the tank film and always handle the resin tank with care.
A damaged bite valve on the resin cartridge can cause the printer to dispense too much resin, which can cause the resin tank to overflow in rare cases. Learn how to inspect and protect the bite valve.