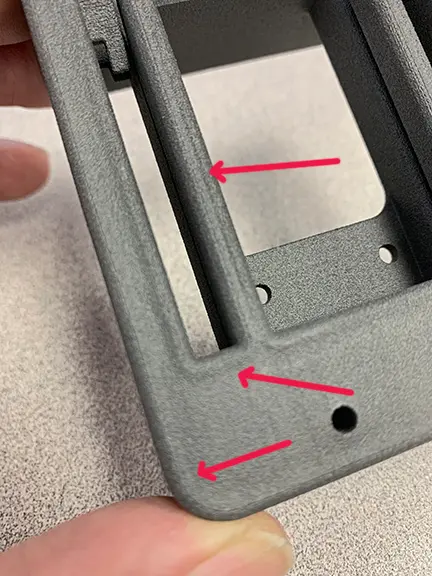
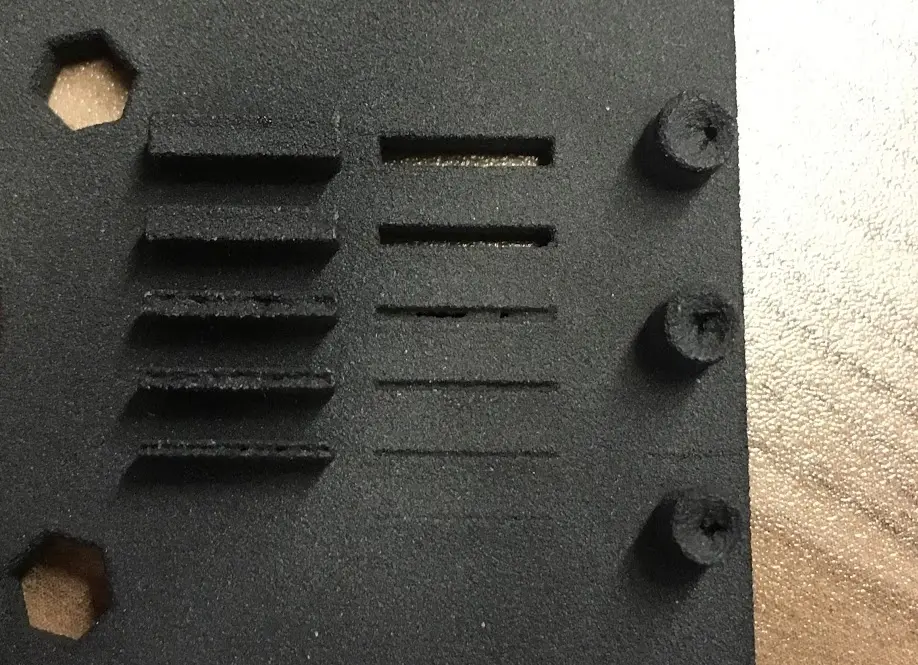
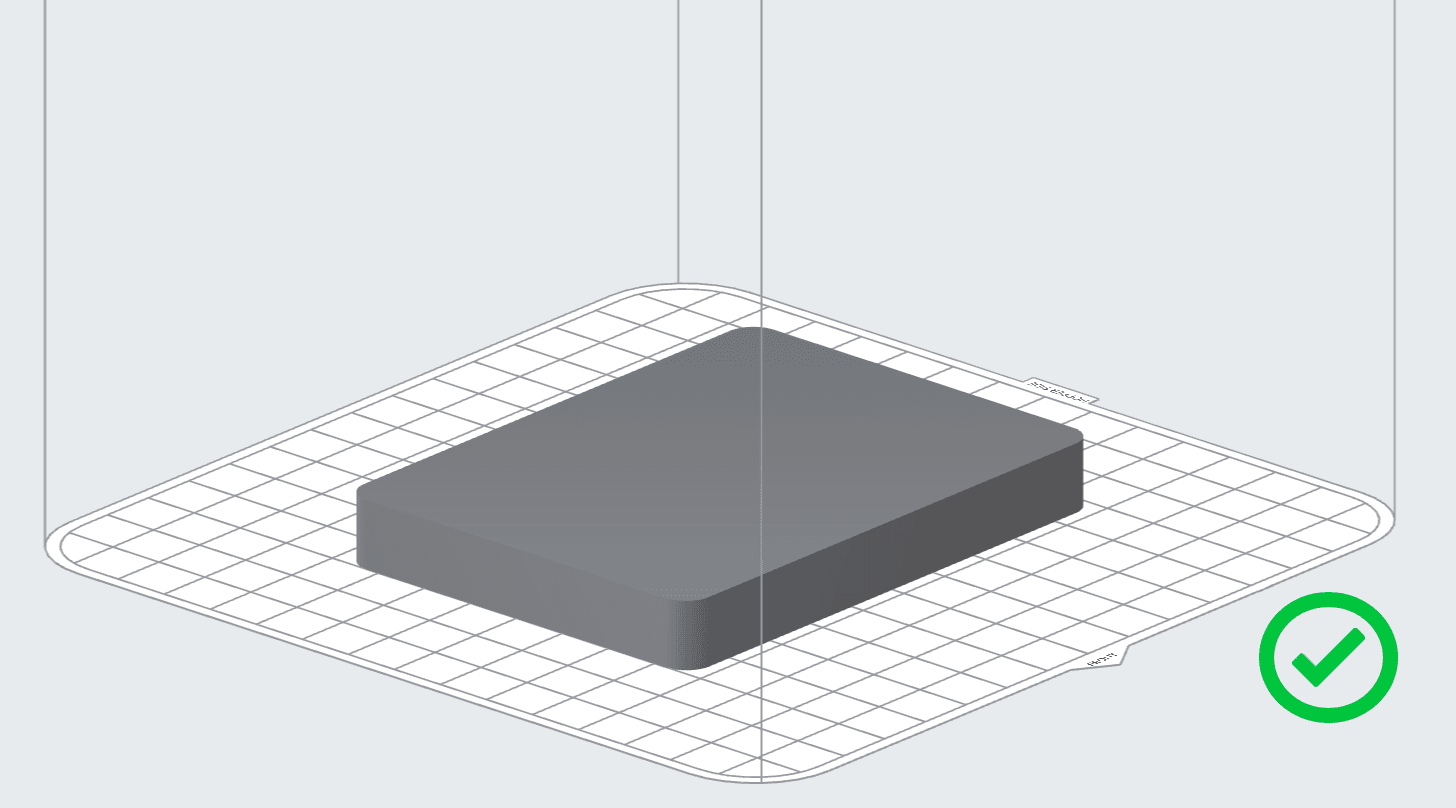
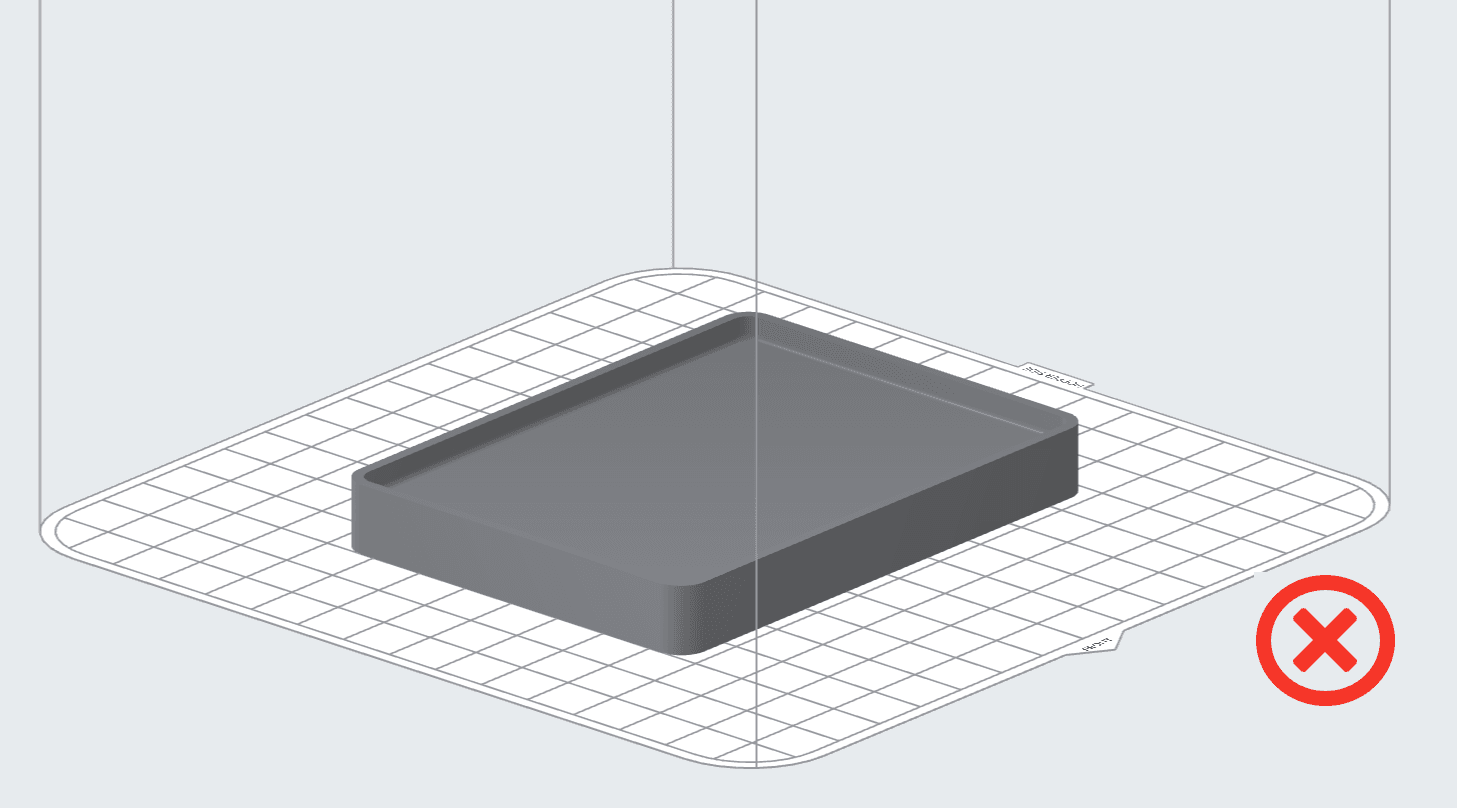
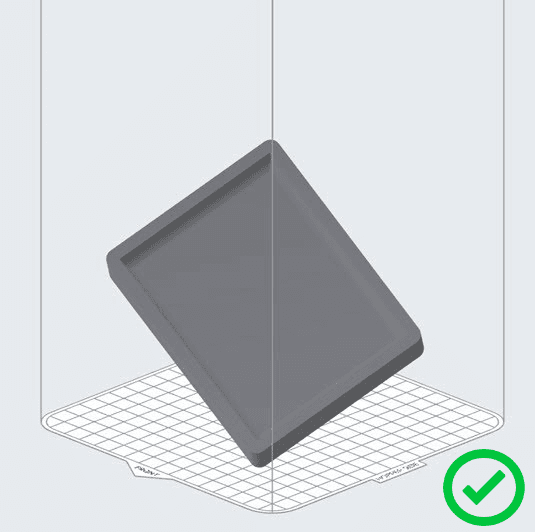
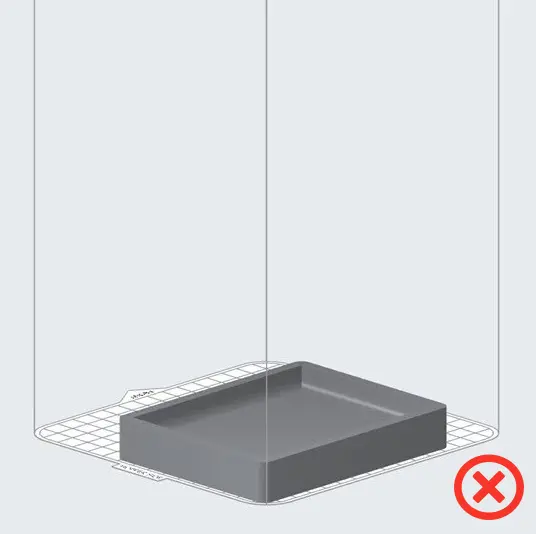
Location in the build volume also contributes to dimpling. Parts placed towards the bottom of the build chamber for long prints are more likely to show dimpling than parts placed near the top.
Step 4: Tune the printer’s Bed Temperature Target
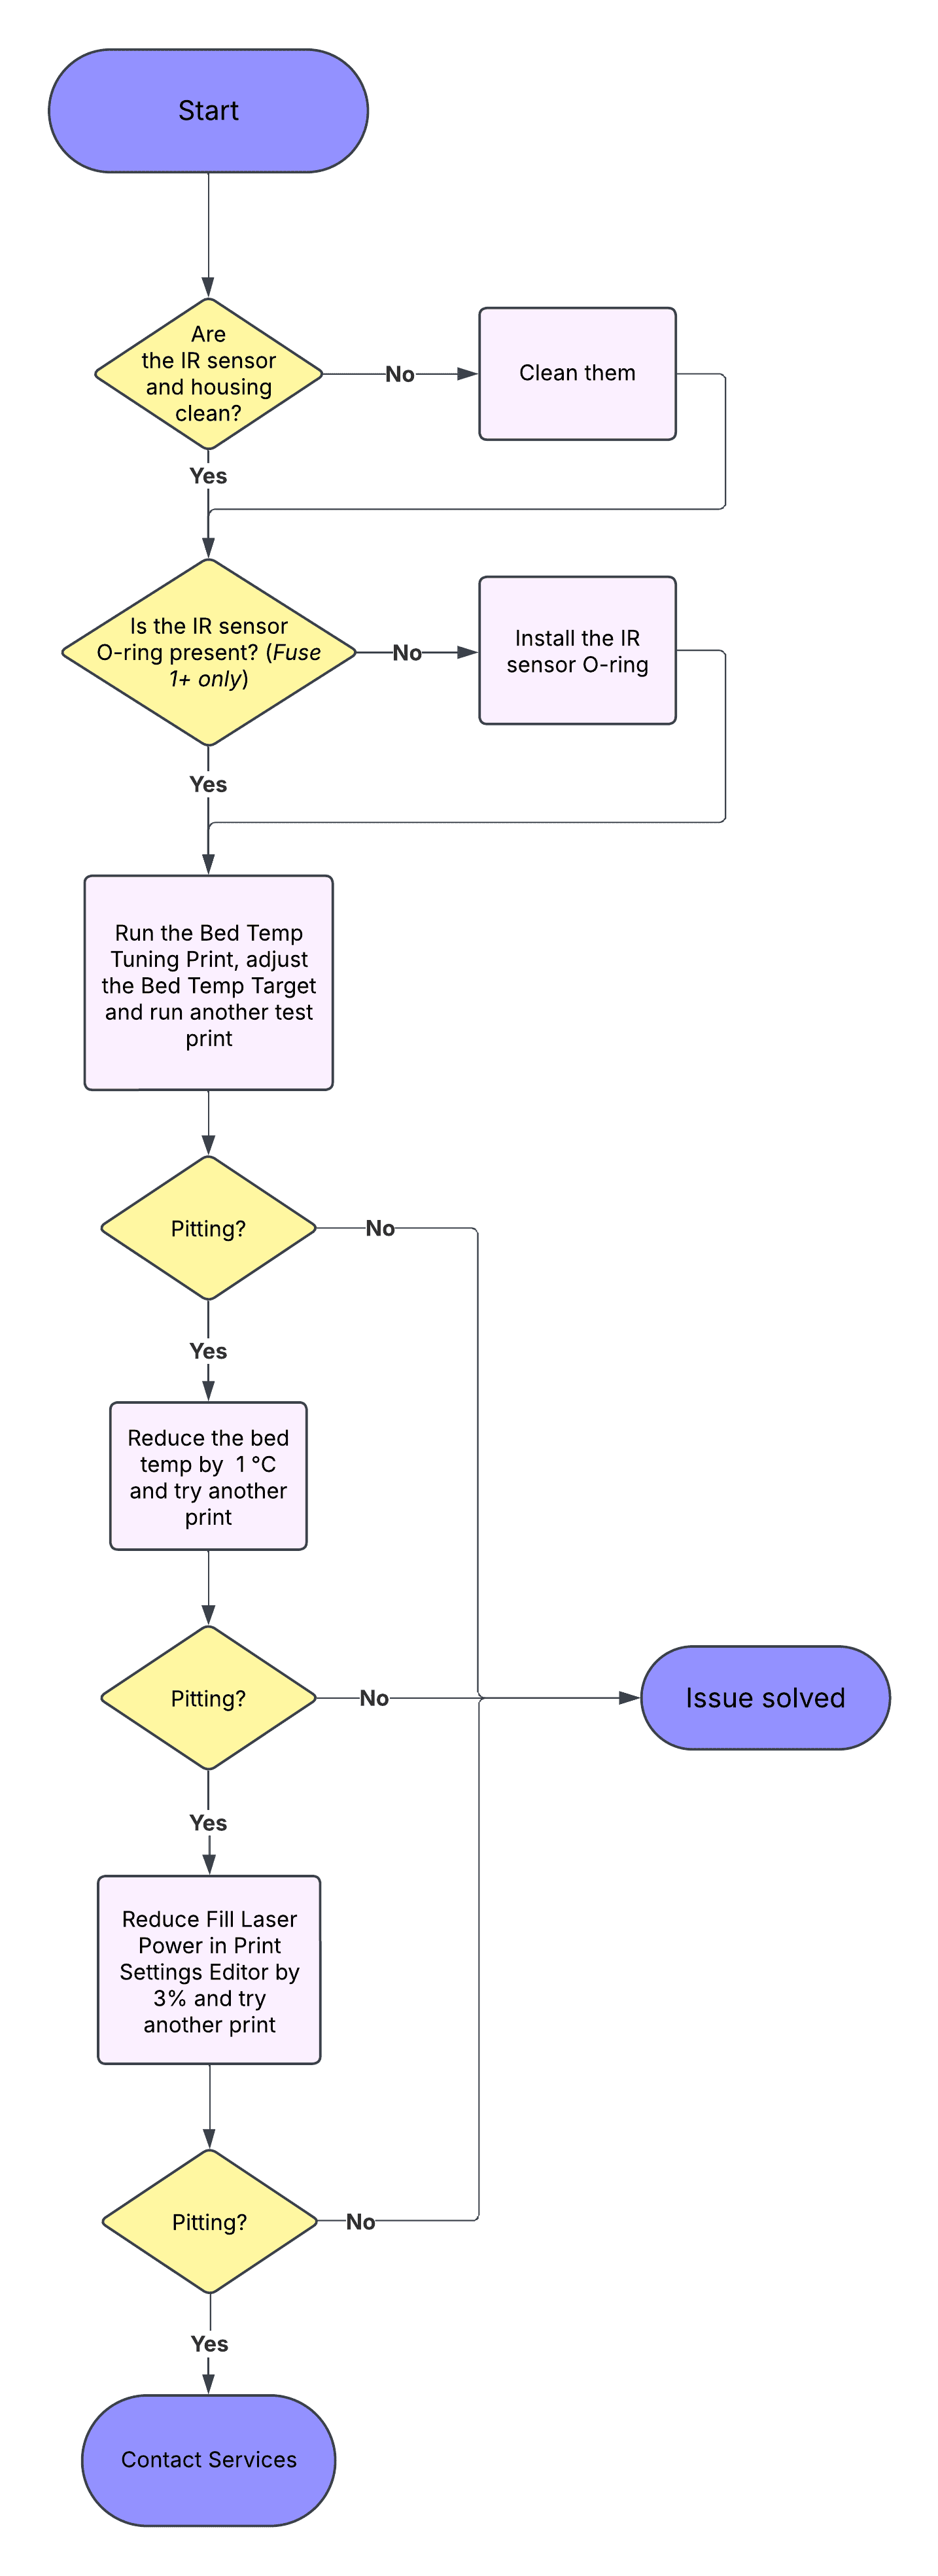
If dimpling or pitting persists, tune the printer’s bed temperature. Tune the Bed Temperature Target. Adjust the bed temperature, run a test print, and inspect the parts for defects. If dimpling or pitting persists, move to the next step.
Step 5: Reduce the printer’s Fill Laser Power (Fuse 1+ 30W printers printing with Nylon 12 only)
If adjusting the Bed Temperature does not mitigate the dimpling to an acceptable level, reduce the printer’s Fill Laser Power in 3% increments using the PreForm Print Settings Editor.
- Follow the steps in the article Using the PreForm Print Settings Editor (SLS) to create a custom print setting. Base the custom print setting on the Formlabs setting you are using for test prints.
-
Locate the Fill Laser Power parameter and decrease it by 3% from the default value.
For example, the Formlabs Speed Optimized v5.1 Print Setting for Nylon 12 at 110 microns has a default Fill Laser Power of 30000 mW. 3% of that value is 900 mW, so the power for this custom setting is 29100 mW.