
Warning:
Resin may cause skin irritation or an allergic skin reaction. Wear gloves when handling liquid resin or resin-coated surfaces. Wash skin with plenty of soap and water.

For the best results, inspect resin tanks regularly and, if necessary, clean them. Dirty optical surfaces may cause print failures, and resin on the tank frame may cause resin sensor errors.
Warning:
Resin may cause skin irritation or an allergic skin reaction. Wear gloves when handling liquid resin or resin-coated surfaces. Wash skin with plenty of soap and water.
Checking the resin tank interior
Check the resin tank interior for cured resin, failed prints, debris, settled pigment, or any wear on the elastic layer. Use the metal scraper from the Form 2 Finish Kit or a plastic spatula with rounded corners to inspect the resin and the elastic layer. Starting from the top corner, gently scrape from top to bottom across the elastic layer using the flat edge of the scraper. If there is cured resin stuck to the elastic layer, gently slide the spatula underneath the cured resin at a shallow angle to detach it.
Notice:
Avoid using sharp tools because they may damage the elastic layer.
If there is debris, cured resin, or other contamination in the resin tank, filter the resin. Avoid wiping the elastic layer with paper towels or other textured materials, as this may cause scratches.
Checking the tank window
Check the clear acrylic window on the underside of the resin tank for fingerprints, dust, contamination, or damage, which diffuse the laser light and lead to print defects.
If there is resin in the tank, place the lid on the tank and carefully lift it above eye level. Tilt the tank just slightly until a reflective glare reveals any dust, fingerprints, or scratches on the surface of the tank window.
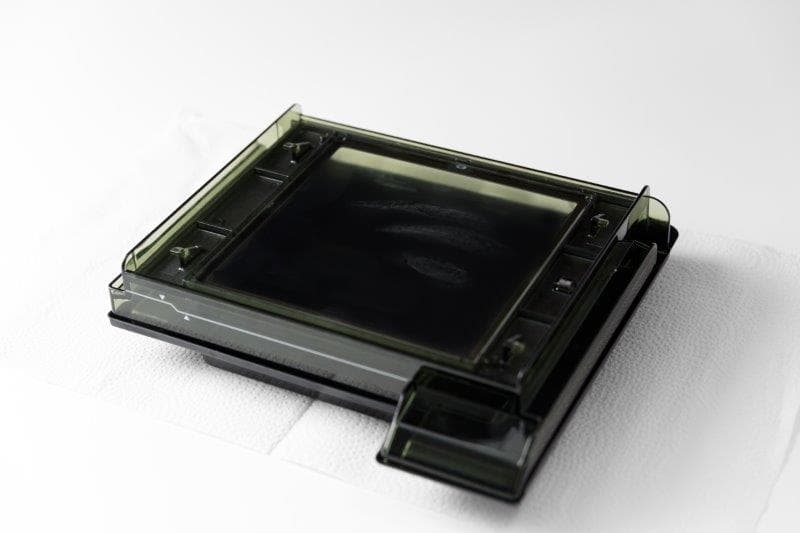
If the resin tank is empty, cover a work surface with paper towels and set the resin tank on it upside down for inspection.
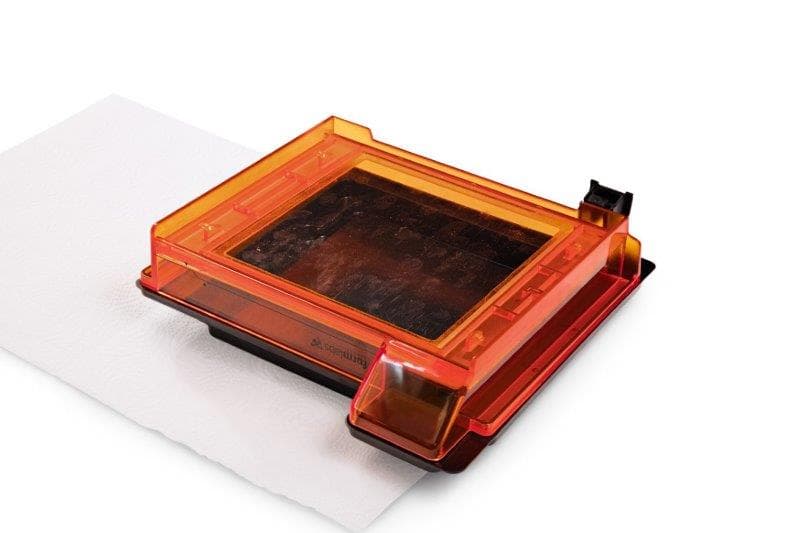
Left: Standard resin tank with the acrylic tank window facing upward. Smudges are visible on the surface.
Right: Resin Tank LT with the acrylic tank window facing upward. Smudges are visible on the surface.
Cleaning the tank window
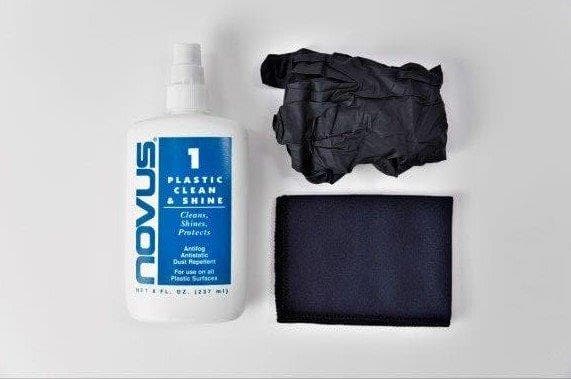
If the clear acrylic tank window on the underside of the tank is smudged or contaminated, remove the resin from the resin tank and pour it into an opaque storage container. To clean the acrylic tank window, use a plastic cleaner like NOVUS No. 1 Plastic Clean and Shine and a microfiber cloth.
Notice:
Never use IPA or TPM to clean the underside of the acrylic tank window. Never use chemical cleaning solutions on the elastic layer of the resin tank. Follow the guidelines in the FAQ article What should I use to clean my Form 2?
Cover a work surface with paper towels and set the resin tank on it upside down. Apply 1–2 full sprays of plastic cleaner to the tank window and wipe using long, sweeping strokes from top to bottom. Fold the microfiber cloth after each swipe to prevent dust and debris from scratching the acrylic.
Check the tank window again to ensure it is clear. Repeat cleaning if necessary.
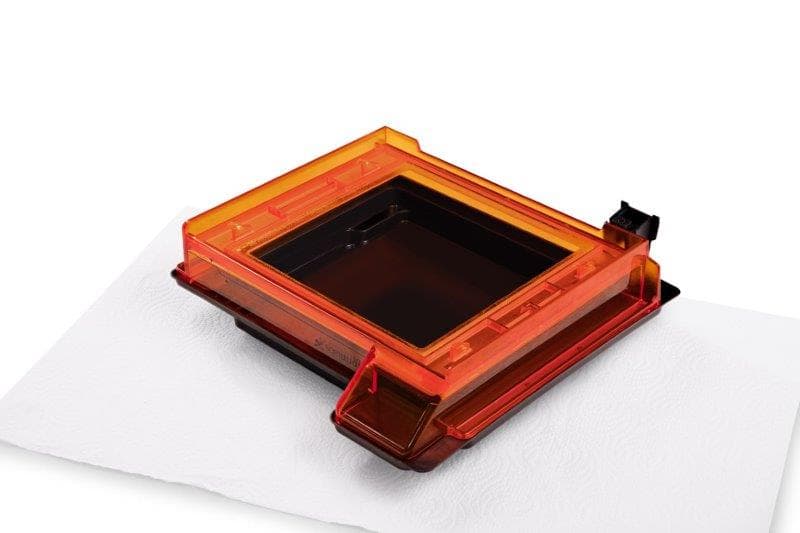
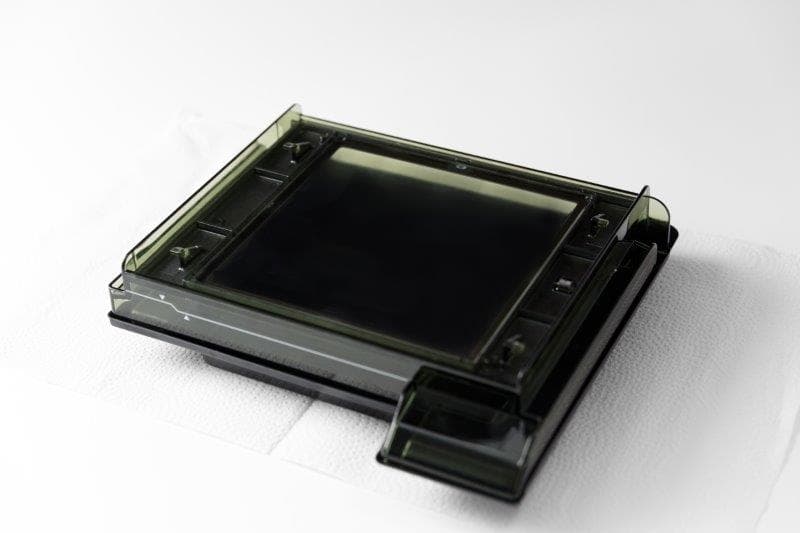
Left: Standard resin tank with a clean acrylic tank window.
Right: Resin Tank LT with a clean acrylic tank window.
Cleaning the tank frame
Use a paper towel to clean liquid resin from the exterior of the tank frame. Keep the sides and back of the resin tank clean to prevent LevelSense errors and to reduce the risk of contaminating surfaces with resin.
Cleaning the ID chip
If the ID chip on the resin tank becomes contaminated, gently clean the ID chip with a new cotton swab dampened with clean IPA. Rub the tip onto the two silver pads on the ID chip until the resin or contamination has dissolved completely.
Notice:
Avoid getting IPA on other parts of the resin tank. Ensure that any IPA on the ID chip dries completely before use.