
備考:
True Castレジンの性能や詳細な特性に関しては、安全データシート(SDS)およびテクニカルデータシート(TDS)を参照してください。Formlabsの材料の安全性や取扱方法の詳細は、SDSを一次情報源としてご参照ください。

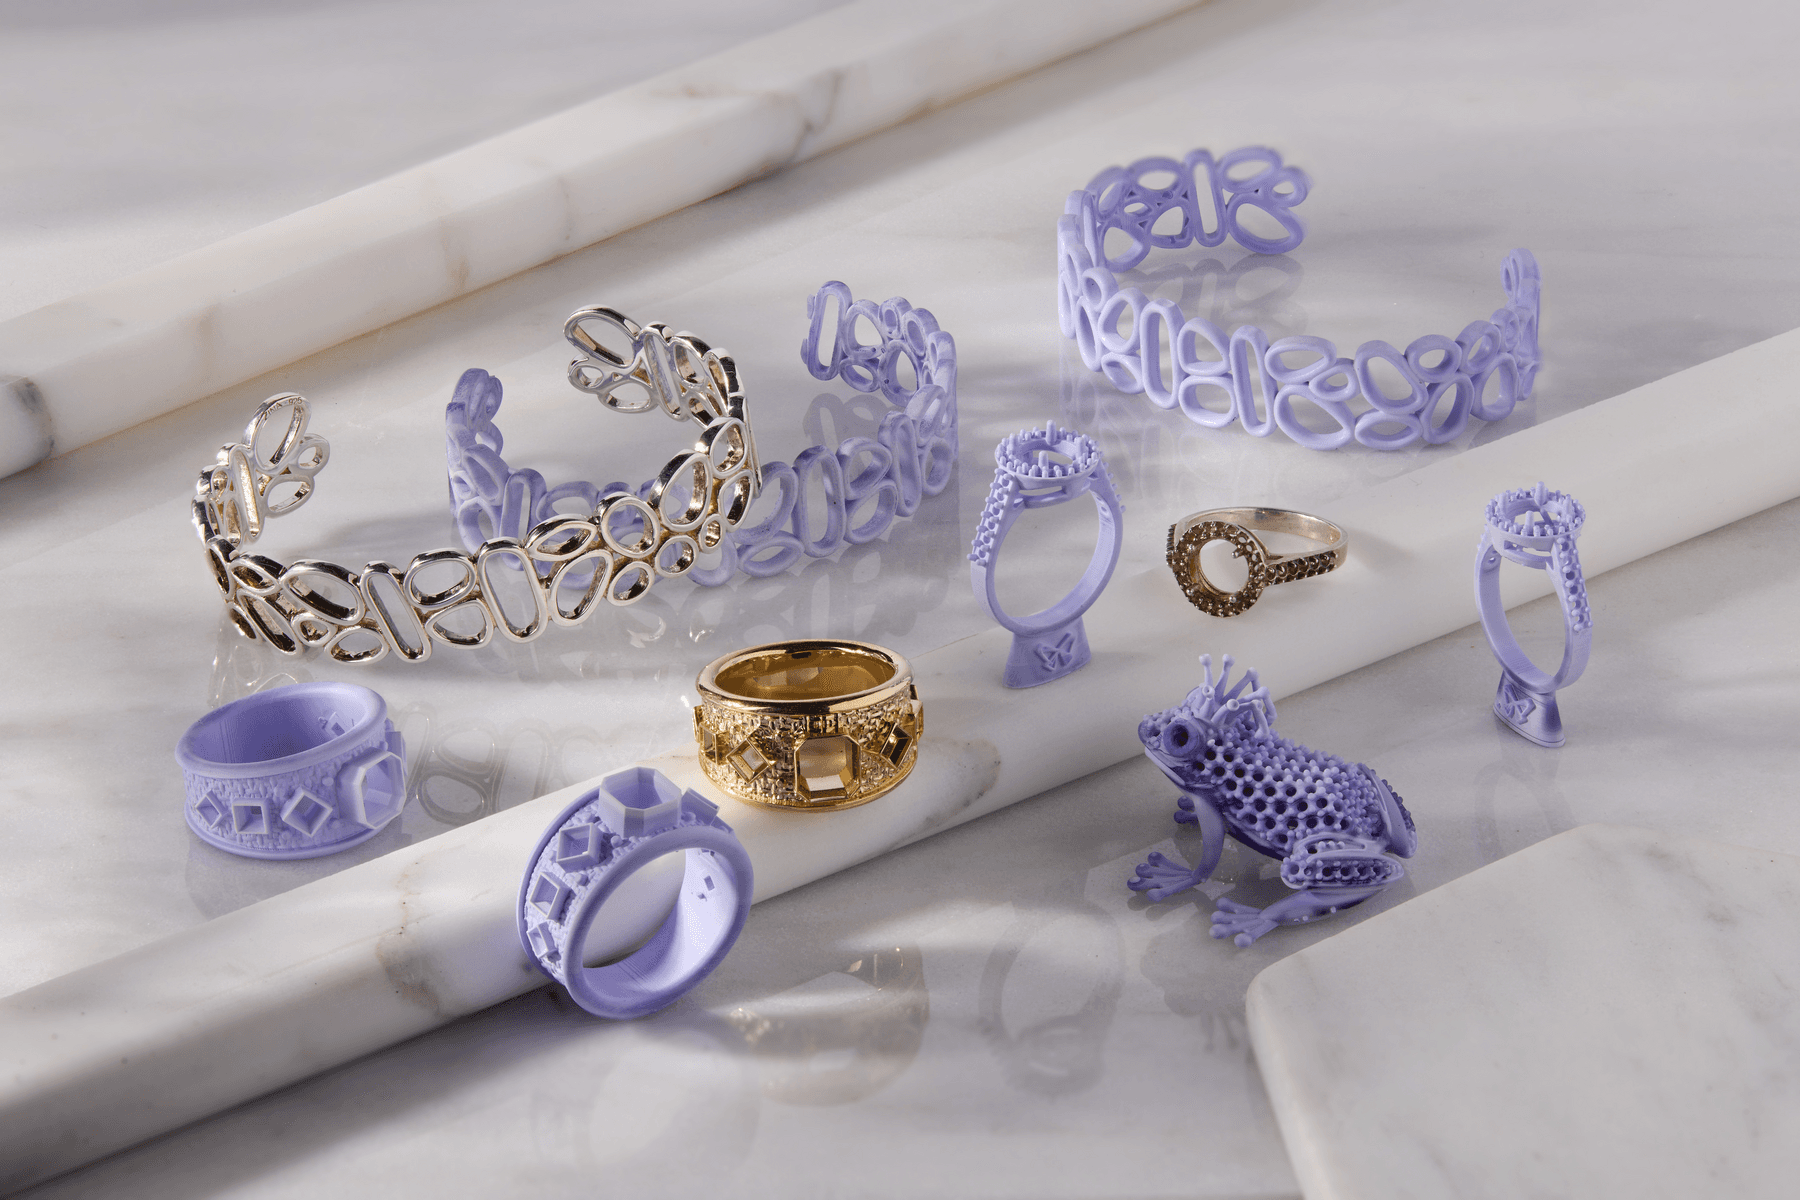
True Castレジンは、繊細なジュエリーや厚さ5mmまでの複雑なエンジニアリング部品の精密鋳造にお使いいただけます。True Castレジンでプリントした造形品は、幅広い鋳造手順や条件に対応可能で、優れたディテール表現と滑らかな表面品質を実現します。
信頼性、品質、多用途性に特化して開発されたTrue Castレジンは、幅広い焼成スケジュールにも組み込むことが可能です。熱膨張率が低く収縮も最小限、かつ灰分含有量が0.03%のため焼成時も綺麗に燃え尽き、鋳造結果として優れた品質を提供します。
備考:
True Castレジンの性能や詳細な特性に関しては、安全データシート(SDS)およびテクニカルデータシート(TDS)を参照してください。Formlabsの材料の安全性や取扱方法の詳細は、SDSを一次情報源としてご参照ください。
最適な用途:
不向きな用途:
True Castレジンを使ってプリントする時は、積層ピッチを25ミクロンまたは50ミクロンに設定してください。FacebookのFormlabsジュエリー/鋳造グループにご参加いただくと、この材料を使ったプリントのピアサポート(ユーザー同士によるサポート)を受けられます。
必要な備品
Formlabsの販売製品:
した、サードパーティの販売製品:
ワークフローの概要
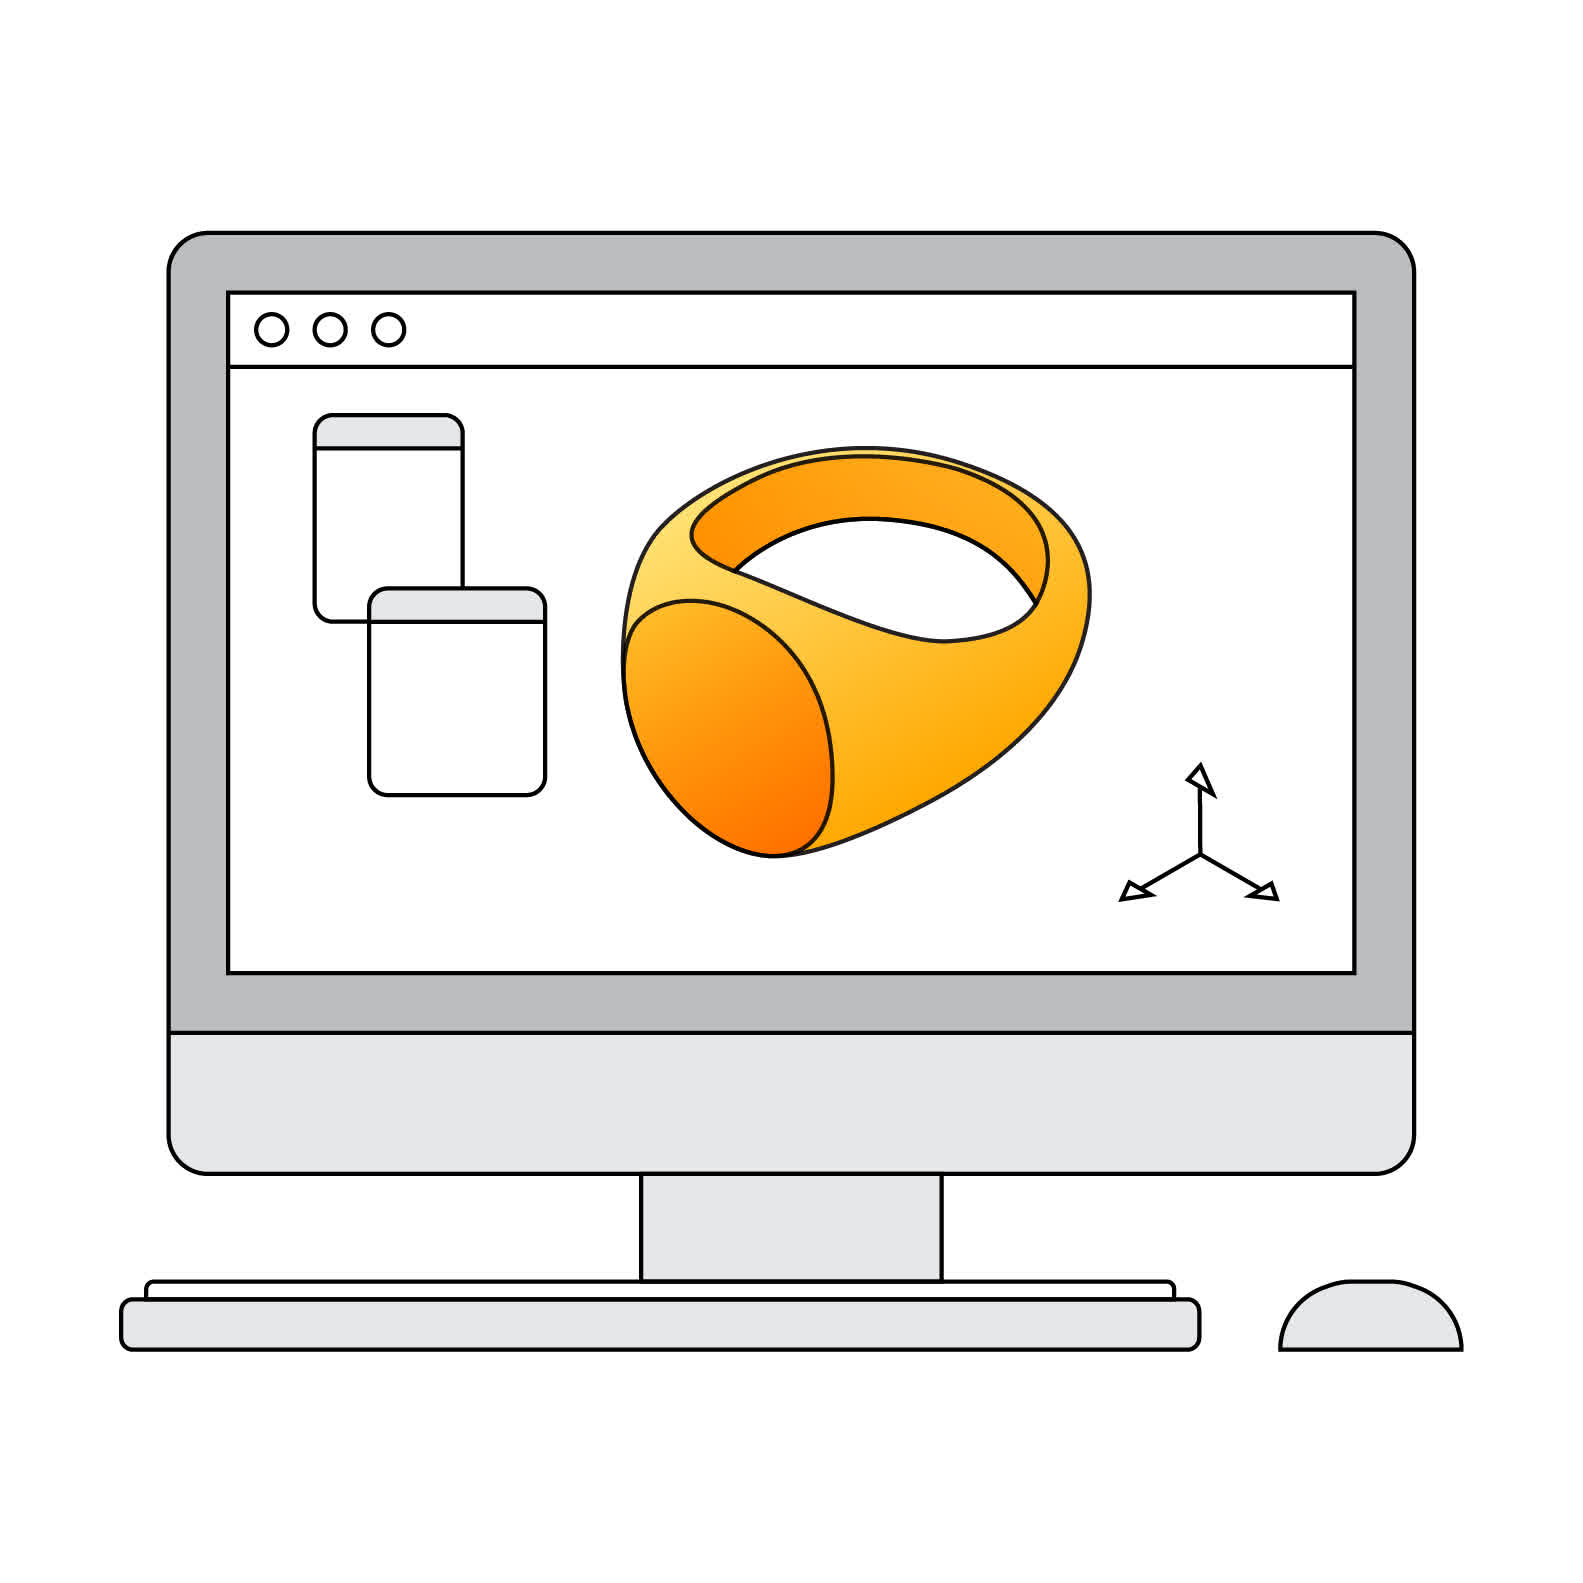
1 - 原型の設計
CADソフトウェアを使って原型を設計します。 |
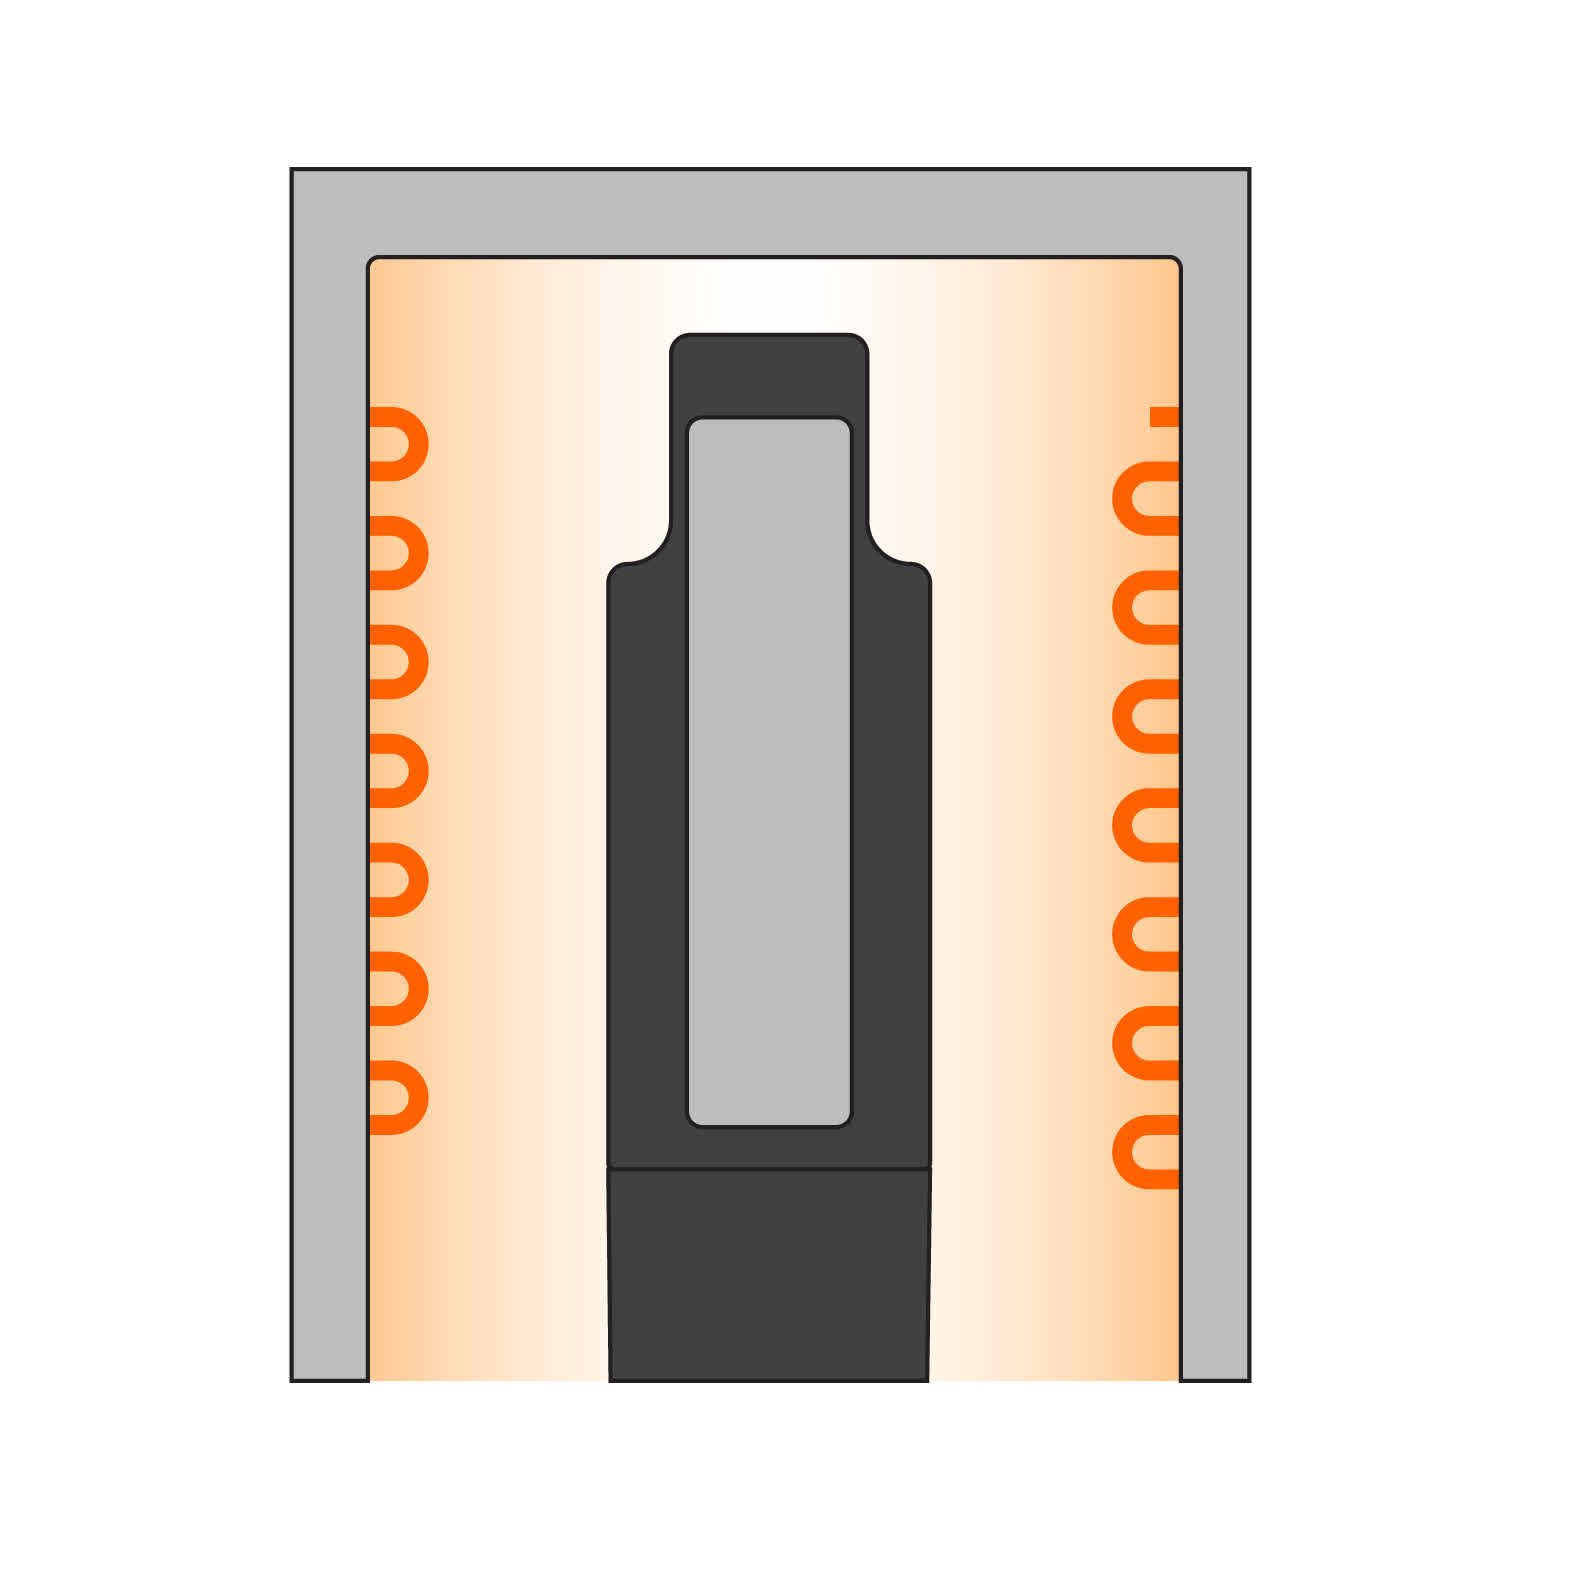
2 - 予熱と混合
プリント前にレジンを予熱して混ぜ合わせ、ワックス成分を完全に液化させ均一に分散させます。 |
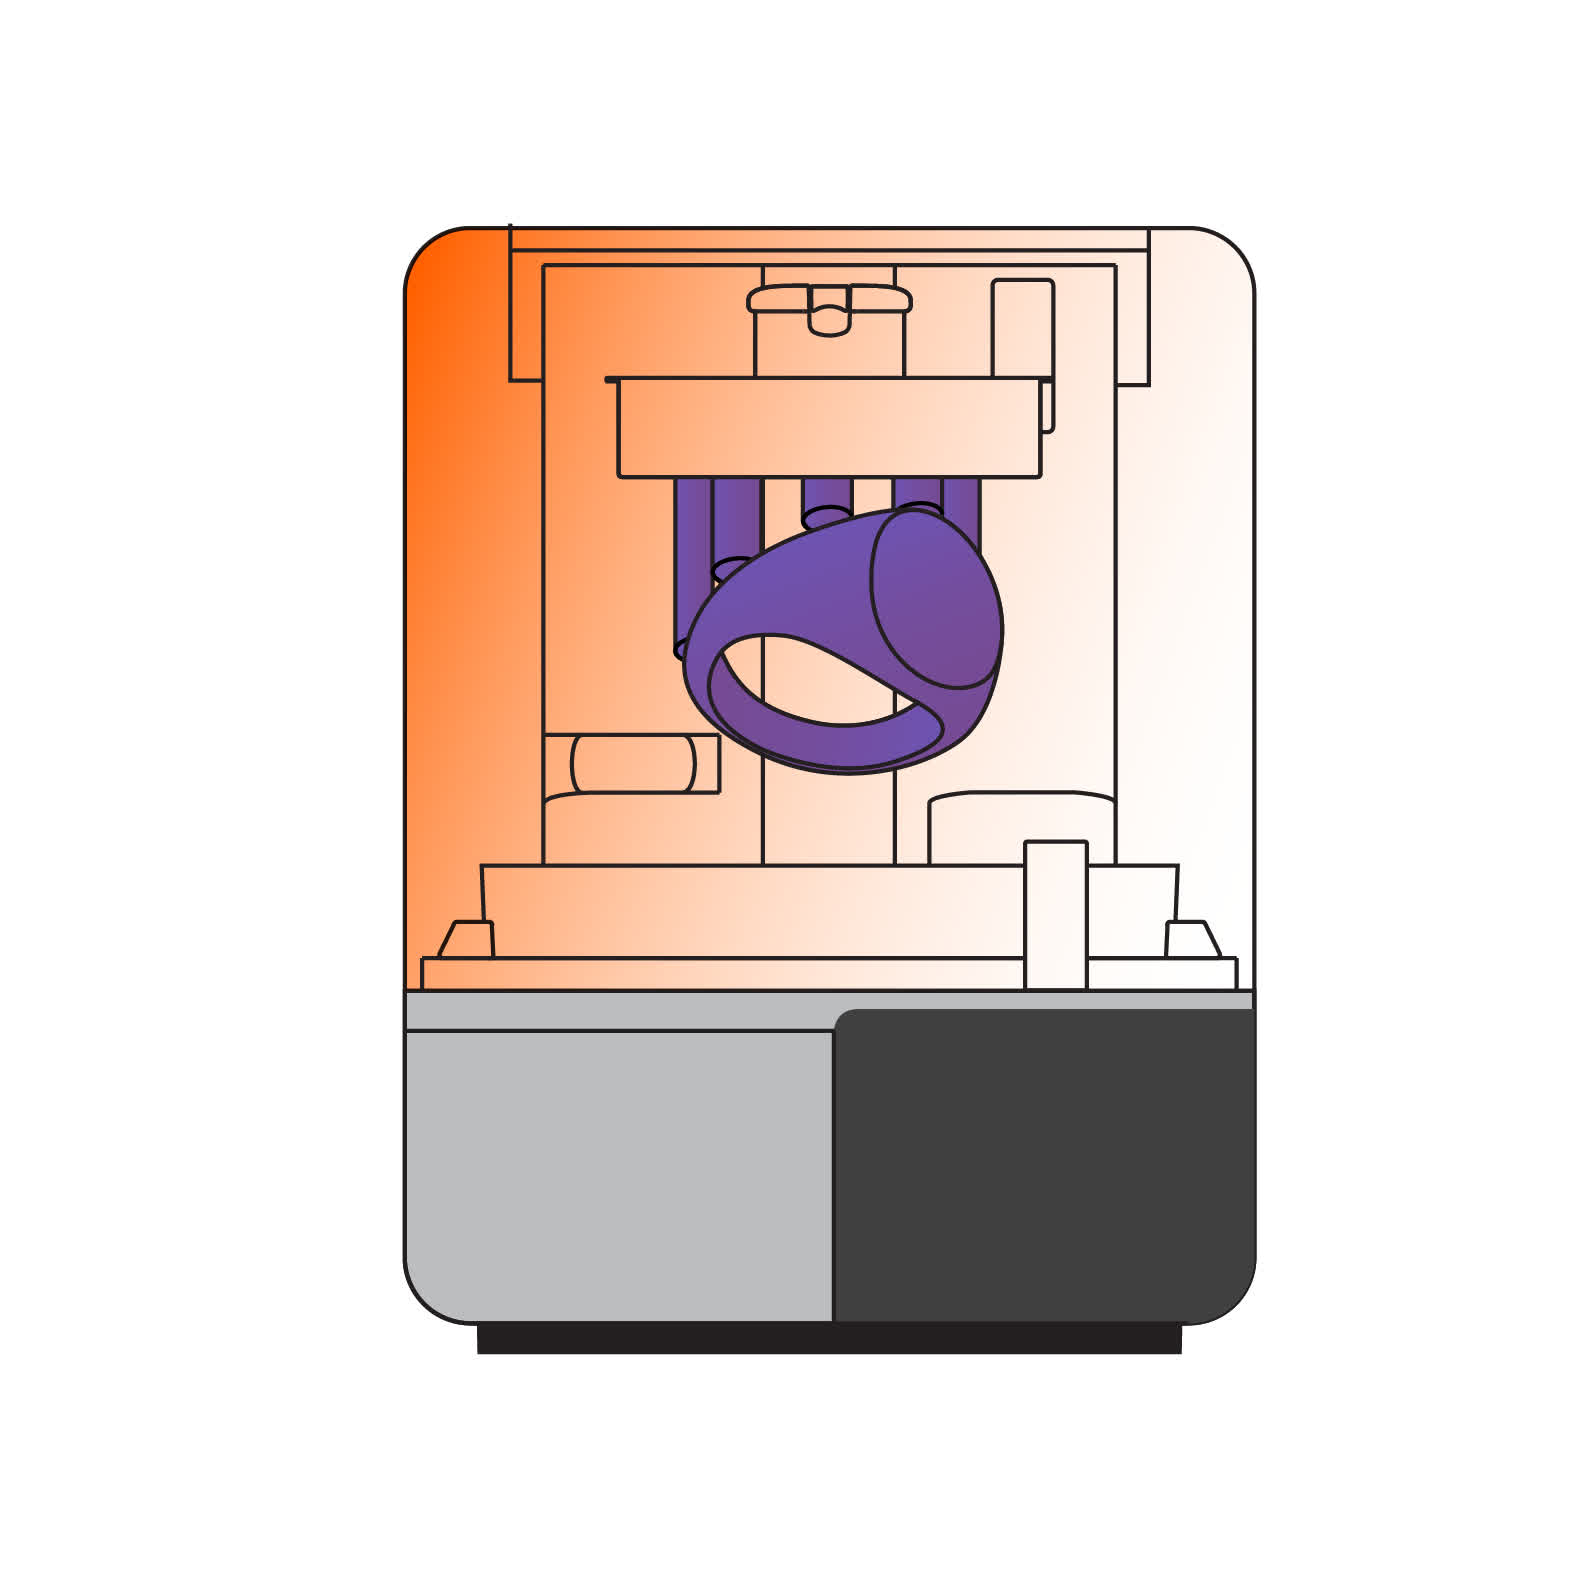
3 - 原型を3Dプリント
Formlabsの定める手順に従い、True Castレジンを使って3Dプリントします。 |
4 - 原型の洗浄
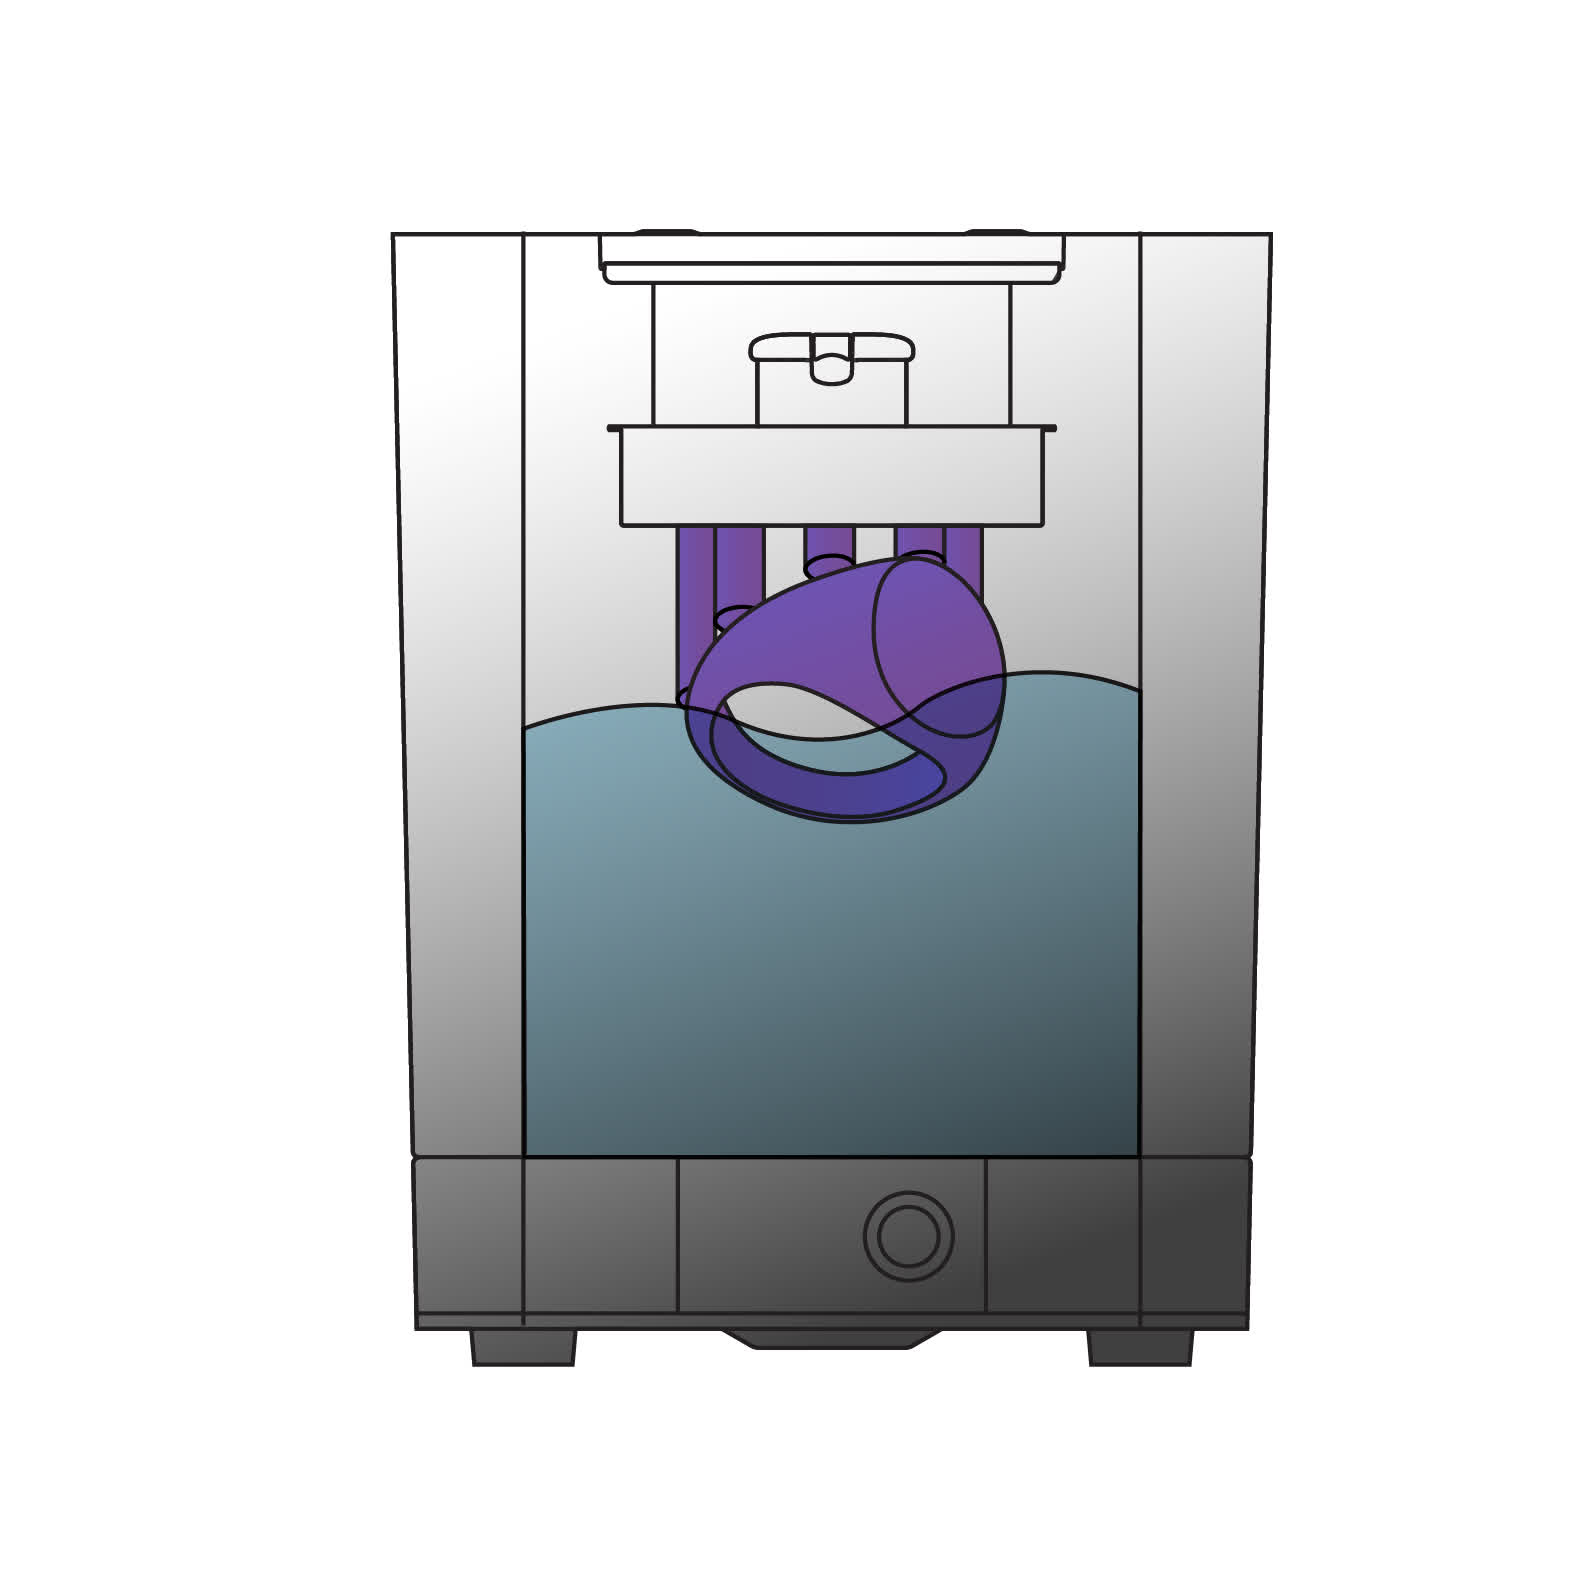
プリントした原型をIPA(イソプロピルアルコール)で4分間、未硬化レジンがすべて除去されるまで徹底的に洗浄します。清浄なIPAで再度すすぎ、原型が完全に綺麗になったことを確認します。造形品に未硬化レジンが残っていると、鋳造欠陥の原因となることがあります。 |

5 - 圧縮空気で乾燥
圧縮空気を使用して、造形品を完全に乾燥させます。これにより、鋳造前に造形品に未硬化レジンやIPAが残っていない状態にします。 |
6 - 原型の二次硬化
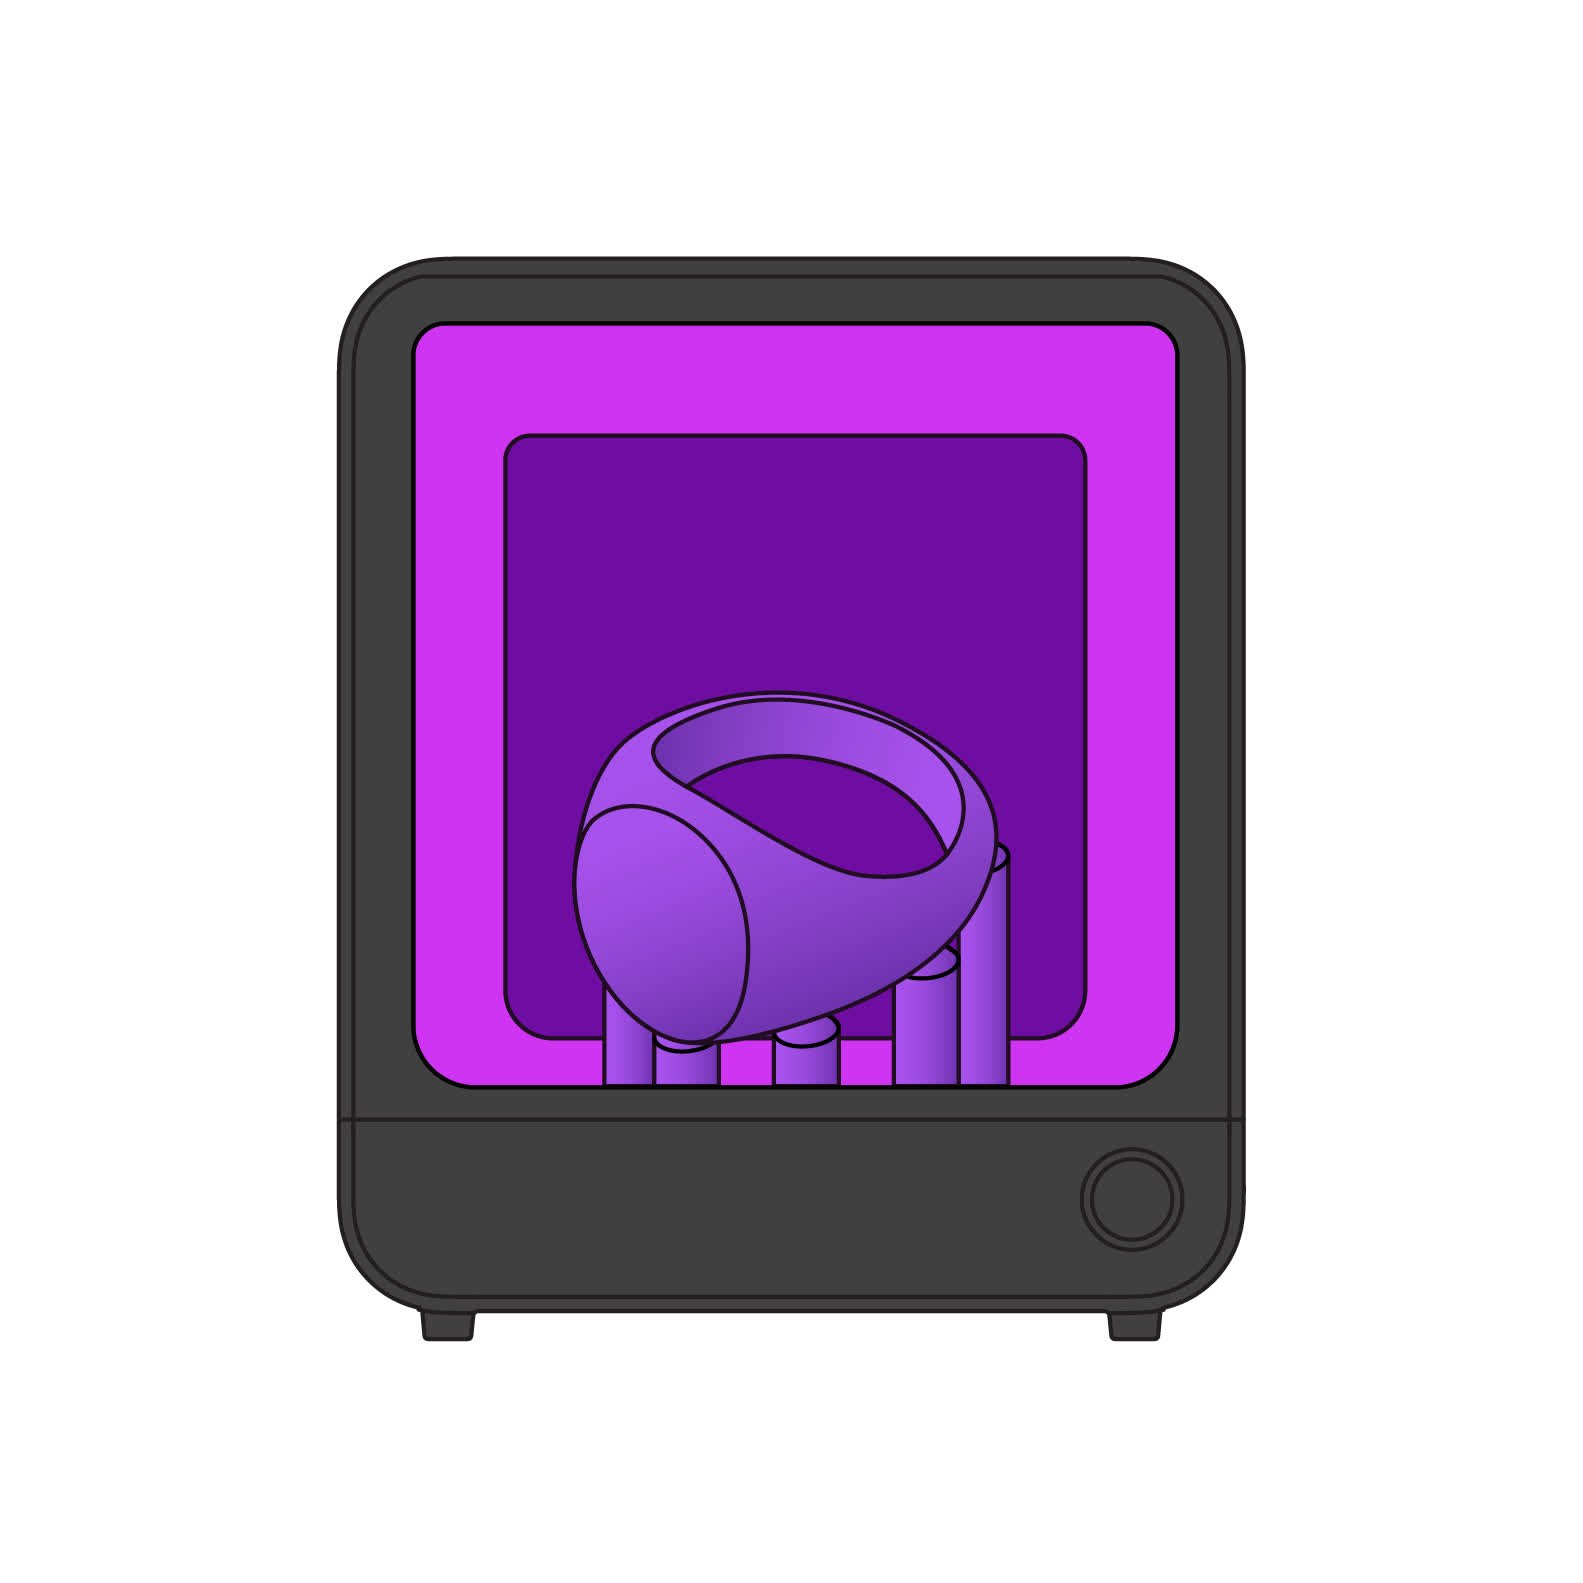
最良の鋳造結果を得るために、プリント中に開始された重合反応を完了させるため、造形品を二次硬化します。これにより、原型の強度と堅牢性が向上し、鋳造プロセス中の欠陥が減少します。 |
7 - スプルーツリーを作る
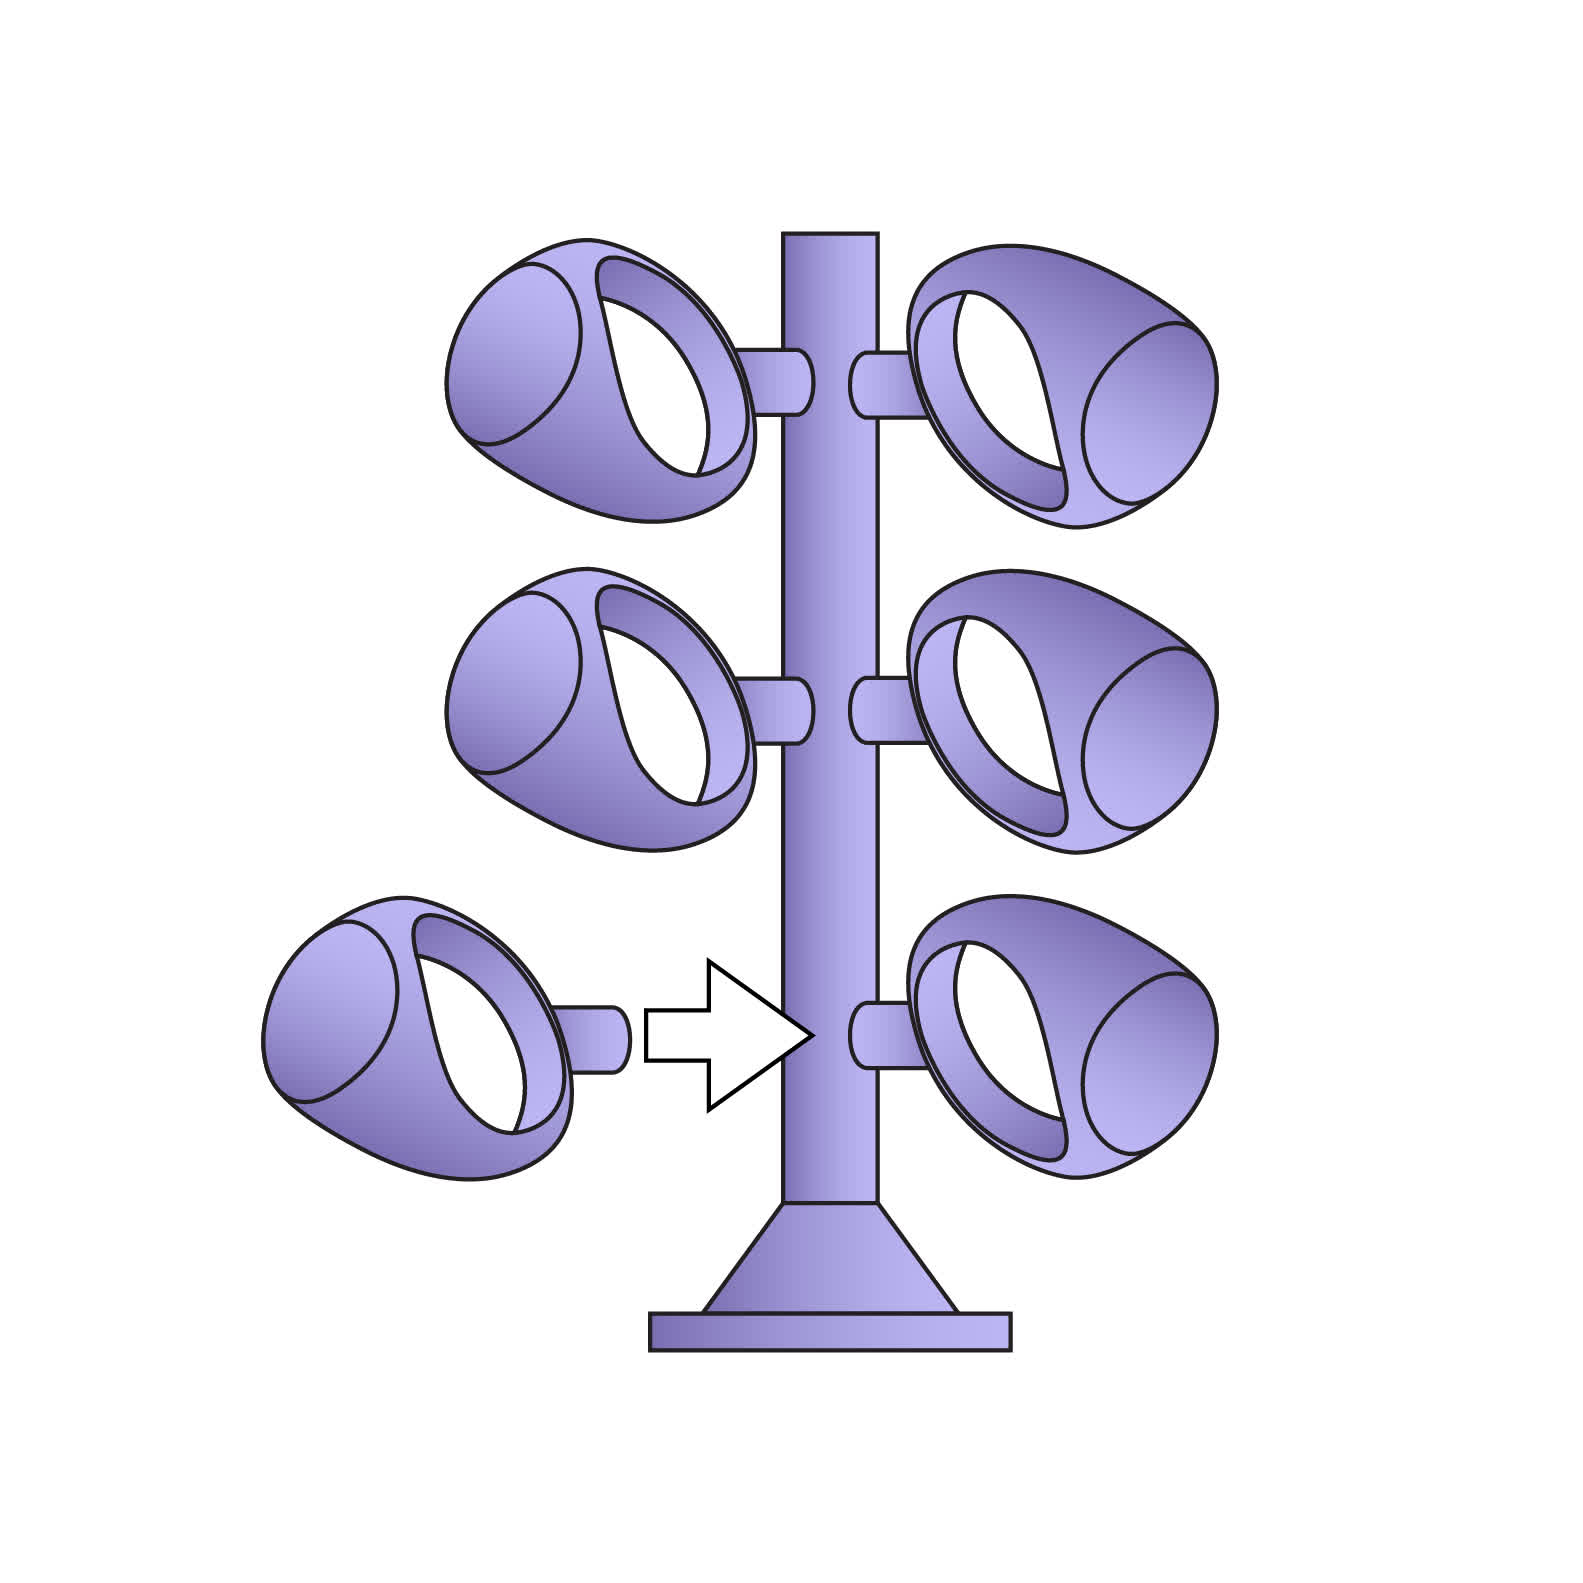
鋳造のために、プリントした原型をスプルーワックスでワックスツリーに取り付けます。鋳造用フラスコにツリーを取り付ける |
8 - 鋳型を準備する
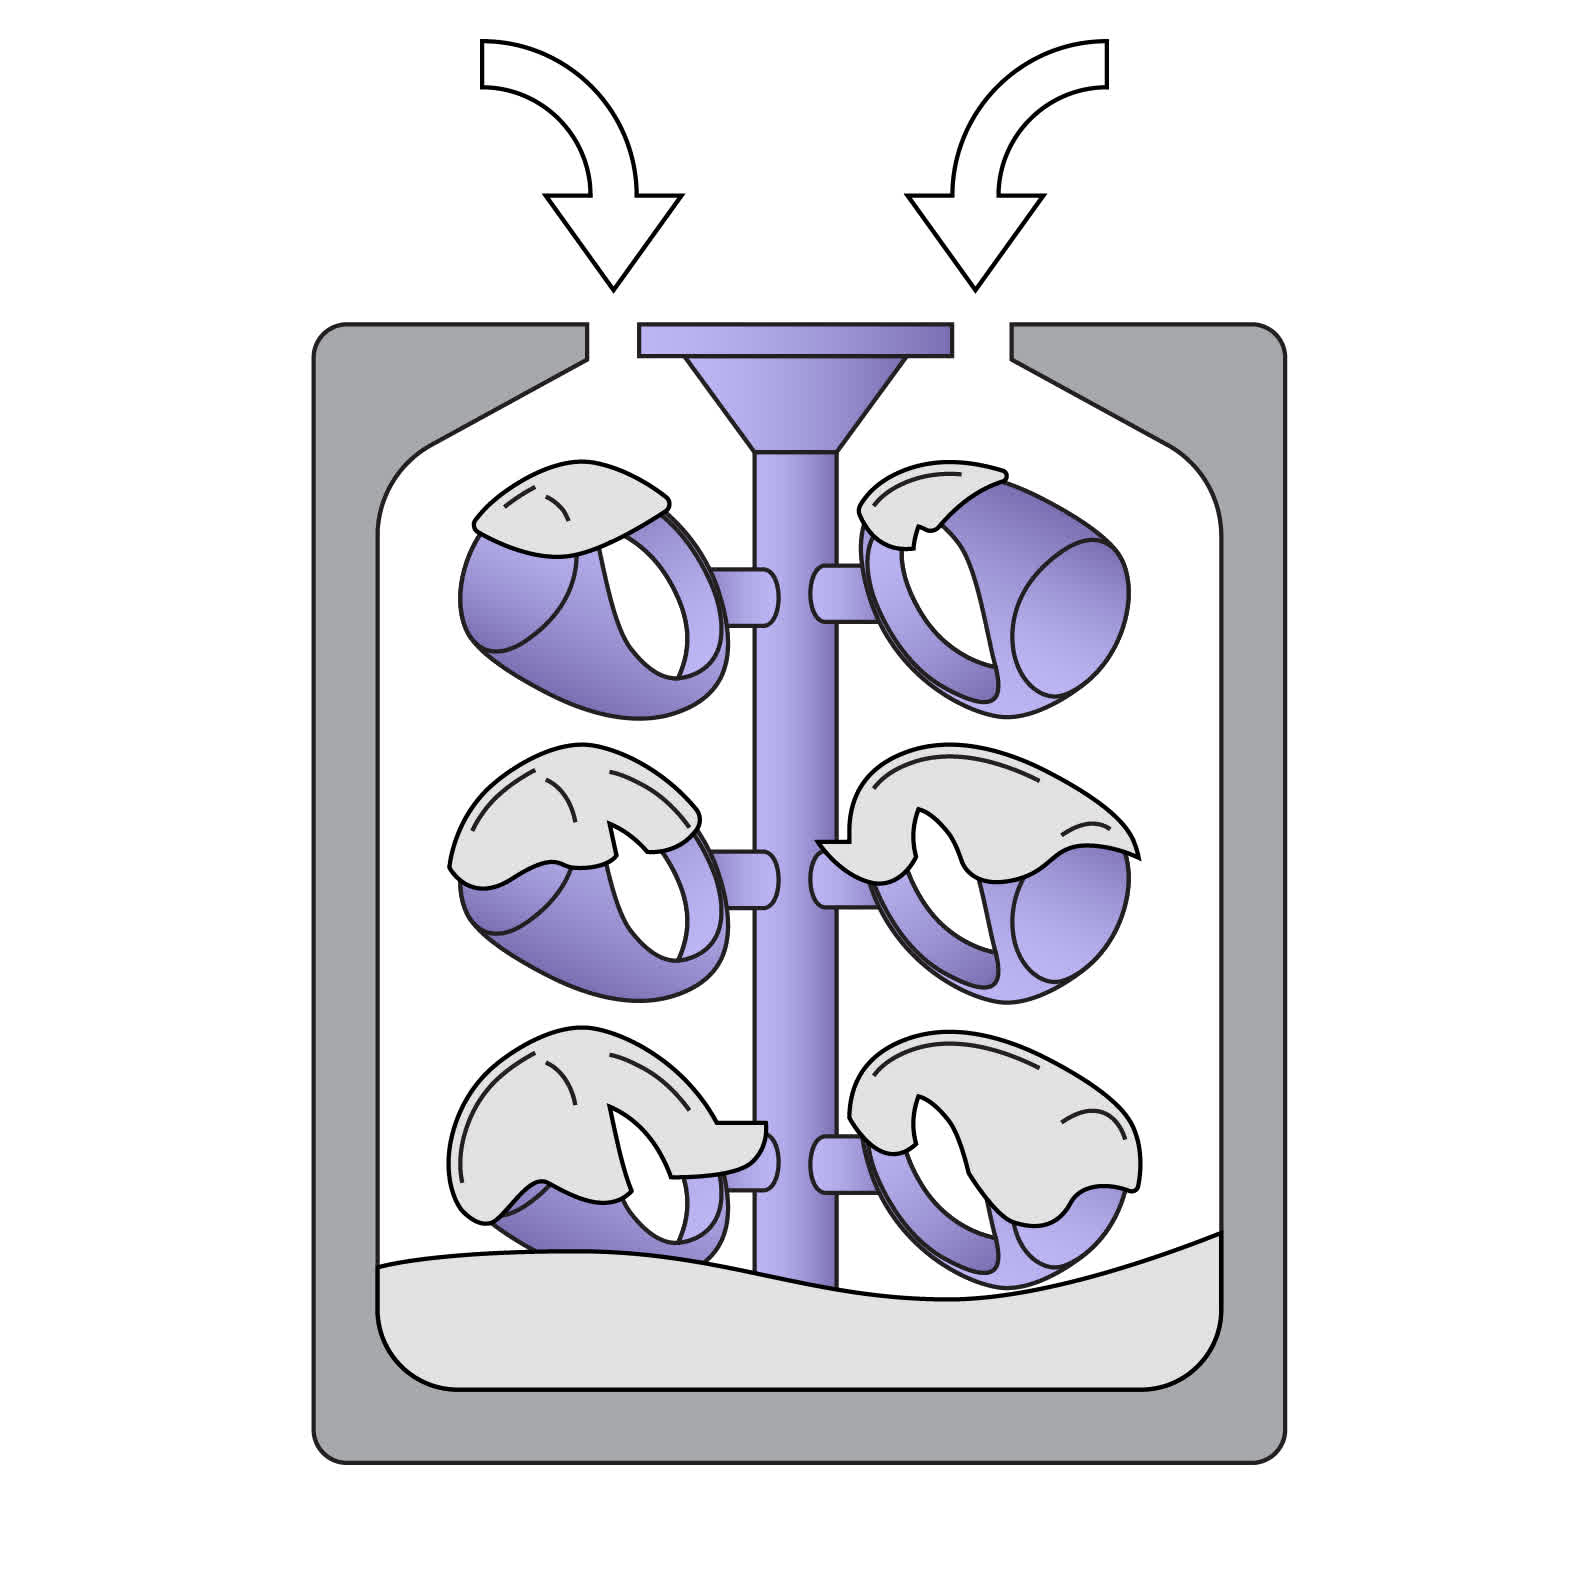
インベストメントメーカーの指示に従い、インベストメントと水を混ぜ合わせます。インベストメントをゆっくりとフラスコに注ぎ込みます。 |

9 - 焼成
フラスコを炉に入れ、インベストメント材料メーカーの推奨焼成スケジュールに従って焼成を行います。 |
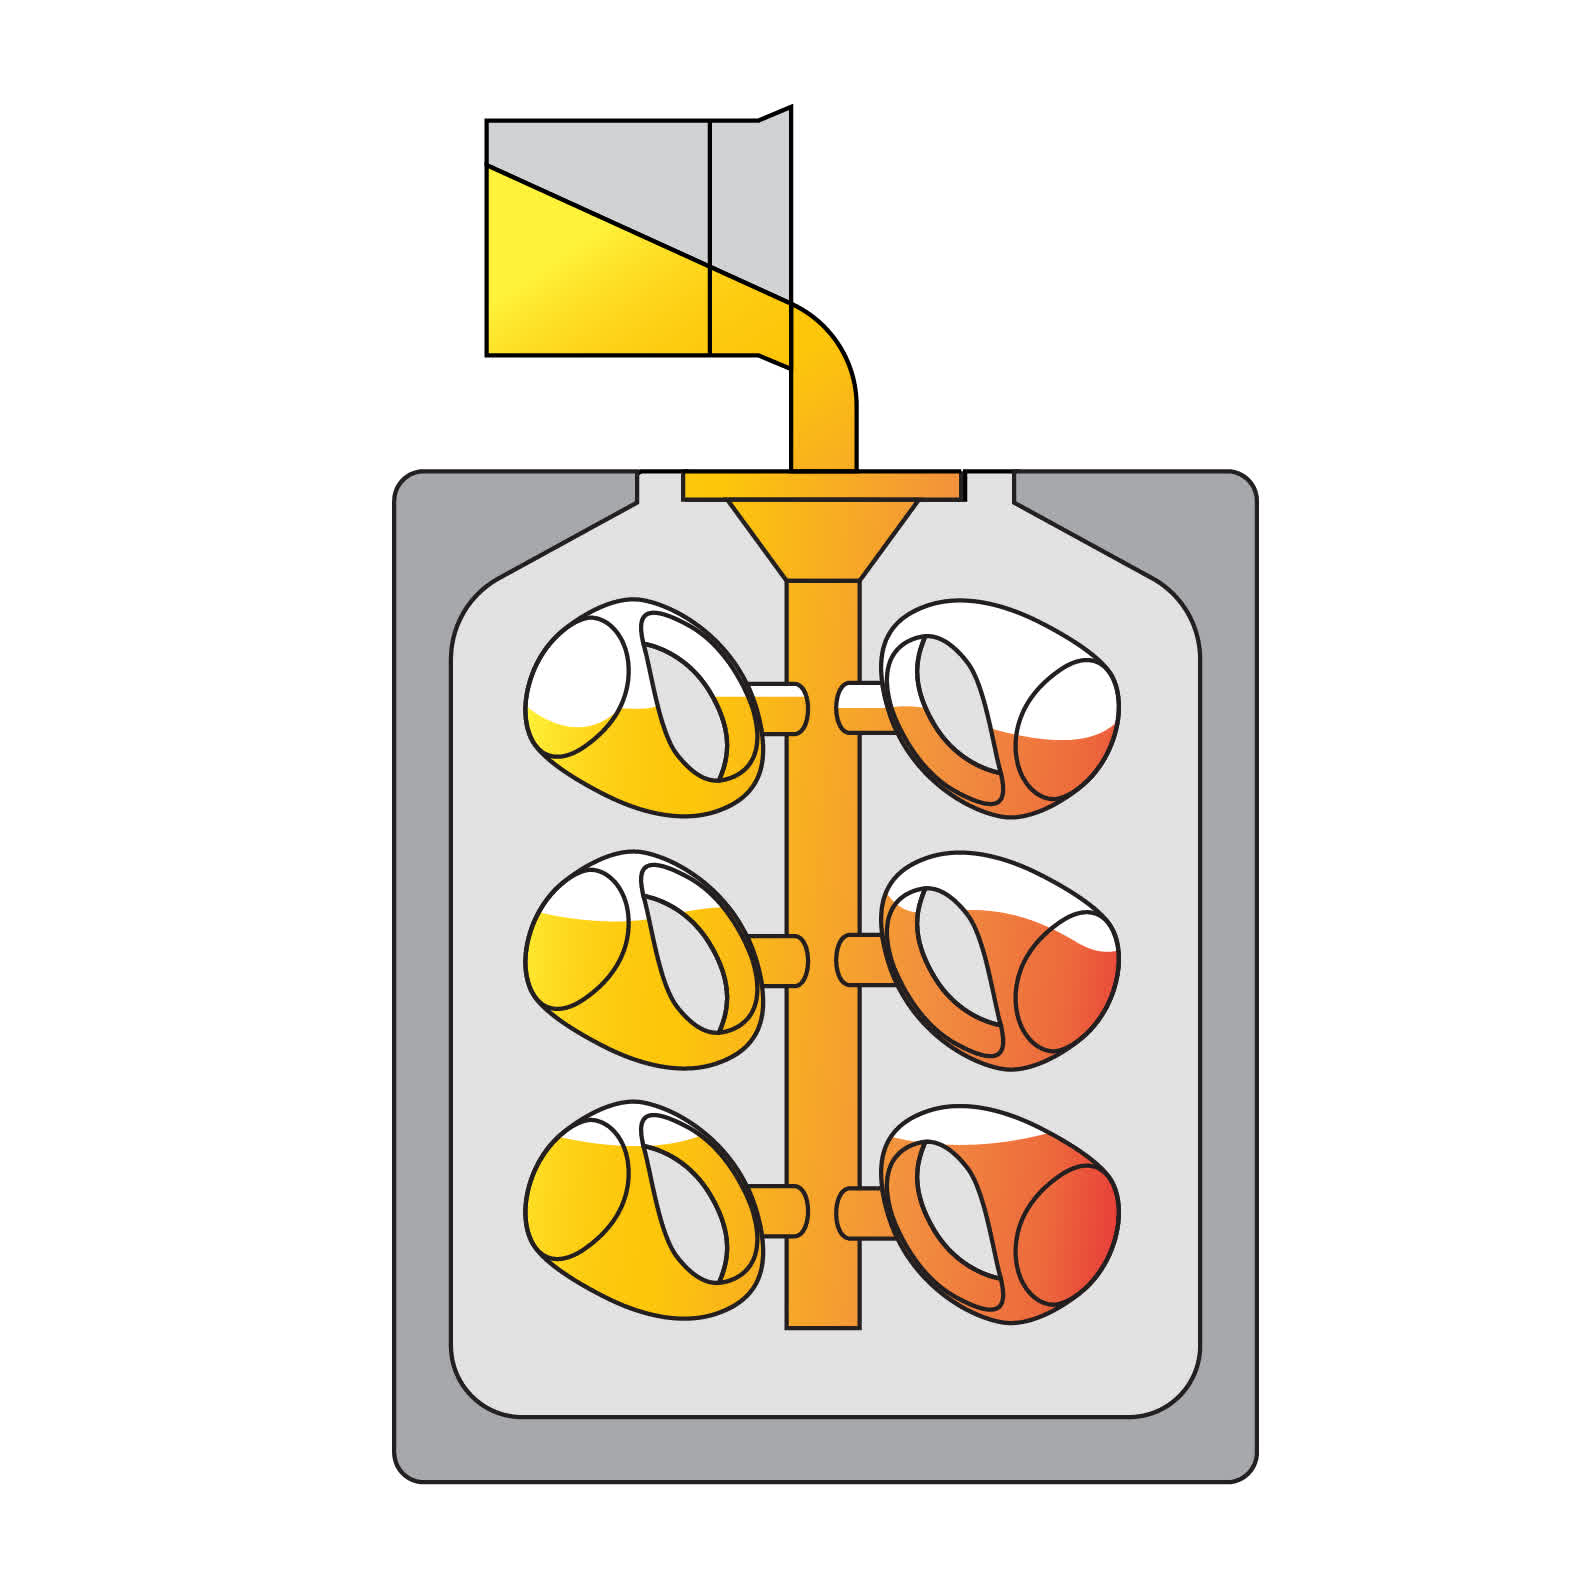
10 - 鋳造
金属材料をフラスコに流し込みます。 |
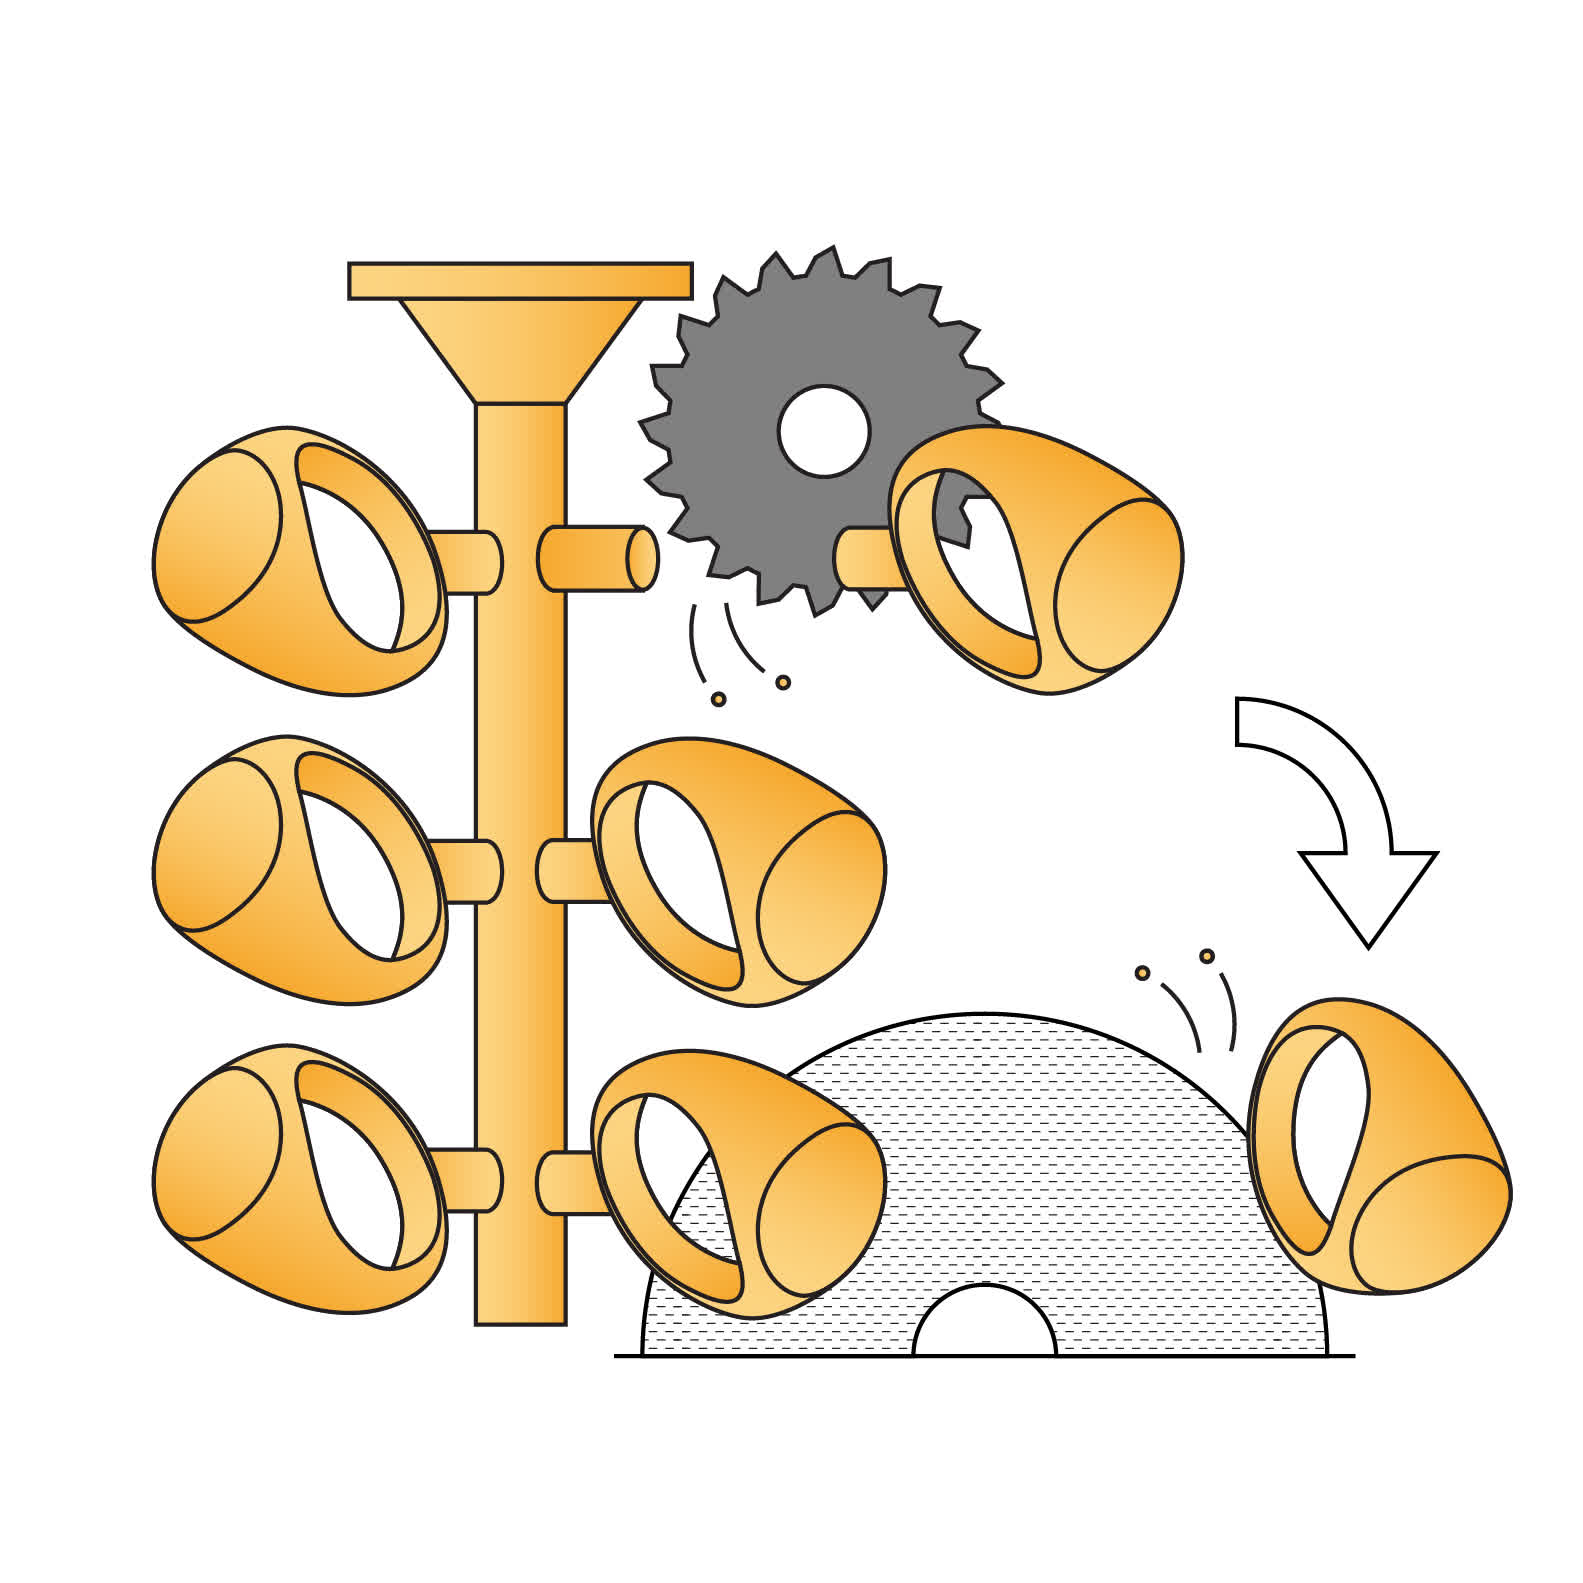
11 - 鋳造品の回収
鋳造品をツリーから取り外し、必要に応じてサンドブラストで残っているインベストメントを除去します。 |
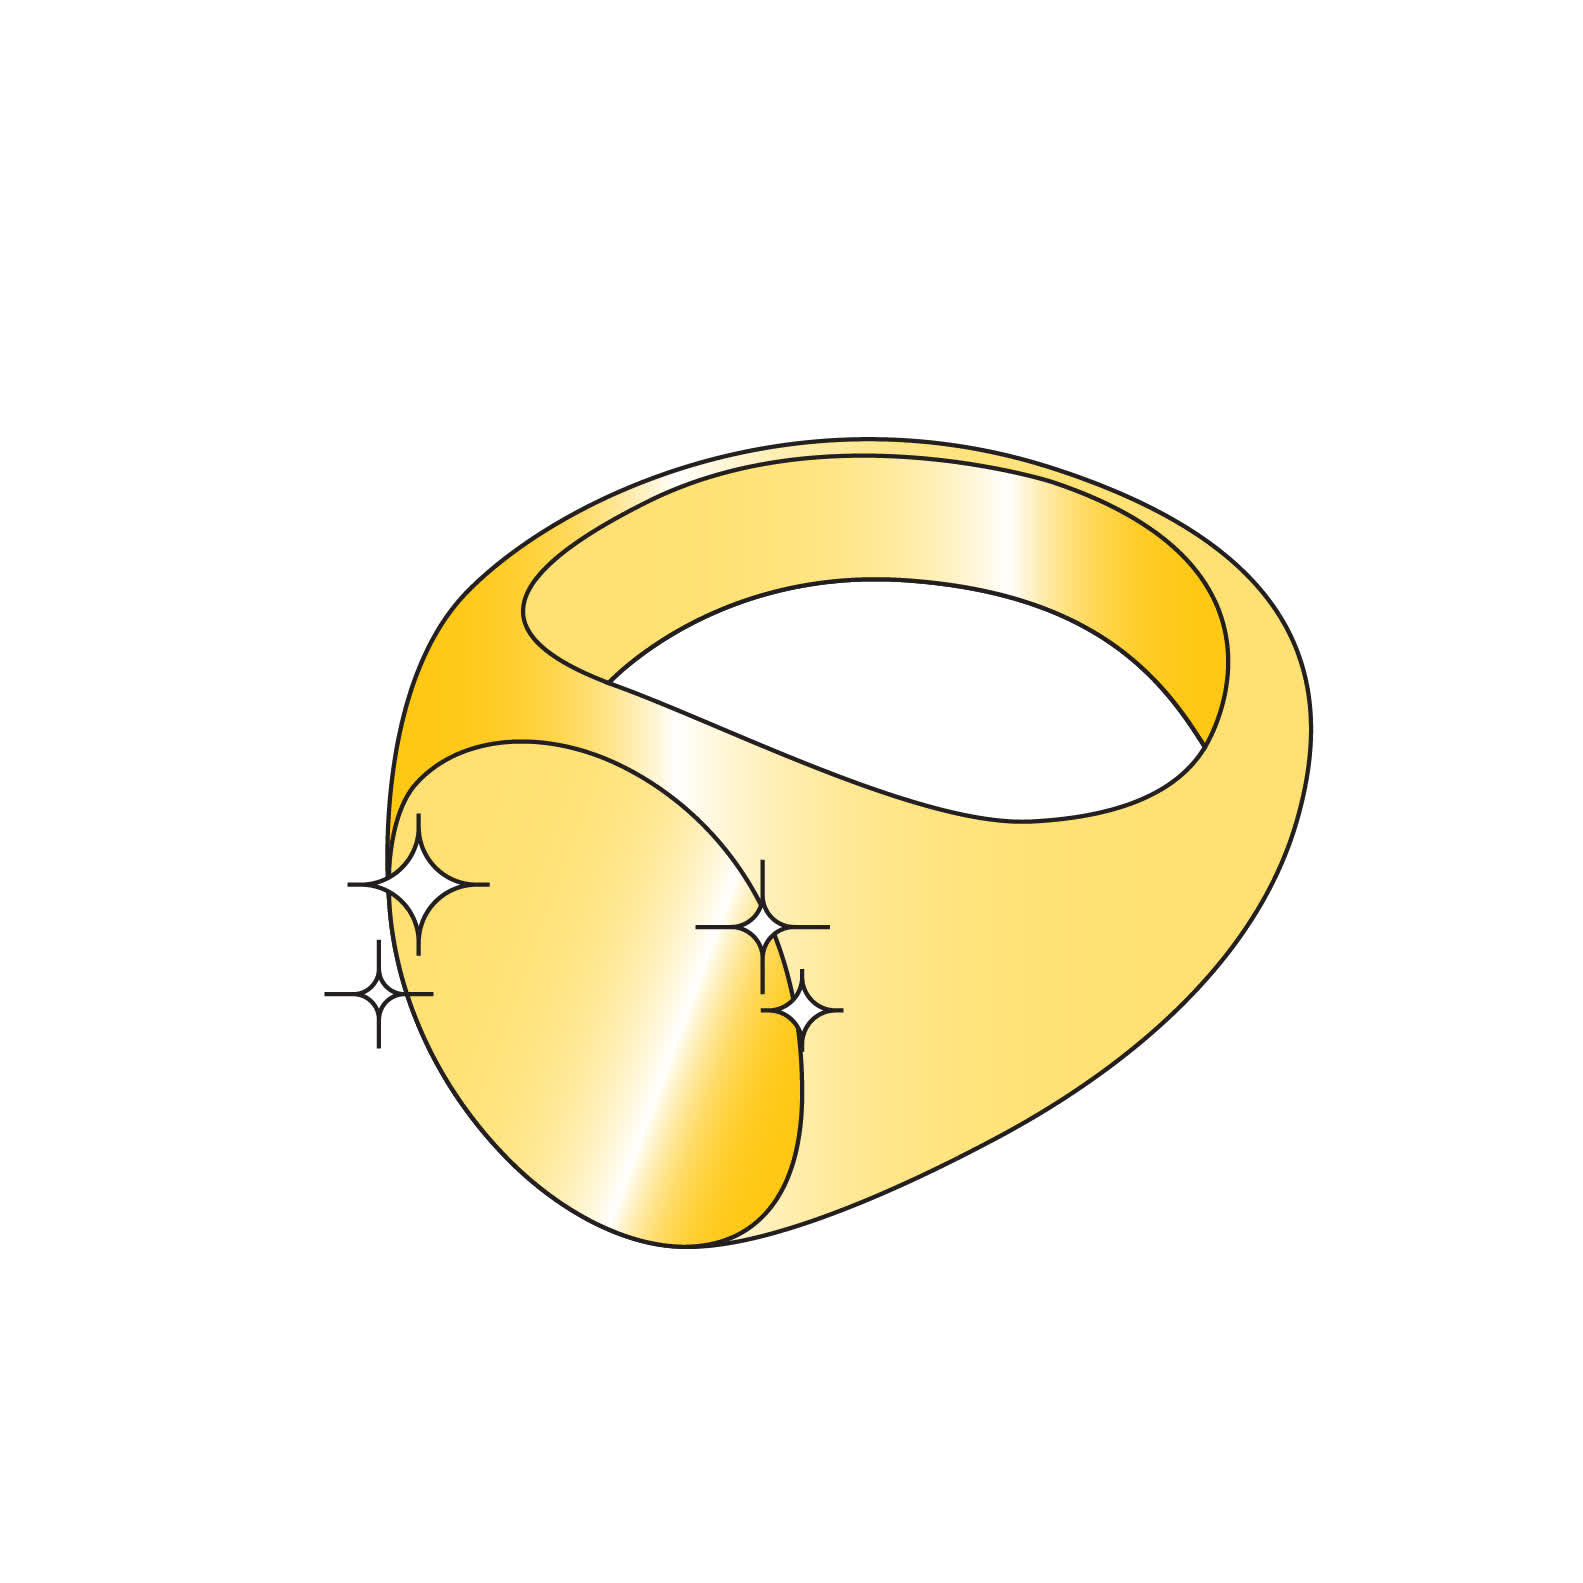
12 - 仕上げ
後処理と必要に応じて仕上げ処理を行います。 |
プリント開始前
True Castレジンはワックスを含む材料で、室温で保管すると時間とともに固まります。これはTrue Castレジンの通常の特性であり、期限切れのサインではありません。
Formlabsでは、レジンの分離を防ぐため、週1回または必要に応じてカートリッジ内のレジンを温めることを推奨しています。レジンを加熱するには、以下の加熱方法のいずれかを選択します。
備考:
レジンカートリッジを直接水の中に入れないでください。レジンカートリッジを水に浸すとRFIDシールが損傷し、プリンターがカートリッジを正しく検出できなくなることがあります。
備考:
Formlabsレジンカートリッジを電子レンジに入れないでください。RFIDシールが損傷し、プリンターがカートリッジを正しく検出できなくなることがあります。
レジンが温まったら、レジンカートリッジまたはボトルを30秒間しっかりと振り、ワックスをレジンに完全に馴染ませます。温かいレジンは粘度が低くなっているため、ステイニングが発生しやすくなる場合があります。取扱いにご注意ください。
Formlabsは、Formlabsレジンタンク内に入っているTrue Castレジンを再加熱することは推奨していません。事前準備プロセス中にプリンターがレジンタンクを加温するため、レジンの粘性が薄まり液化します。サードパーティ製レジンタンクの場合、ワックスが固まるのを防ぐため、ユーザーは当該レジンを使用しない時はタンクからTrue Castレジンを取り出しておく必要があるかもしれません。
設計ガイドライン
鋳造で成功するには技術と美的感覚の両方が必要です。良好な結果を得るためには、鋳造する製作物の設計内容は、材料特性と同じぐらい重要です。製作する宝飾品の個々のフィーチャーのデザイン、インベストメント内での材料の流れと造形設定に注意を払う必要があります。プロング、線条細工、デボス加工、表面、エンボス加工、ミル打ちなどの一般的なジュエリーのフィーチャーとして最適な設計パラメータについては、Formlabsの技術資料ジュエリーの3Dプリント:基本的な設計パラメータ、サポート材と方向づけ)[[英語]] [[ドイツ語]] [[フランス語]] [[イタリア語]] [[中国語]]をご確認ください。
造形機能に関する推奨事項
True Castレジンで造形する場合、Formlabsでは壁の厚さを500ミクロンから5mmの間で設計することを推奨しています。
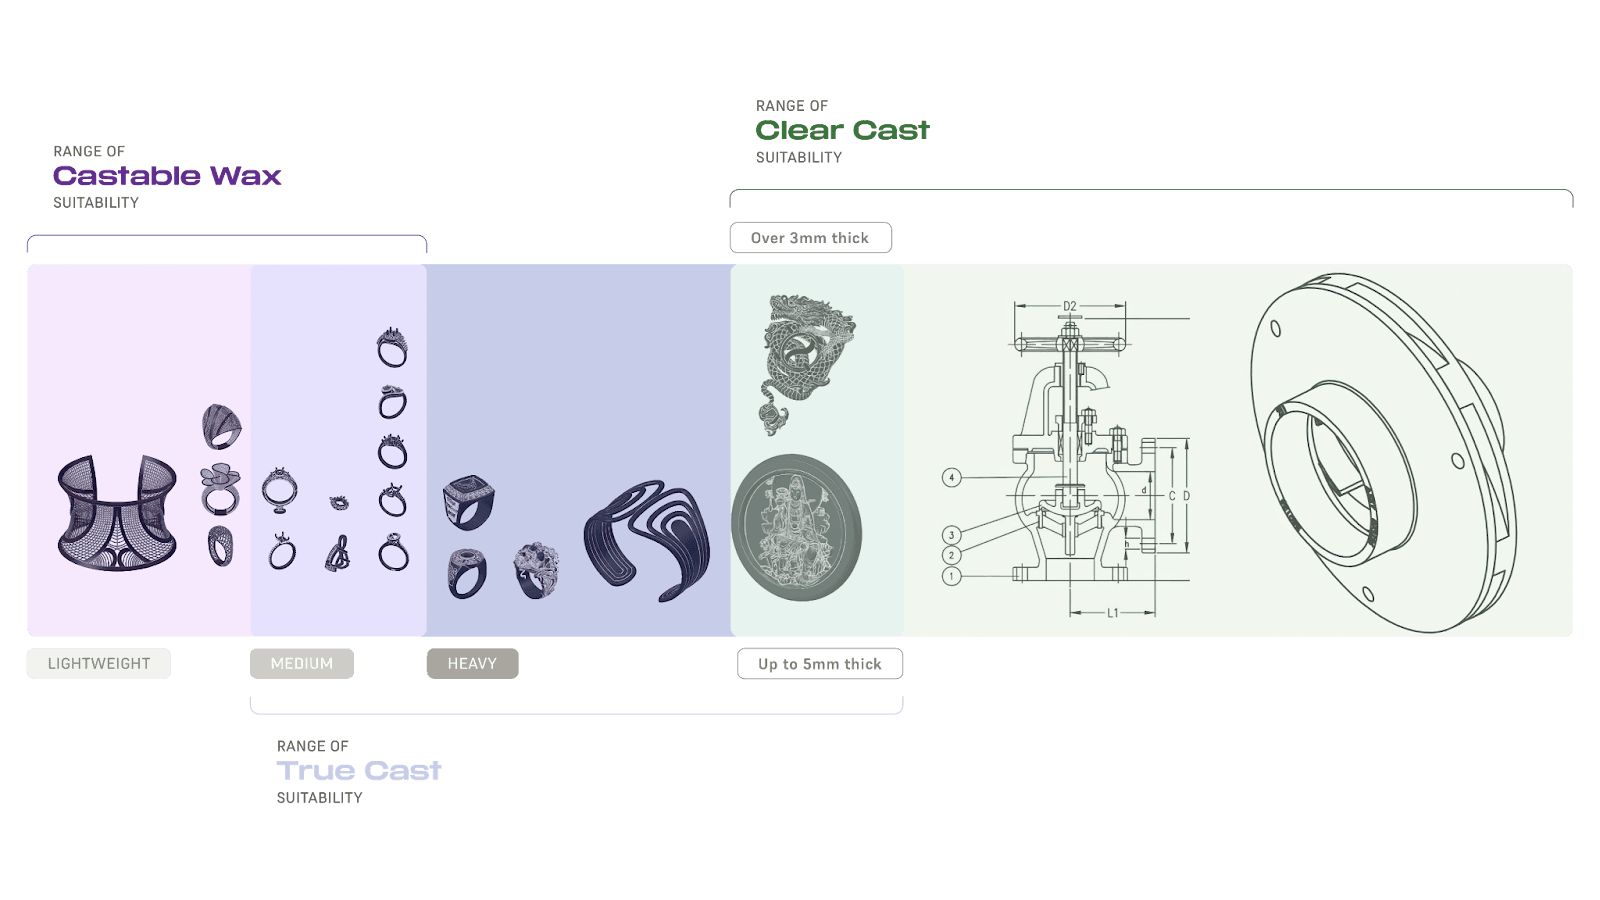
鋳造用のレジンを選択する際は、各材料の鋳造特性を考慮する必要があります。小型のパーツや線条細工については、Castable Waxレジンをご使用ください。中程度から重量のあるジュエリーや小型のエンジニアリング用部品には、True Castレジンをお使いください。より大きなインベストメント鋳造には、Clear Castレジンをご使用ください。
インベストメントの破損を防ぐ
表面が滑らかなモデルをデザインします。鋭い角やエッジは避けます。縁が尖がっていると、溶融金属の乱流を増やすだけでなく、鋳型内に蓄積する膨張応力を高めることにも繋がります。
膨張応力が集中するとインベストメントの破損を引き起こします。デボスやストーン用の穴など、鋳造品の空洞部分が埋まると、インベストメントの破損の傾向があります。インベストメント破損は通常、粗い鋳造面またはインベストメントの破片から生じるピッティング(孔食)に伴って発生します。
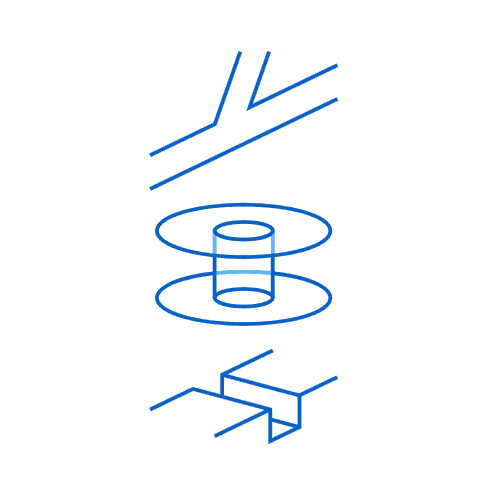
Take care when designing models with knife edges, stone holes, or engraves.
Be mindful of the depth of small, negative features with fragile investments. Keep engraved channels and holes wider than they are deep.

Sprues
Formlabs recommends designing sprues that are straight or taper down towards the piece. Supports added in PreForm should not be used as sprues. Incorporate 3D printed sprues into the design process for increased printing and casting success.
Only use 3D printed feed sprues if there would be physical difficulty placing a wax sprue. Wax sprues promote better cast part quality as they provide early access to oxygen to the part when melted in the casting process.
To prevent casting failures, add a sprue attachment point such as a hole in the bottom of a ring or a small hollow post to your CAD model.

Print sprues directly on the model to reduce waxing time and reduce the number of supports. During the CAD design phase, add a sprue joining the part to the wax tree with a single point of connection. A self-supporting model with a hollowed-out main tree can fully eliminate the need for additional supports.


Printing with True Cast Resin
Printing with Formlabs printers
Before printing with True Cast Resin, either on a Formlabs printer or a third-party printer, be sure to heat the resin cartridge or resin bottle if it has been sitting at room temperature for more than a week.
Install or update PreForm, then set up the next print job.
To prepare a model for printing in PreForm:
If the resin cartridge has been sitting at room temperature for over a week, warm the resin cartridge and shake to ensure the resin is mixed completely.
Printing with third-party printers
True Cast Resin is compatible with most third-party resin 3D printers. Formlabs recommends using the recommended print settings for third-party printers.
Design self-supporting models that are large enough to fully resolve. Formlabs recommends using spherical support settings on Lychee and Chitubox.
Chitubox


Lychee


仕上げ
Parts printed in True Cast Resin turn a dark purple when rinsed in solvent and lighten to a pale lavender color when dried. The color does not affect the burnout or final casting of the part, but may indicate how clean the part is of solvent. Larger parts with internal cavities may not dry evenly, leaving parts with a marbled color effect.

A part printed in True Cast Resin changing color as it is dried with compressed air
Marbled color effect on a part printed in True Cast Resin
True Cast Resin color change is not always uniform, especially for thick parts or when parts cannot be dried completely with compressed air. The color change does not affect the castability of the part as long as it is fully cleaned and cured.
The Form Wash and other washing systems agitate the solvent bath and remove parts from the bath after a set time. Wash parts according to the support article for your device. Formlabs recommends removing supports with a high-quality flush cutter to avoid tear-outs after the first wash. Spray or rinse parts with fresh solvent before drying.
If the model is hollow or has internal channels, ensure liquid resin is flushed out thoroughly from these features. Dry the parts thoroughly with compressed or forced air after removing from the solvent bath. Allow parts to fully dry before post-curing.
二次硬化の要件
True Cast Resin does not require post-curing, although Formlabs recommends post-curing to reduce defects during the casting process. Refer to instructions for your particular machine for appropriate recommendations:
Sand down remaining touch tips with 1000 grit sandpaper after post-curing.
Casting with True Cast Resin
Parts printed in True Cast Resin do not require a specialized burnout schedule. Follow the recommended process for general casting in your desired investment material. Printed parts are shelf-stable and can be cast up to six months after printing without experiencing shrinkage.
For detailed information on casting with Formlabs resins, read the application guide Introduction to casting with Formlabs resins [EN] [DE] [ES] [FR] [IT] [JA] [ZH] and other Formlabs resources. For peer support for printing with this material, join the Formlabs Jewelry/Casting group on Facebook.
Below is a sampling of prints and castings that have worked well for other customers using different printers, investments, burnout schedules, metals, casting machines, and cleanup methods.
| Part | Burnout Rate (°C/hr) | Burnout End Temperature (°C) | Burnout Hold Time (hrs) | Investment | Metal | Metal Temp (°C) | Flask Temp (°C) | Casting Machine | Cleanup Method |
|---|---|---|---|---|---|---|---|---|---|
| Small Ring | FULL | 93 | 3 | Prestige Optima™ | Silver | 1000 | 482 | Neutec J2R | Water Break, Sandblast |
| 330 | 732 | 3 | |||||||
| 180 | Casting temperature | 1 | |||||||
| Small Ring | FULL | 93 | 3 | Prestige Optima™ | Ancient Bronze | 1120 | 600 | Neutec J2R | Water Break, Sandblast |
| 330 | 732 | 3 | |||||||
| 180 | Casting temperature | 1 | |||||||
| Heavy Ring | FULL | 93 | 3 | Prestige Optima™ | Ancient Bronze | 1120 | 600 | Neutec J2R | Water Break, Sandblast |
| 330 | 732 | 3 | |||||||
| 180 | Casting temperature | 1 | |||||||
| Ring | 120 | 2 | Ransom & Randolph® Plasticast® | White Gold | 1300 | 650 | Indutherm VC500 | Water Break, Pickle Pot | |
| 400 | 2.5 | ||||||||
| 700 | 1 | ||||||||
| Ring | 120 | 2 | Ransom & Randolph® Plasticast® | Yellow Gold | 1130 | 600 | Indutherm VC500 | Water Break, Pickle Pot | |
| 400 | 2.5 | ||||||||
| 700 | 1 | ||||||||
| Ring | 120 | 2 | Ransom & Randolph® Plasticast® | Silver | 1050 | 550 | Indutherm VC500 | Water Break, Pickle Pot | |
| 400 | 2.5 | ||||||||
| 700 | 1 | ||||||||
| Ring | 120 | 2 | Ransom & Randolph® Plasticast® | Brass | 950 | 520 | Indutherm VC500 | Water Break, Pickle Pot | |
| 400 | 2.5 | ||||||||
| 700 | 1 | ||||||||
| Ring | 150 | 2 | Ransom & Randolph® Plasticast® | Gold | 980 | 425 | VIGOR Centrifugal | Water Break, Pickle Pot | |
| 425 | 2 | ||||||||
| 690 | 3 | ||||||||
| Casting temperature | |||||||||
| Pendant | 150 | 2 | Ransom & Randolph® Plasticast® | Gold | 980 | 425 | VIGOR Centrifugal | Water Break, Pickle Pot | |
| 425 | 2 | ||||||||
| 690 | 3 | ||||||||
| Casting temperature | |||||||||
| Ring | 150 | 93 | 2.5 | Prestige Optima™ | Silver | 950–1100 | 550 | Neycraft Centrifuge | Water Break, Ultrasonic, Pickle Pot |
| 150 | 150 | 2.5 | |||||||
| 285 | 790 | 4 | |||||||
| 200 | Casting temperature | 1 | |||||||
| Ring | 150 | 93 | 2.5 | Prestige Optima™ | 14k Gold | 1000–1175 | 550 | Neycraft Centrifuge | Water Break, Ultrasonic, Pickle Pot |
| 150 | 150 | 2.5 | |||||||
| 285 | 790 | 4 | |||||||
| 200 | Casting temperature | 1 | |||||||
| Ring | 150 | 93 | 2.5 | Prestige Optima™ | 14k White | 1000–1175 | 550 | Neycraft Centrifuge | Water Break, Ultrasonic, Pickle Pot |
| 150 | 150 | 2.5 | |||||||
| 285 | 790 | 4 | |||||||
| 200 | Casting temperature | 1 | |||||||
| Ring | 300 | 9 | Prestige Optima™ | White Gold | Pickle Pot | ||||
| 750 | 2 | ||||||||
| 500 | 2 | ||||||||
| Ring | 300 | 9 | Prestige Optima™ | Silver | Pickle Pot | ||||
| 750 | 2 | ||||||||
| 500 | 2 | ||||||||
| Small Ring | 93 | 2 | Prestige Optima™ | 14k Gold | |||||
| 730 | 5 | ||||||||
| Mini-sculpture | 93 | 3 | Prestige Optima™ | Bronze | 1100–1200 | 425 | Sandblast | ||
| 730 | 3 | ||||||||
| Ring, figurine, pendant | FULL | 100 | 3 | Prestige Optima™ | Bronze, silver | 960 | 560 | Ultraflex J4 Lite | Manual pick, Ultrasonic, Tumble, Steam |
| 150 | 450 | 2 | |||||||
| 175 | 780 | 4 | |||||||
| Casting temperature |
その他資料