
Note:
The original packaging is designed to be kept and reused for transporting or shipping the machine for service. Save the complete packaging including any inserts for your convenience.

This guide illustrates the various components of the Form 4, the initial setup, and how to begin printing. Review the unboxing and setup support article for more detailed instructions on how to unbox, install, and connect your Form 4.
Read and understand the instruction manual and its safety instructions before using the Form 4.
Form 4 generation onboarding and training videos
Printer components
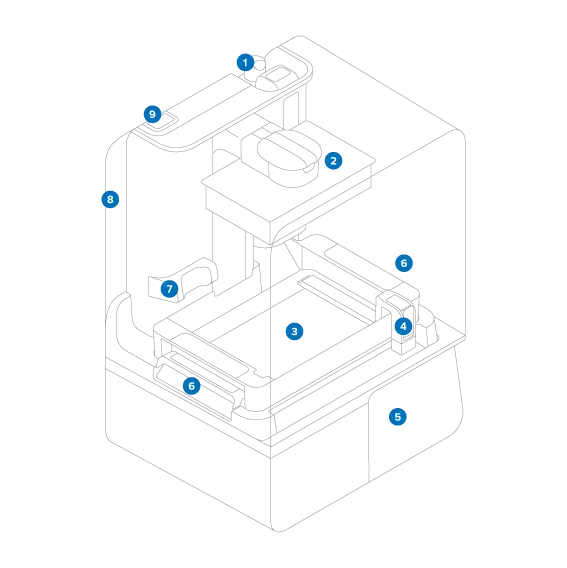
Required for printing
Printer components
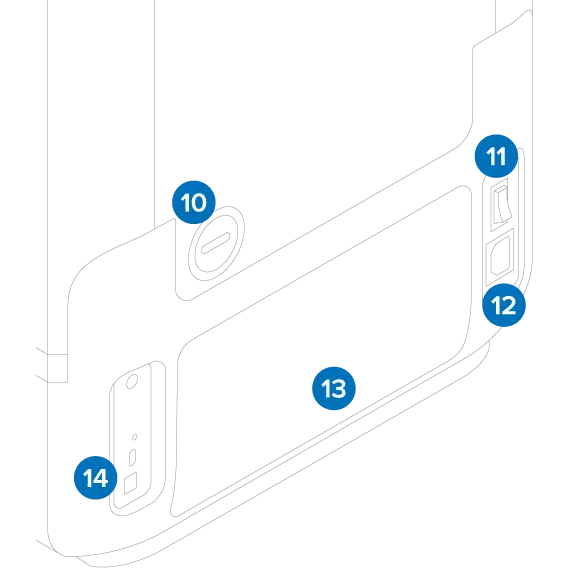
Rear ports
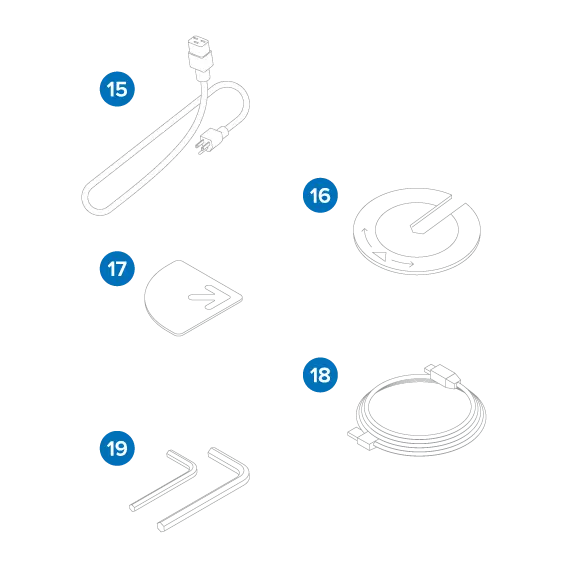
Included accessories
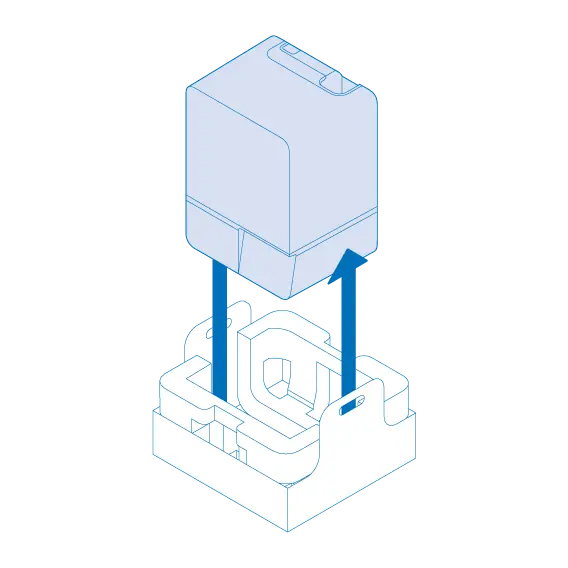
Unboxing
Note:
The original packaging is designed to be kept and reused for transporting or shipping the machine for service. Save the complete packaging including any inserts for your convenience.


Powering on
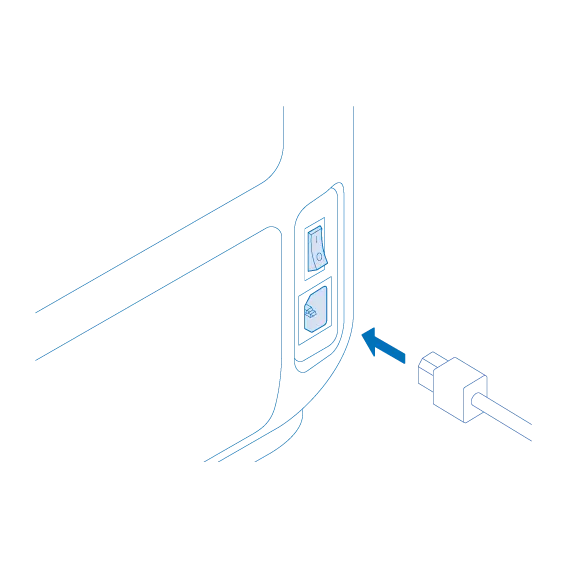
Connect the power cable to the printer and a power outlet and turn on using the rear power switch.
Note:
If the printer does not initialize and display the onboarding prompts, ensure that the cover is closed. If it is closed, open the cover and check for the two round interlock magnets located along its bottom edge. If one of the magnets has detached from the cover, it may have attached itself to the printer shell or become lodged underneath one of the resin tank latches. Readhere the magnet to the cover with an adhesive, then close the cover once dry to continue.
Setting up
Follow the prompts on the touchscreen to complete the setup procedure:

Contact Formlabs Support or your authorized reseller for additional product support.
Next steps
Once you’ve set up your Form 4, download PreForm to your computer and start printing.
Prepare a file for printing
After downloading PreForm, read the support articles on designing successful 3D models and using PreForm to learn more about the software and preparing models for printing on Formlabs SLA printers.
If this is your first time using PreForm, an onboarding tutorial will appear and walk you through the software’s capabilities. Click Help > Show Onboarding Tutorial to review this information at any time.
Send your file to the printer
When you’re ready, send your print to your Form 4 or print a job remotely and start printing.
Start a print
If you inserted a resin tank, resin cartridge, and build platform into your Form 4 during the setup process, the printer should be ready to print and will start automatically. If not, confirm the print on the printer touchscreen to start.
Finish your printed part
Once the print is complete, remove the build platform from the printer, wash any remaining liquid resin off your printed part, and post-cure and remove supports as necessary. Read the support article on SLA basic finishing steps to learn more.
Between prints
Between prints, be sure to keep your Form 4 clean, paying particular attention to spilled resin. Handle the Form 4 resin tank with care to ensure print success and printer reliability.