備考:
ベッドの破れが原因でプリントが開始直後に失敗した場合は、Bed Temperature Target(ベッド目標温度)を2℃下げて、再度プリントをお試しください。

Fuse 1世代プリンターの造形プロセスでは、材料を正確な温度で焼結することが求められますが、 この温度はプリンターのIRセンサーによって測定されます。ほとんどのプリンターは、 特に調整することなくこの温度を維持できますが、プリントベッド温度を微調整することで対処できるプリント不良や問題もあります。
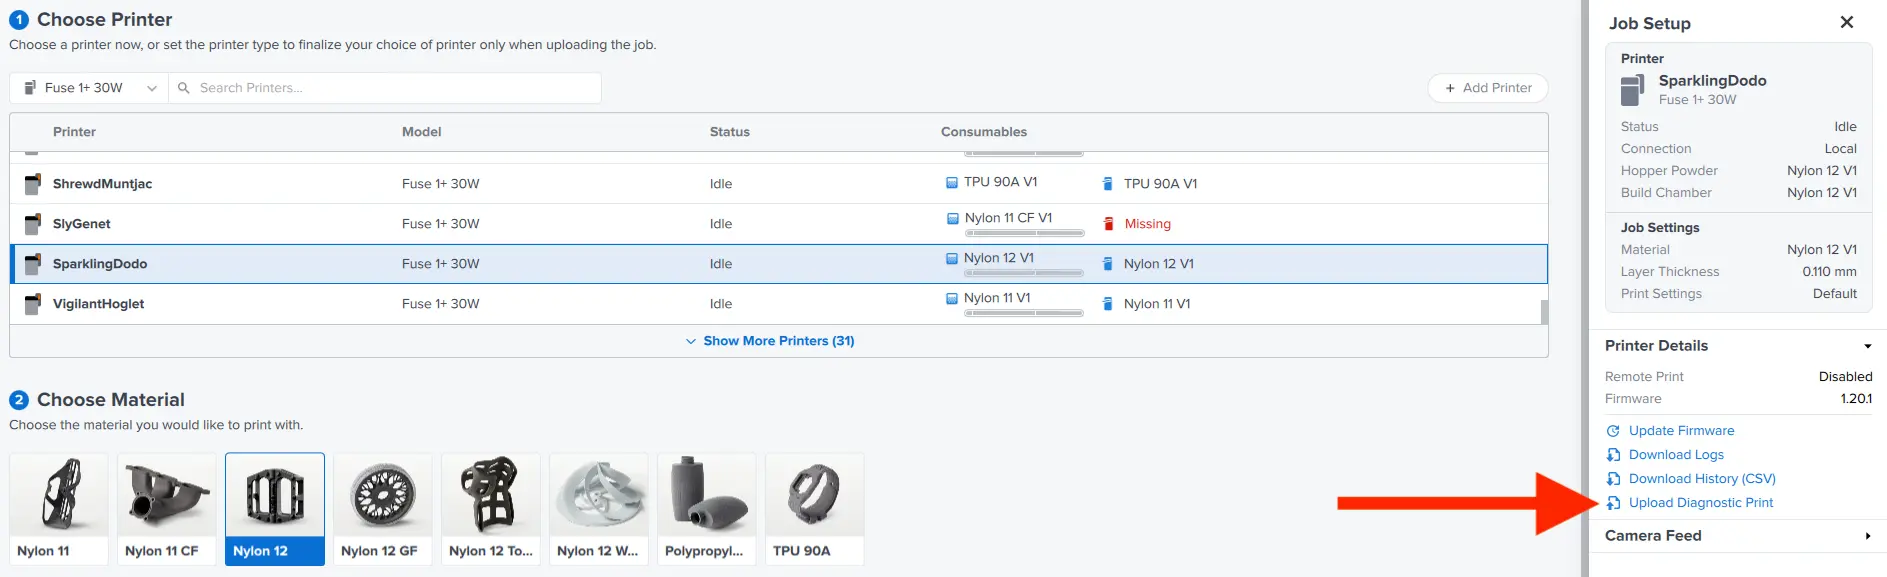
Formlabsでは、Nylon 12パウダーで初めてプリントする前に、プリンタのベッド温度を調整することを推奨しています。最初の造形品をプリントする前にベッド温度を調整することで、プリンターの温度変化による表面欠陥を軽減できます。このプロセスは診断プリントとして実行され、PreFormを通じてプリンターにアップロードされます。このプリントには、お使いのプリンターに設定すべき温度オフセットを決定するために必要なクリーニングと検査が必要なパーツがいくつか含まれています。この工程は、再利用パウダーに未使用パウダーを30%加えた状態で行います。再利用パウダーが手元にない場合は、ベッド温度調整診断ツールをプリントする前に、未使用パウダーの事前処理をバッチで行ってください。
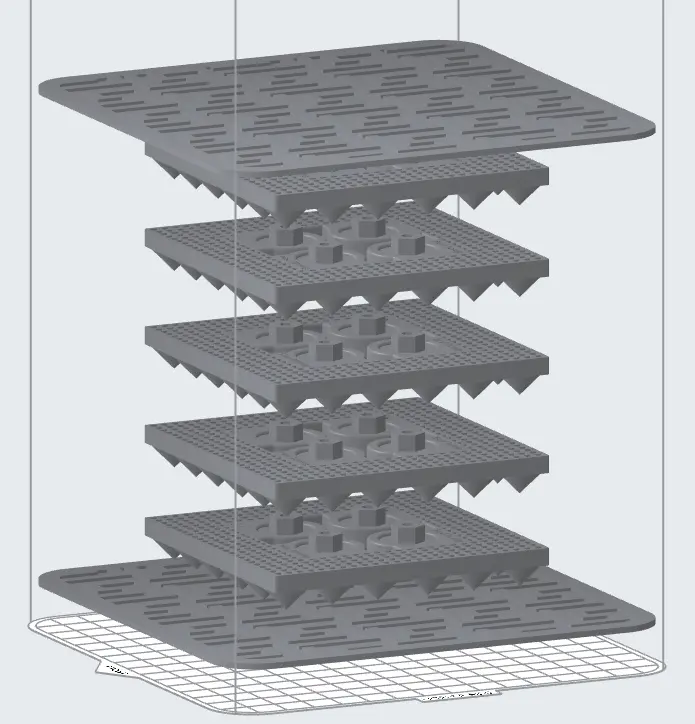
ベッド温度調整プリントの実行
備考:
ベッドの破れが原因でプリントが開始直後に失敗した場合は、Bed Temperature Target(ベッド目標温度)を2℃下げて、再度プリントをお試しください。
Clean parts
Extract parts using the Fuse Sift or the Fuse Depowdering Kit. Excess powder can be sifted with fresh powder and re-used.
Clean parts prior to inspection either using the Fuse Blast or other media blasting solutions. Extract the five plaques with cones. The additional flat plaques in the build create equal cooling and separation between the cone plaques during the print and can be discarded.
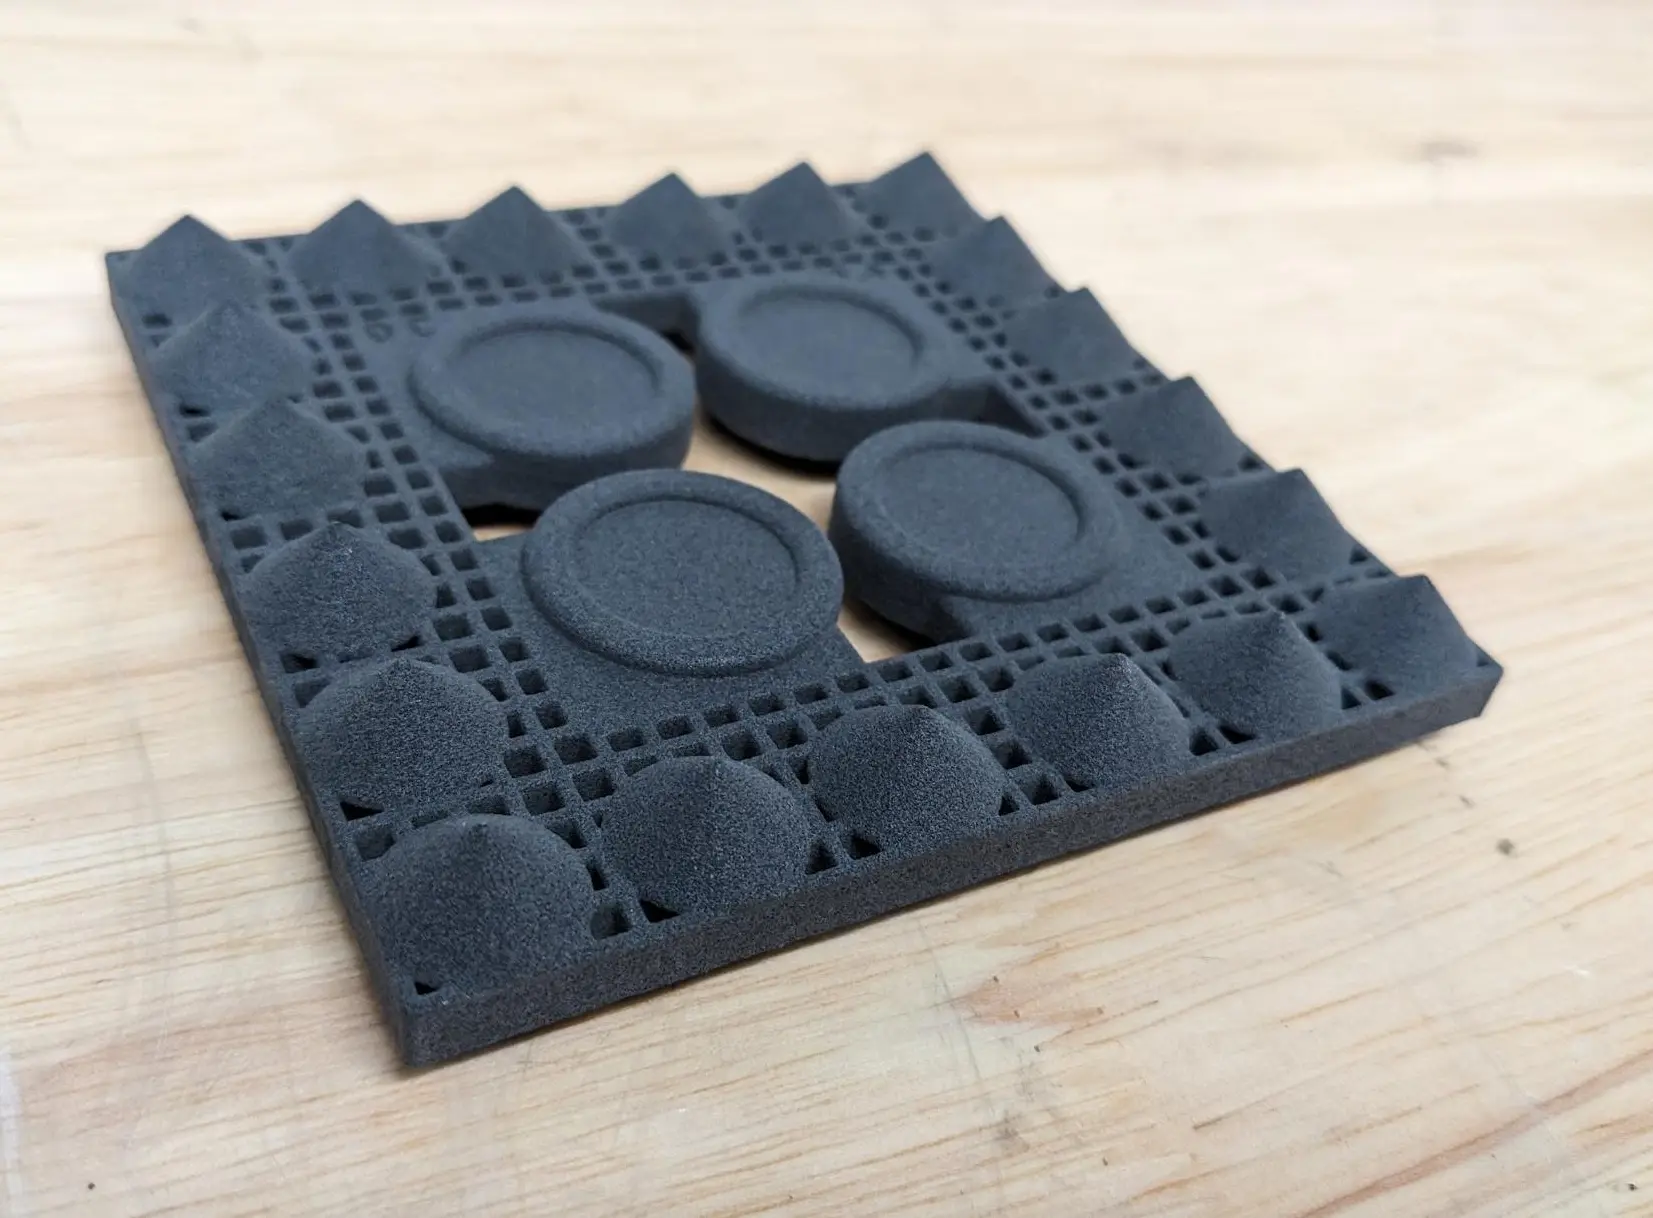
Each plaque lists the temperature offset it was printed with (-2 ºC, -1 ºC, 0 ºC, +1 ºC, +2 ºC). Line the plaques up from -2 ºC to +2 ºC to prepare them for inspection.
プレートの検査
Note:
If the test print fails and not all plaques are completed, complete the inspection using the plaques that printed successfully. The correct offset will be included in the parts that printed successfully.
To determine the appropriate temperature offset for your printer, look for two things:
Rotate the plaques to inspect the cones from all angles. Orange peel appears as a slightly layered surface on the cones. Pitting appears as a tiny dot on the opposite side of the plaques.
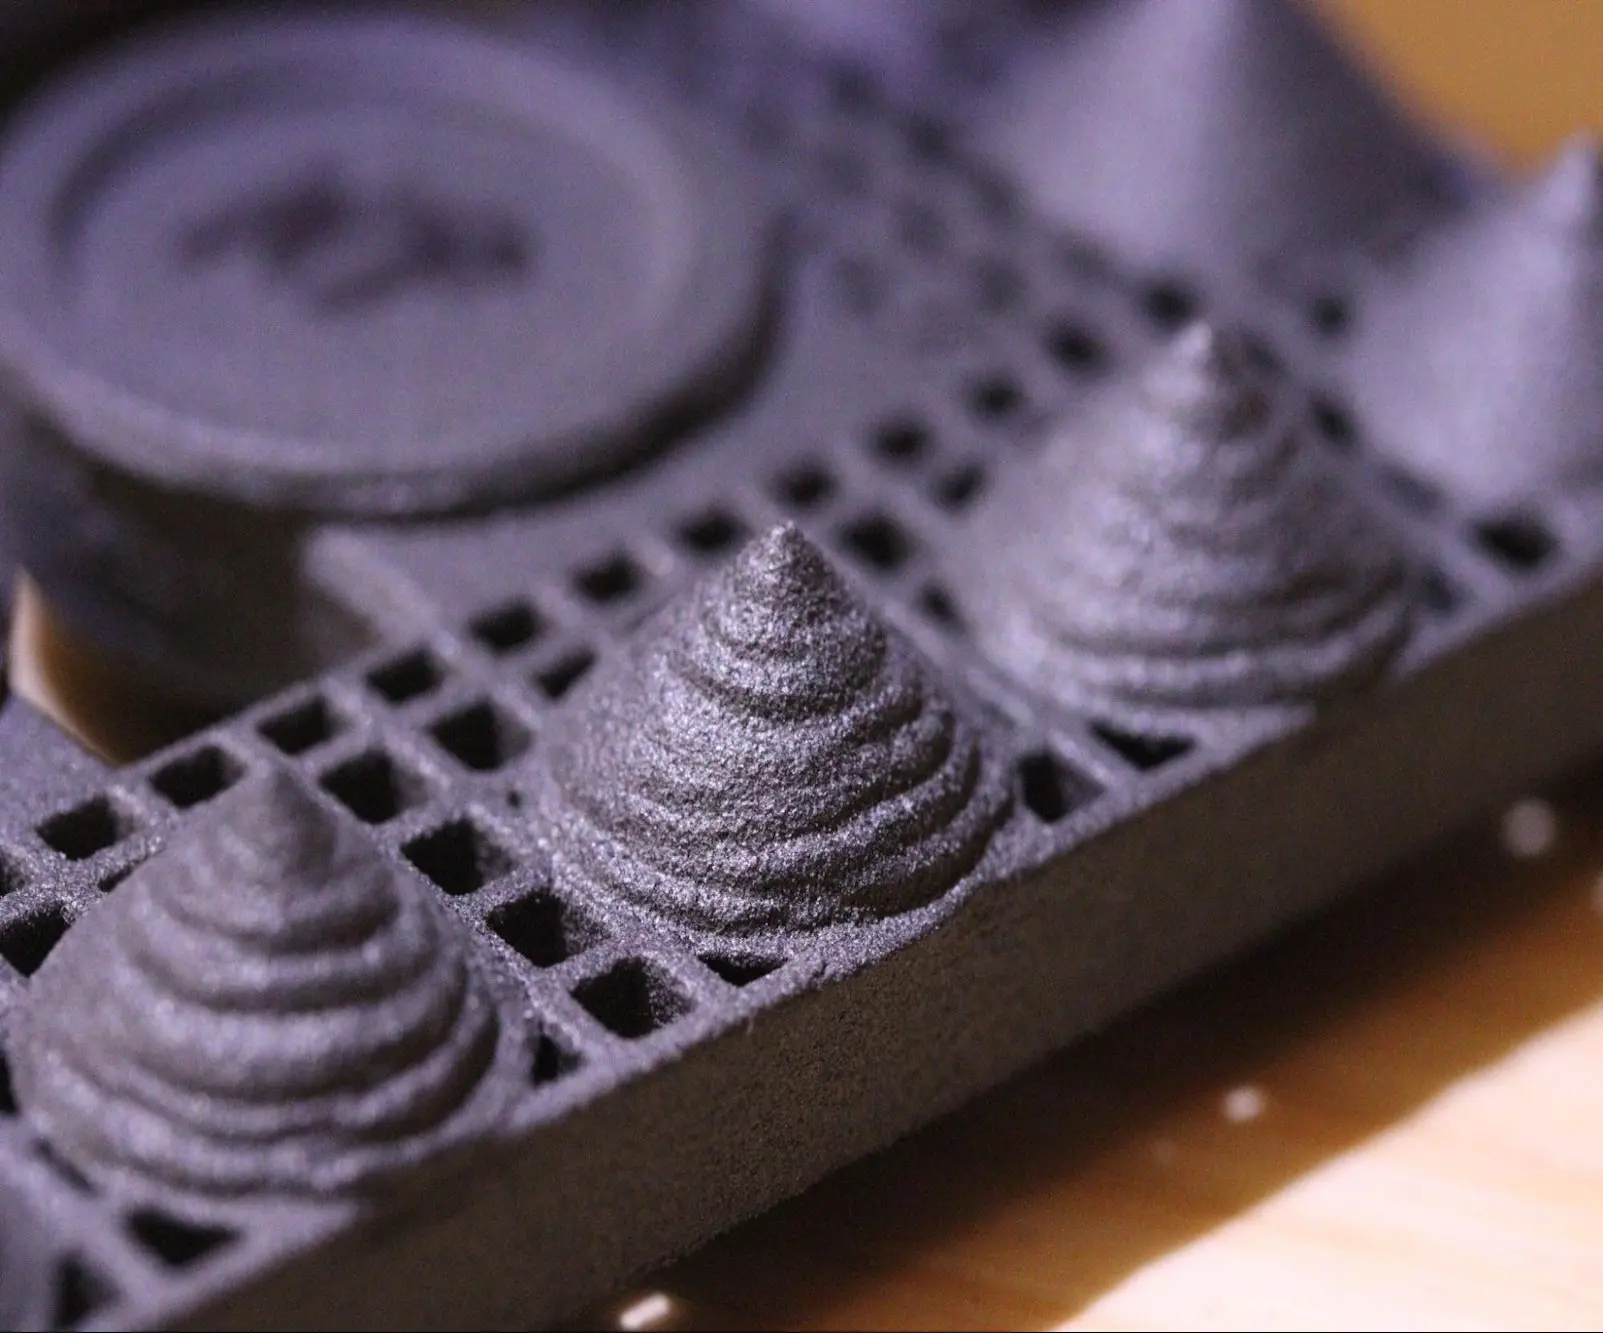
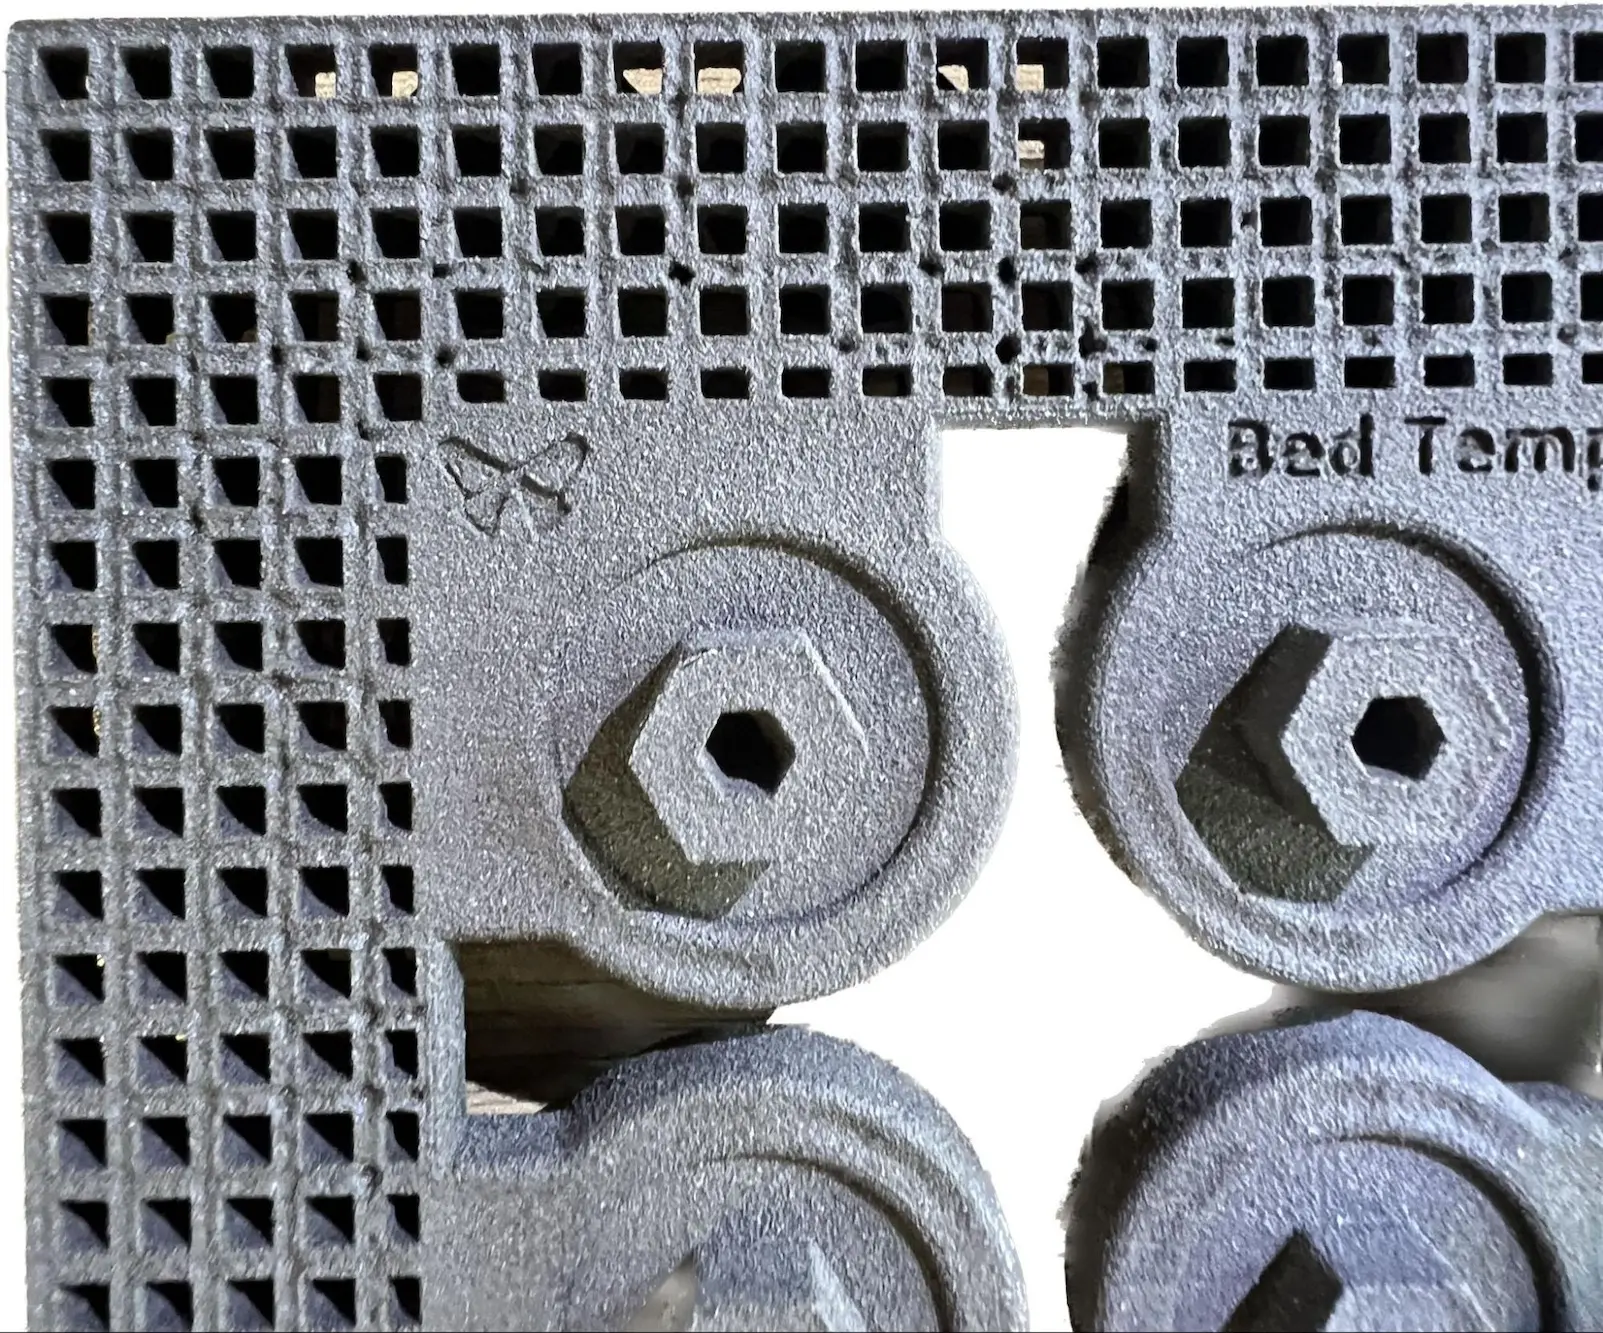
After inspecting all five plaques, determine the offset temperature that best matches the above criteria using the temperature offsets listed on the plaques. This offset can then be manually set on the machine.
Note:
The correct offset temperature may lie between two plaques, and the correct offset may be a half degree between the printed plaques (ie. +1.5 ºC).
目標ベッド温度を設定する
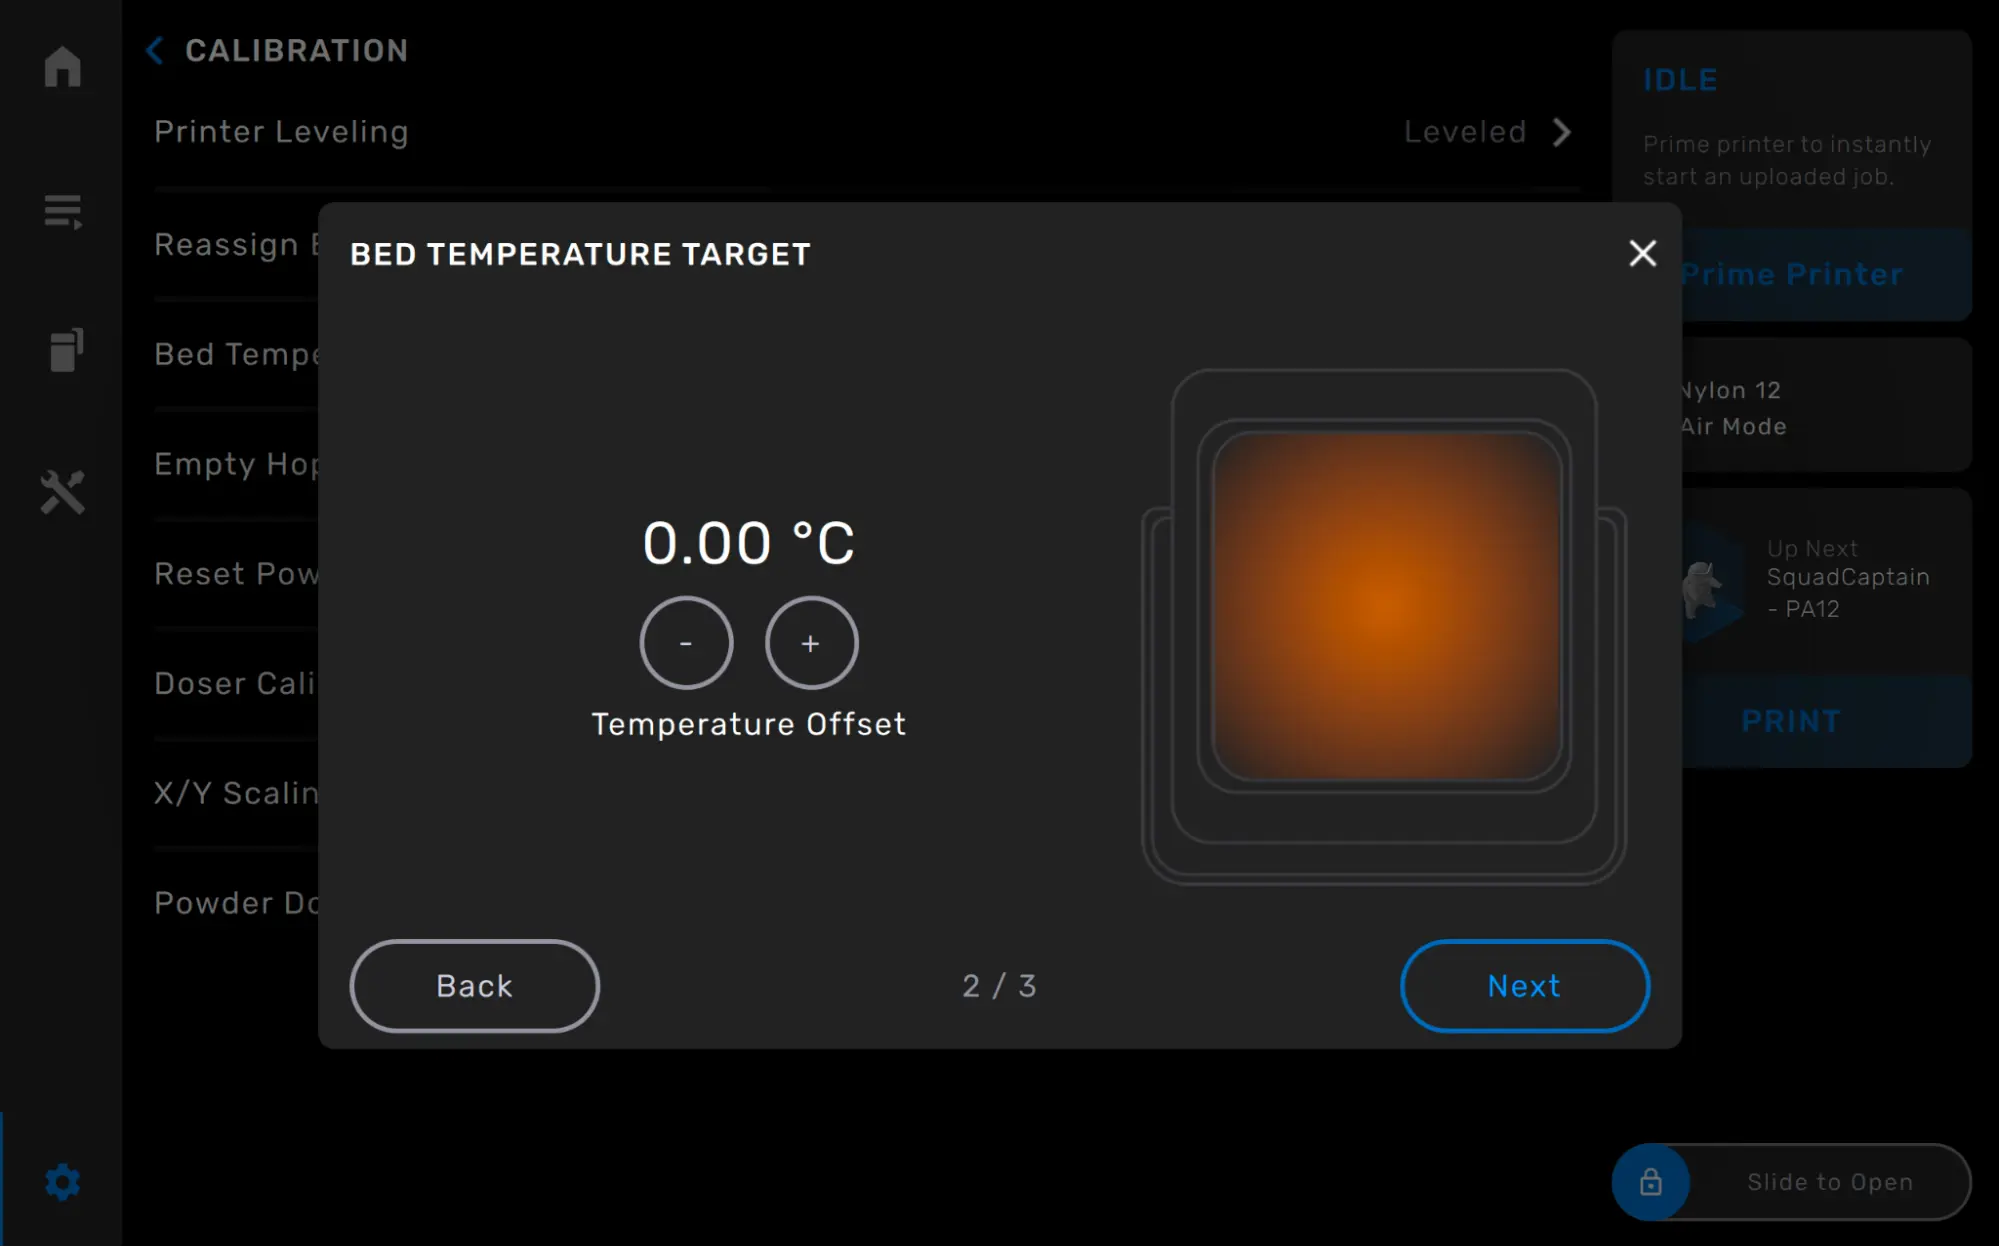
ベッド温度目標は、0.25°C刻みで最大±5°Cまで調整可能です。造形後 ベッド温度チューニングプリントが完了したら、プリンターのベッド温度目標を、 ベッド温度チューニング検査で決定されたオフセットです。
備考:
並列で稼働している2台のプリンターで、異なるBed Temperature Target(ベッド温度目標値)が必要になる場合があります。
ベッド温度の目標値を調整するには: