技術白書
Formlabs Logo

Receiving and setting up the Form Wash L V2

Receiving and setting up the Form Wash L V2

Plan an appropriate location for the Form Wash L V2. The Form Wash L is a floor-based unit. Purchase additional finishing supplies, including a suitable washing solvent to ensure you can start using the Form Wash L when it arrives.

The Form Wash L is ready for use once the Wi-Fi antenna is installed, the machine is connected to a power source, and the wash bucket is filled with solvent.

その他の必要な用具

Form Wash Lの受け取り前に、少なくとも43Lのご希望の溶剤を購入してください。

二次硬化後の造形品の仕上げに必要な追加の消耗品は以下の通りです。

  • パウダーフリーの耐薬品性使い捨て手袋(ニトリルまたはネオプレン)
  • サンドペーパー
  • ミネラルオイル
  • プライマーと塗料

作業スペースの確保

Form Wash Lの設置場所を決める際は、技術仕様書を参照してください。

Form Wash Lの寸法:780 × 460 × 670mm(30.7 × 18.1 × 26.4 in)Form Wash Lユニットの重量:56.7kg(溶剤を除く)

作業しやすいように、以下の最小寸法を確保してください。

  • 幅: 100 cm
  • 奥行き: 120 cm
  • 高さ: 120 cm

Form Wash Lは、18~28°Cの換気の良い部屋で使用してください。Form Wash Lの安全上の注意事項に従ってください。

Form Wash Lを開梱する

Form Wash Lは、

上部と下部を発泡スチロールで保護した状態で、段ボール箱に梱包されて出荷されます。パッケージには付属品、電源、Form Wash L Safety Booklet (Form Wash Lの安全性についての小冊子) (英語のみ) が入っています。開梱の際は、Form Wash Lに破損個所や足りない付属品がないかご確認ください。破損や足りない付属品にお気づきの場合は、Formlabs Supportまたは正規販売代理店にご連絡ください。

ヒント:

梱包材は、輸送または出荷時に使用するため、保存してください。

本体の電源コードは、箱の中の発泡スチロールの上に入っています。電源ケーブルが見つからない場合は、別の箱に梱包されている可能性があるため、出荷されたすべての箱を確認してください。

To unbox the Form Wash L:

  1. Position the packaging near a designated workspace, leaving enough room for two people to comfortably maneuver throughout the area. Stand the packaging upright to ensure it is level.
  2. Lift the outer cardboard box off of the lower carrier tray.
  3. Cut the packing tape holding the top foam to the lower carrier tray, then remove the top foam from the machine.
  4. Open the lid of the machine and remove the accessories box.
  5. Remove the foam inserts found at the top of the machine.
  6. Use the provided handles on the carrying slings to lift the machine out of its carrier tray.
  7. Carefully move the machine to its workspace.

注:

Form Wash Lの移動が必要な場合は、運搬用スリングを使って装置を動かしてください。運搬用スリングを使わずにForm Wash Lを持ち上げないでください。

  1. Tilt each side of the machine up slightly to remove the carrying slings.
  2. Open the machine’s door and remove the foam surrounding the wash bucket.

備考:

Form Wash Lを電源に接続する前に梱包材をすべて取り除いてください。梱包材や緩衝材は、装置の保証サービスを受ける時に必要になりますので、処分せずに保管しておいてください。再梱包の手順については、取扱説明書をご参照ください。

Form Wash L各部の説明
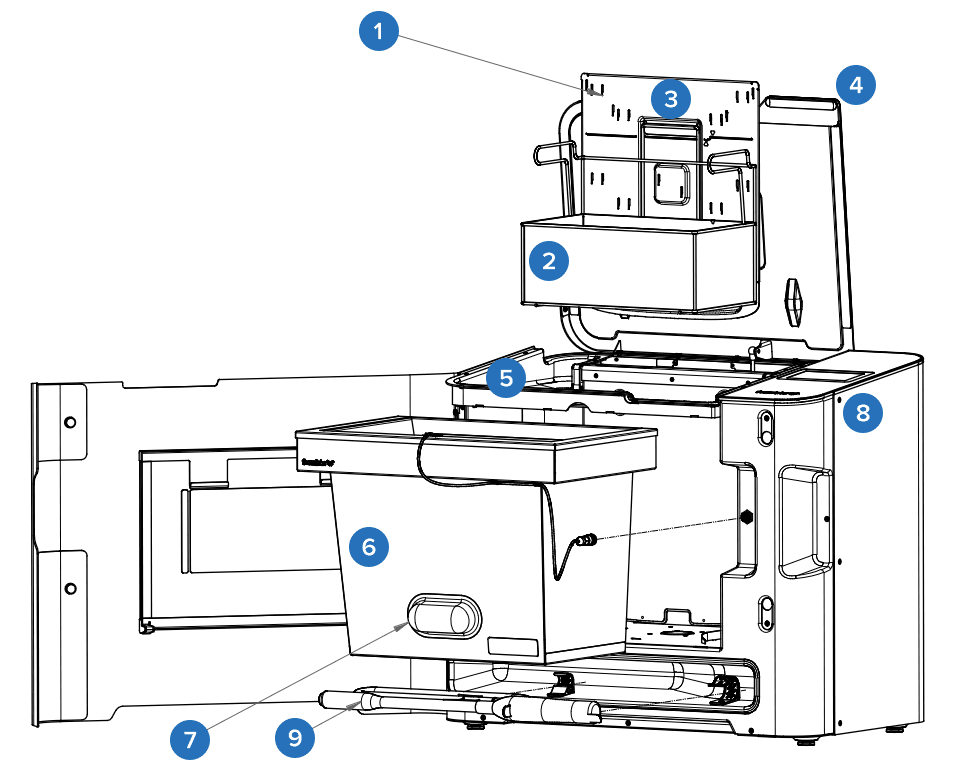
Form Wash L V2 components
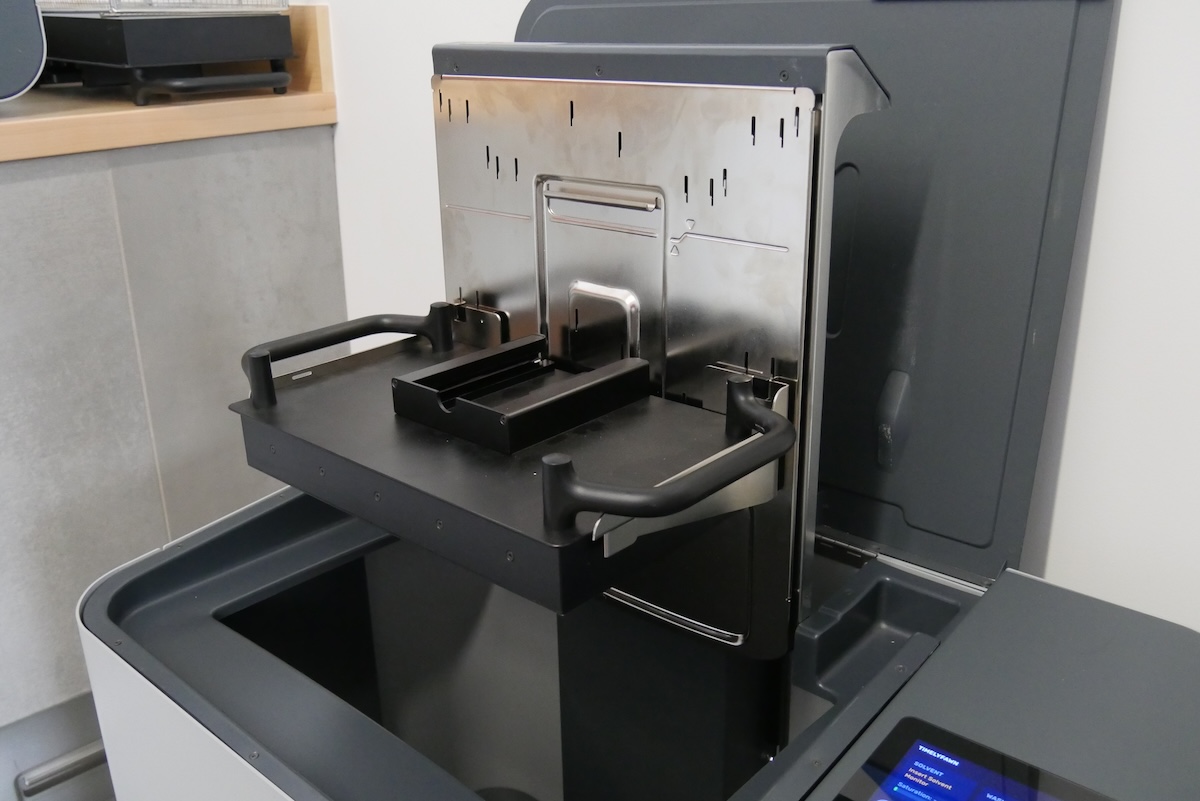
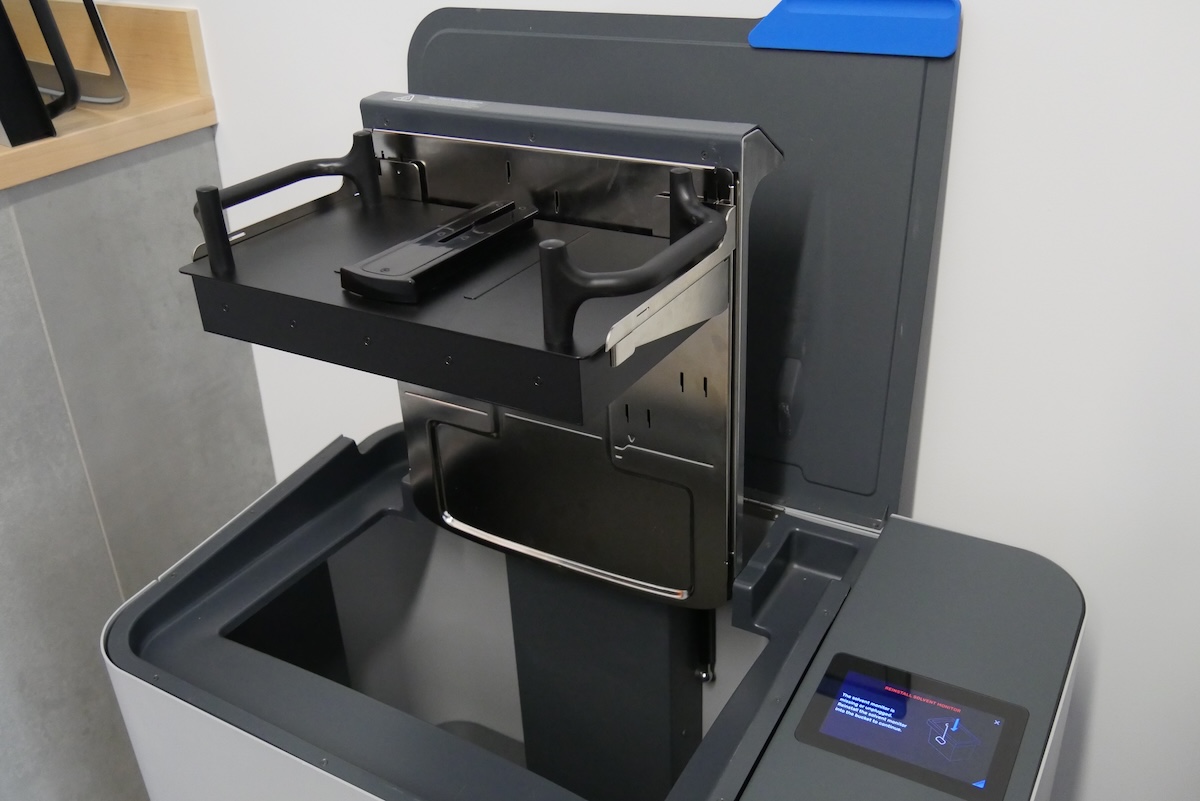
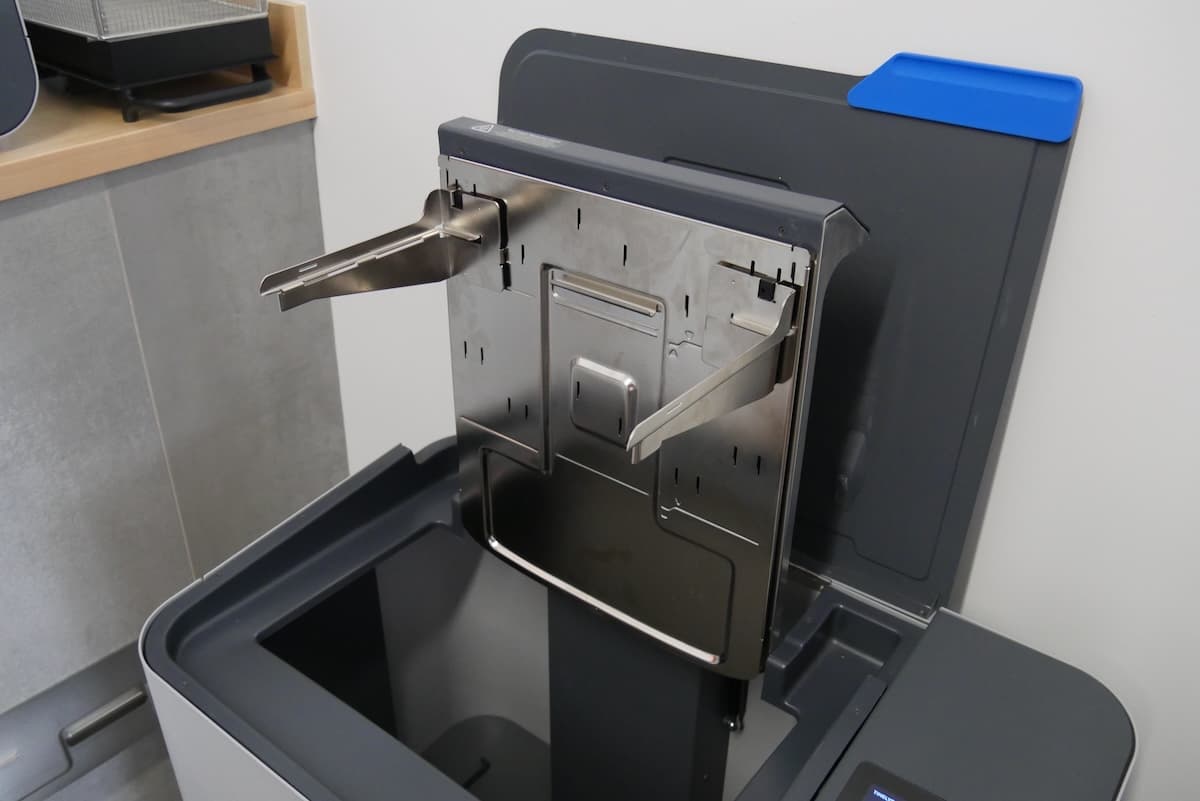
  1. Platform mount: Holds the build platform when washing parts on the platform. Adjustable arms let the machine wash different types of build platforms at two different solvent levels.
  2. Basket: Removable container holds parts to wash without the build platform.
  3. Basket mount: A single hook secures the basket to raise and lower.
  4. Outer lid: Limits solvent evaporation.
  5. Inner lid: A hinged, secondary lid opens and closes to contain solvent while allowing parts to be lowered or raised from the bucket.
  6. Wash bucket: Removable container holds a maximum of 43 L (11.4 US gal) of solvent. A rotating impeller at the bottom of the wash bucket circulates the solvent.
  7. Solvent monitor: A sensor measures the amount of resin dissolved in the solvent, allowing the Form Wash L to determine when the solvent needs to be replaced.
  8. Touchscreen: The LCD capacitive touch user interface displays wash cycle information, settings, and error messages.
  9. Electric siphon pump: A battery-powered siphon pump for moving solvent into and out of the wash bucket. The pump has a dedicated storage slot underneath the wash bucket.
  10. Solvent: Not included. Dissolves liquid resin from printed parts’ surfaces.

Form Wash Lのツールと保管場所

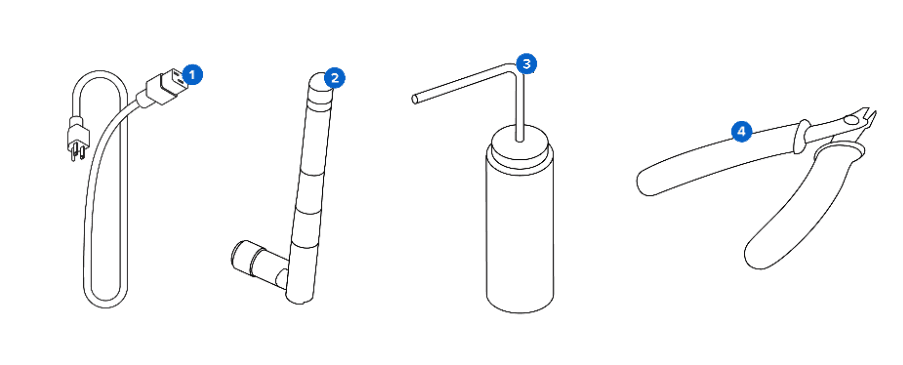
Additional tools provided with the Form Wash L V2
  1. Power cable: Provides power to the Form Wash L.
  2. Wi-Fi antenna: Allows the machine to connect to a network via Wi-Fi.
  3. Rinse bottle: Remove resin trapped in cavities and internal channels of prints. Use clean solvent.
  4. Flush cutters: Snip to separate prints from their supports. Cut with the flat side on the prints’ surface for minimal support marks.

Form Wash Lの設置について

Place the Form Wash L on a clean, level surface with a nearby power source. Plug the included power cable into the power port on the back of the unit and connect the power cable to a circuit. Flip the breaker switch on the back of the unit to the ON position to power on the machine.

The Form Wash L requires an internet connection in order to receive firmware updates.

To install the Wi-Fi antenna, screw the Wi-Fi antenna into the jack on the back of the unit.

For Ethernet, connect the machine to your LAN with an Ethernet cable. Refer to Connecting the Form Wash L and Form Cure L via USB, Ethernet, or Wi-Fi for more information.

As the Form Wash L initializes, the Formlabs logo with a progress bar appears on the touchscreen, followed by the onboarding screen. Follow the on-screen prompts to finish setting up the machine by removing any remaining packaging, filling the Form Wash L with solvent, and installing the solvent monitor. Be sure to set your solvent type, either during the onboarding process or by tapping the Solvent card on the home screen.

ビルドプラットフォームマウントアームの取り付け

ビルドプラットフォーム、造形品の高さ、使用可能な溶剤量に合わせて、ビルドプラットフォームマウントアーム構成をお選びください。

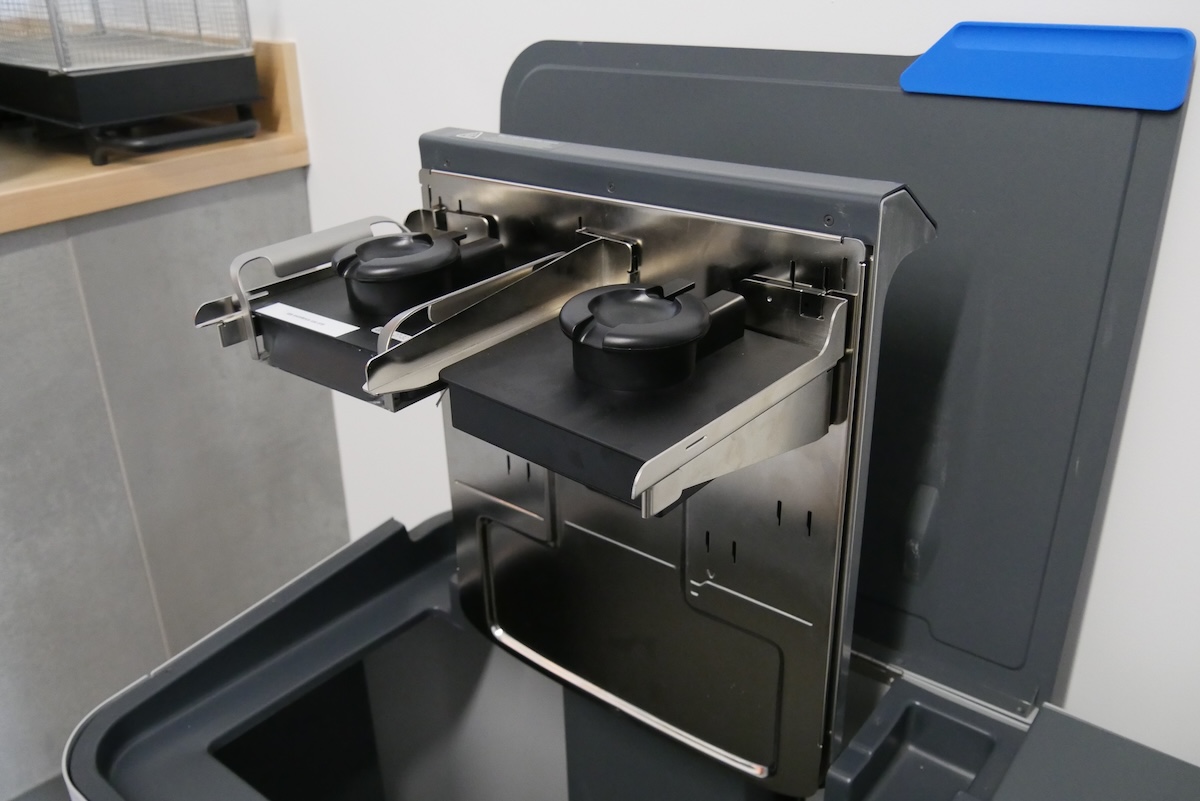
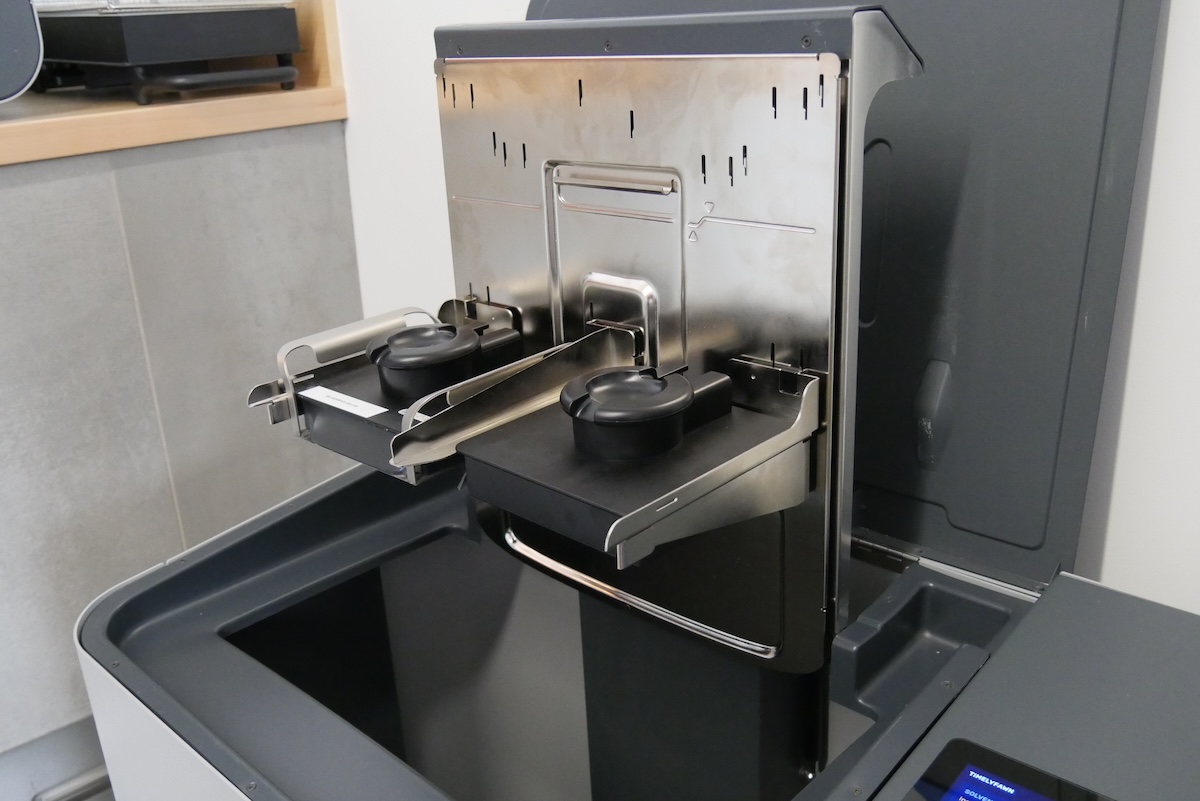
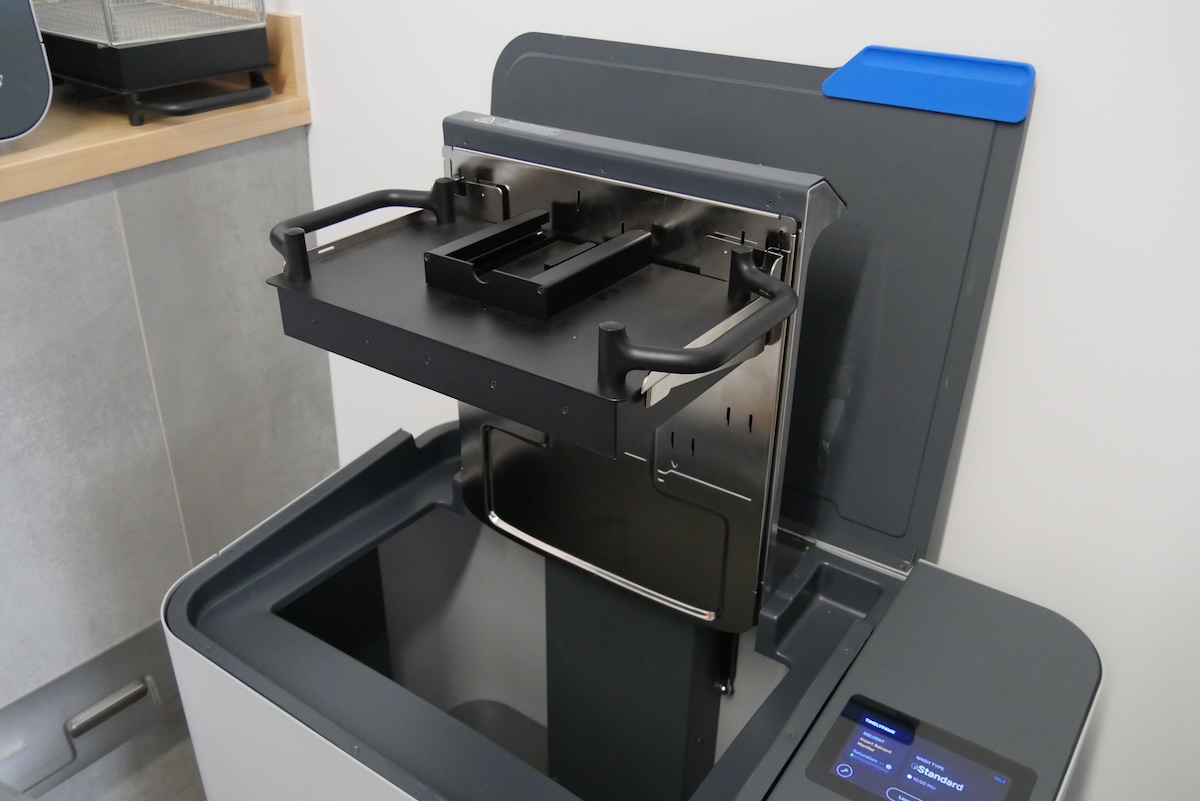
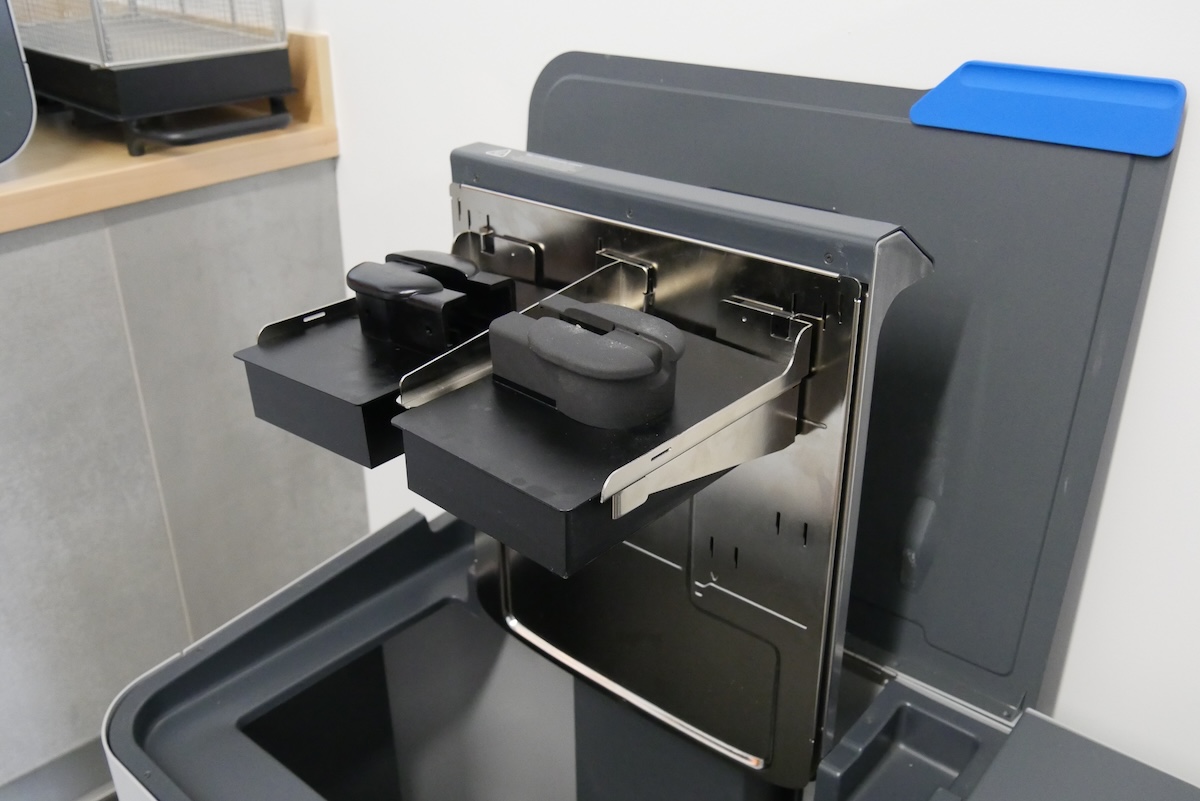
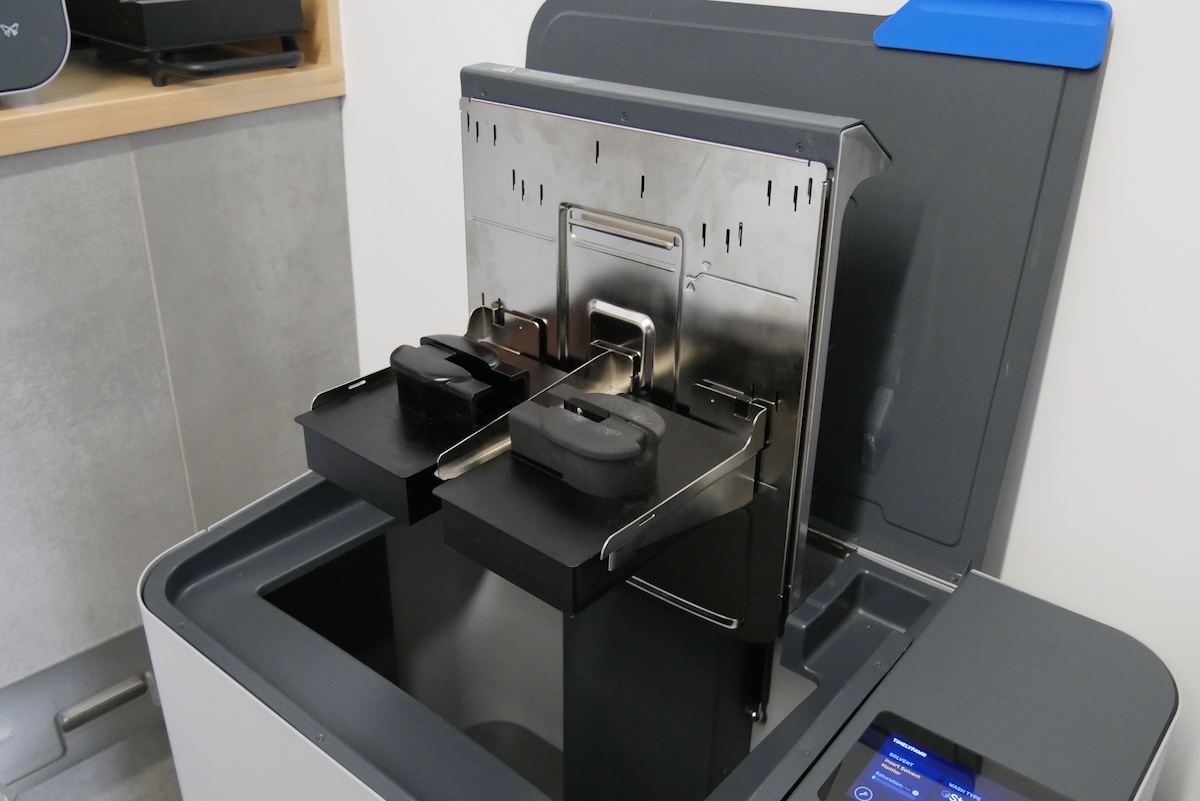
Universal Build Platform Adapterには、ビルドプラットフォームマウントアームを取り付けるための複数のスロットがあります。左、右、中央の3本のアームが付属しています。左右のアームは、下図で1、2、3と書かれた外側の位置にはめ込みます。Form 2、Form 3、Form 4用ビルドプラットフォームを2台同時に洗浄できるように中央のアームを取り付けます。
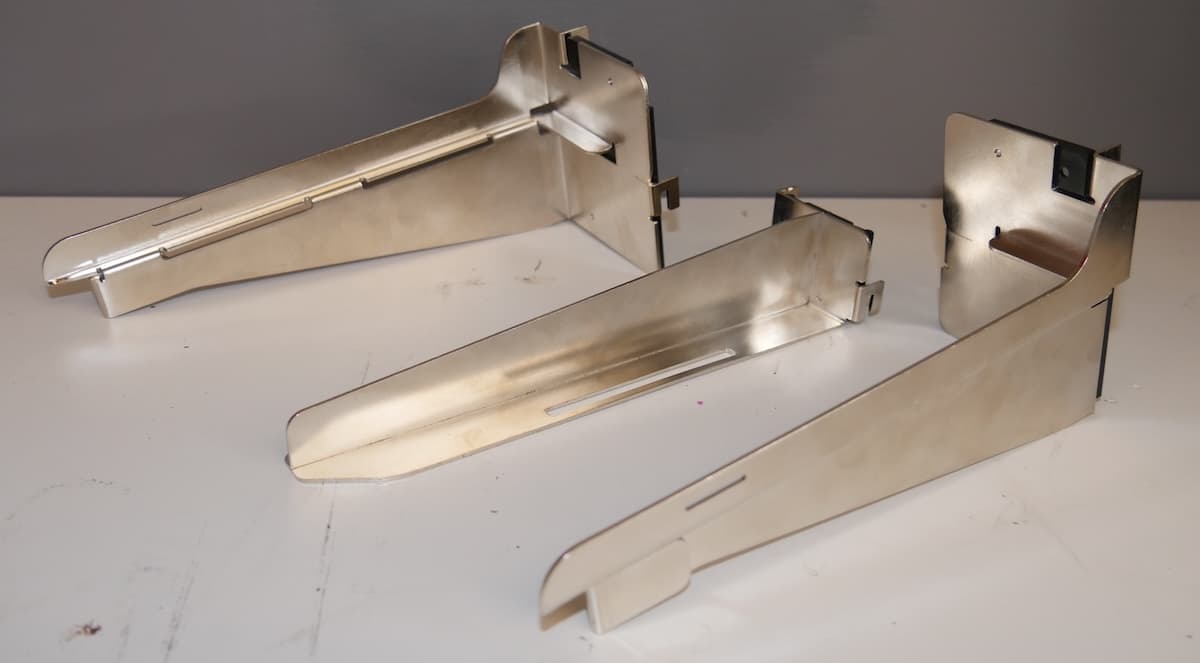
ビルドプラットフォームマウントアーム(左、中央、右)

上側のアーム(下図でXと表示)はForm Wash Lが溶剤で満杯の状態に、下側のアーム(下図でYと表示)はForm Wash Lの半分の約20Lまで溶剤が補充されている場合の状態に対応します。
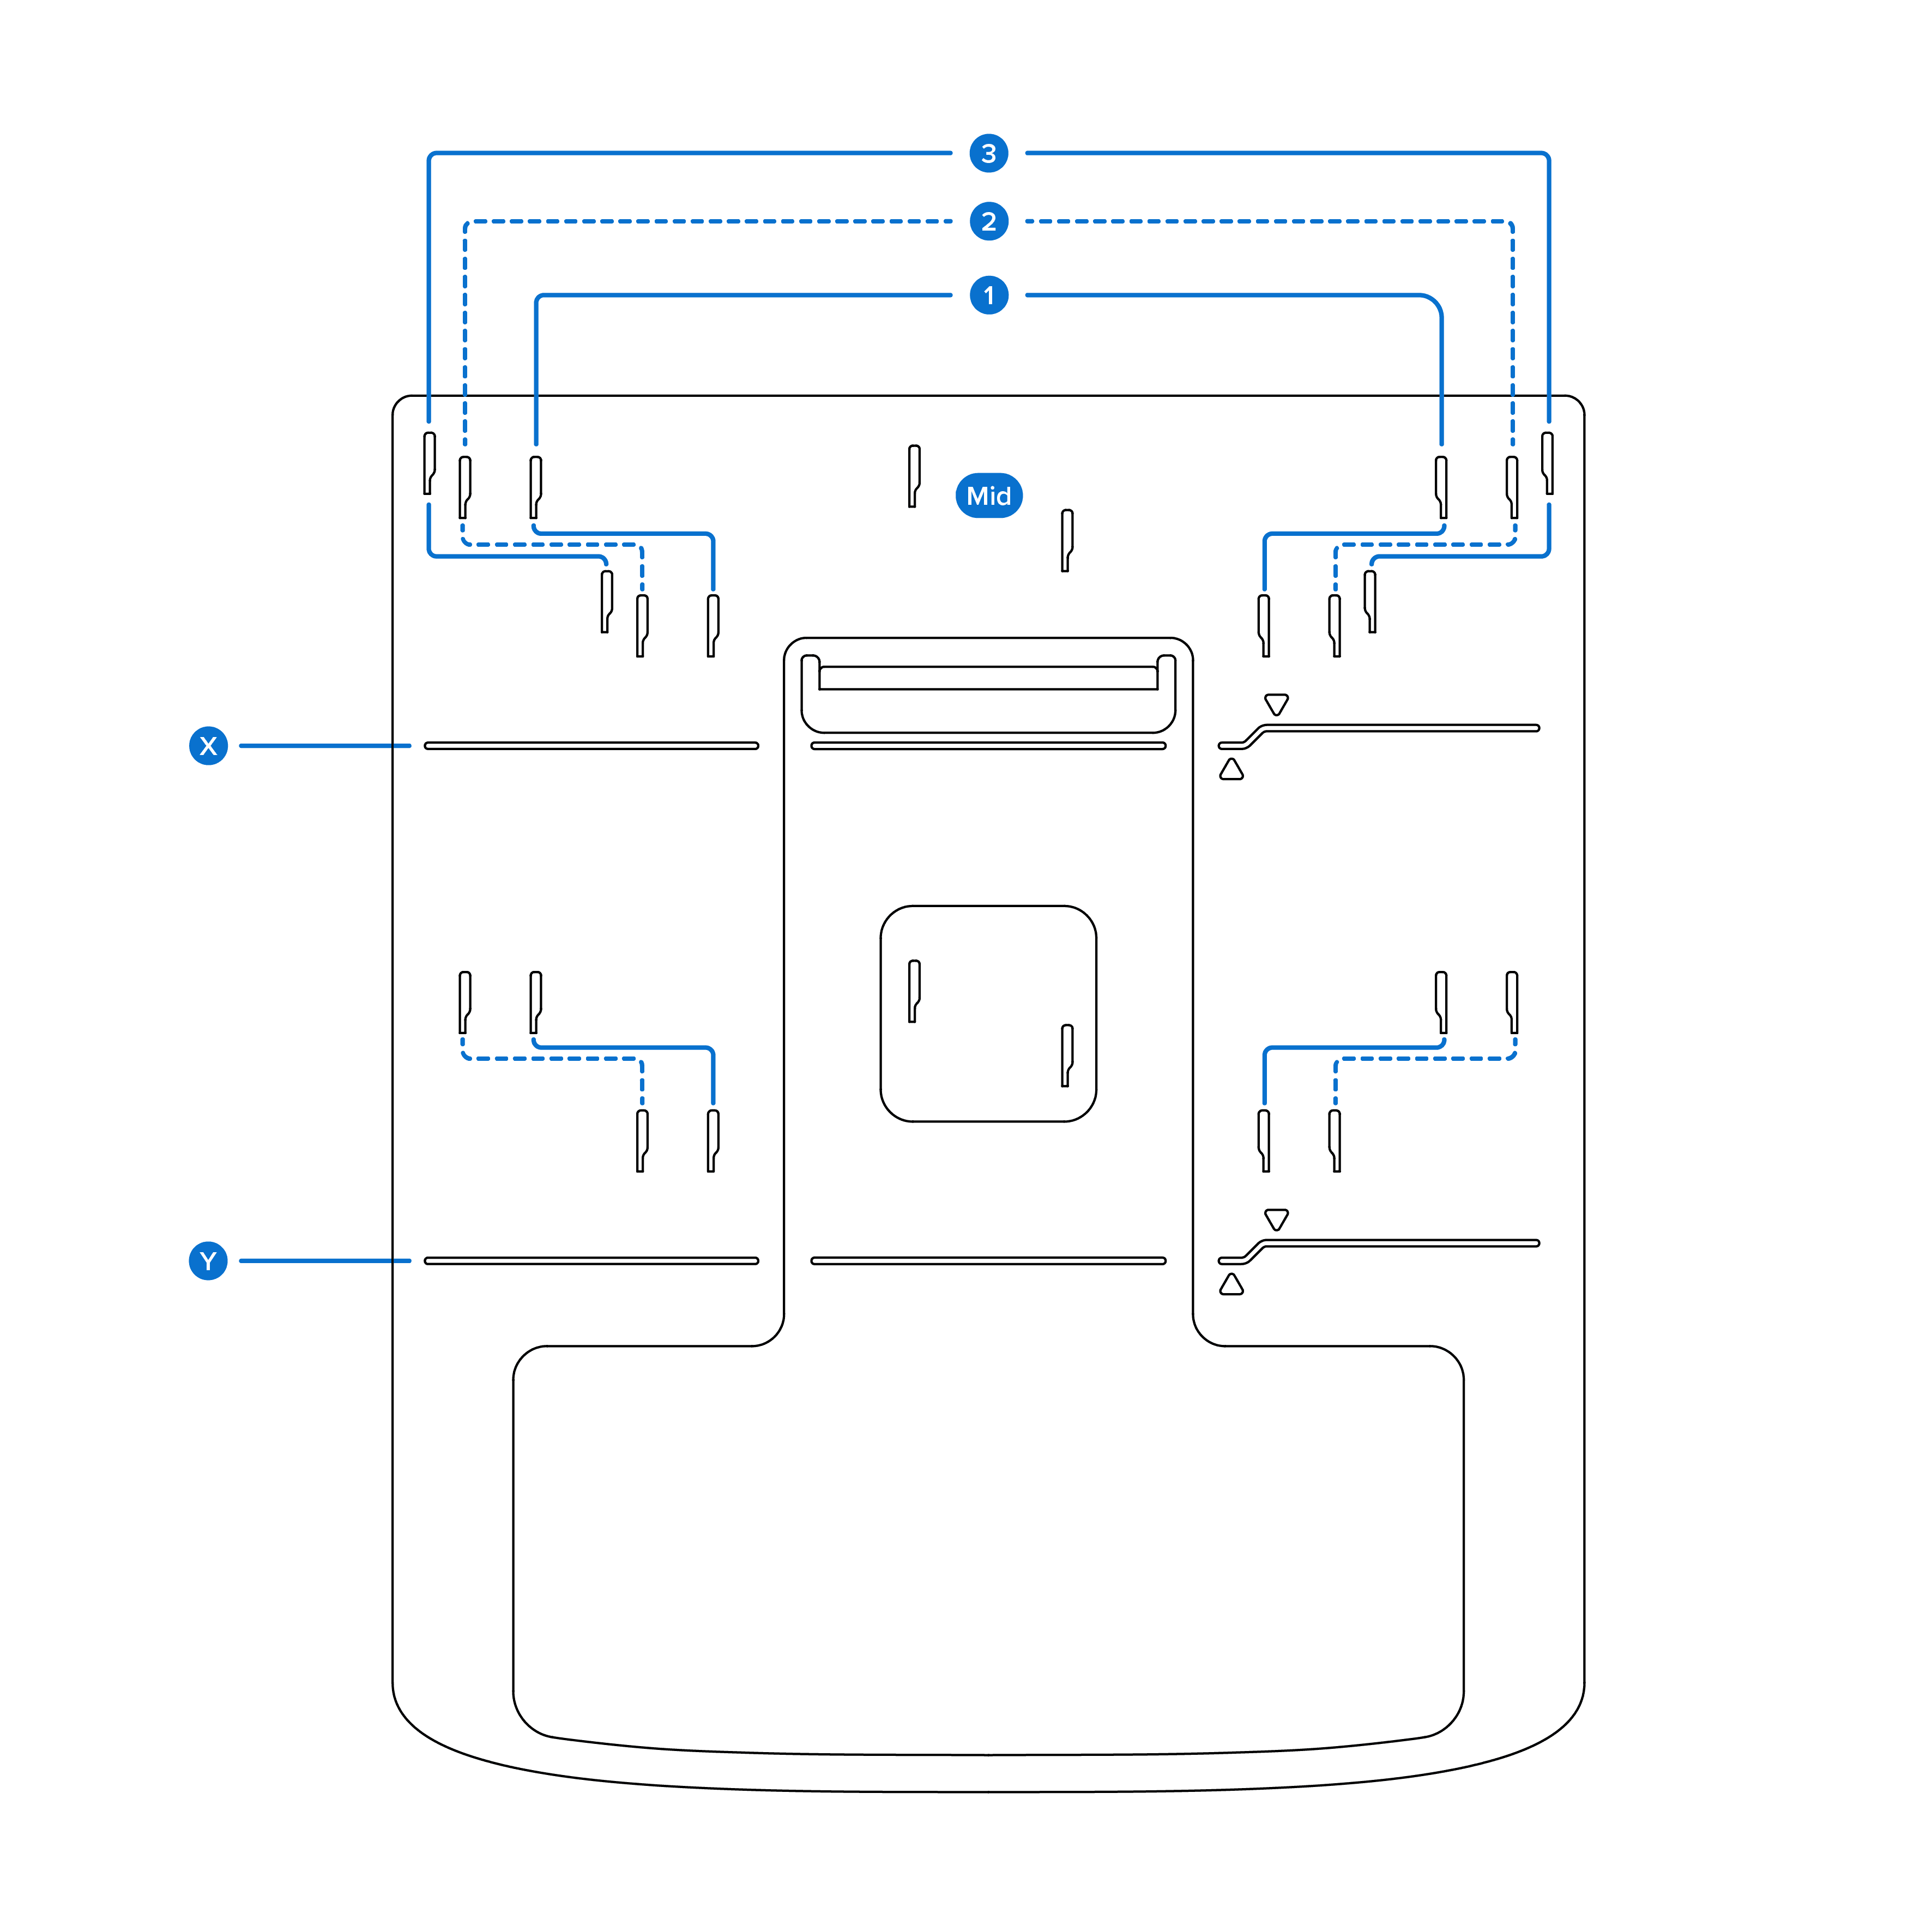
Universal Build Platform Adapterのビルドプラットフォームアームポジション
PrinterBuild platformsLeft/right platform arm positionMiddle arm installed
Form 2
Form 3 generation
Standard Build Platform
Build Platform 2
Stainless Steel Build Platform
2Yes
Form 3L generationForm 3L Build Platform
Form 3L Build Platform 2L
2No
Form 4 generationForm 4 Build Platform
Form 4 Flex Build Platform
1Yes
Form 4L generationForm 4L Build Platform
Form 4L Flex Build Platform
3No

以下に構成例を表示します:

プリンタ上部位置下部位置
Form 2
Form 3世代
Two Form 3 build platforms on the Form Wash L Universal Build Platform AdapterTwo Form 3 build platforms on the Form Wash L Universal Build Platform Adapter
Form 3L世代One Form 3L build platform on the Form Wash L Universal Build Platform AdapterOne Form 3L build platform on the Form Wash L Universal Build Platform Adapter
Form 4世代Two Form 4 build platforms on the Form Wash L Universal Build Platform AdapterTwo Form 4 build platforms on the Form Wash L Universal Build Platform Adapter
Form 4L世代One Form 4L build platform on the Form Wash L Universal Build Platform AdapterN/A

Note:

Remove the wash basket when washing a Form 4L build platform on a Form Wash L V1 unit with the Universal Build Platform Adapter. The wash basket interferes with the build platform, preventing it from sitting fully on the build platform mount arms.

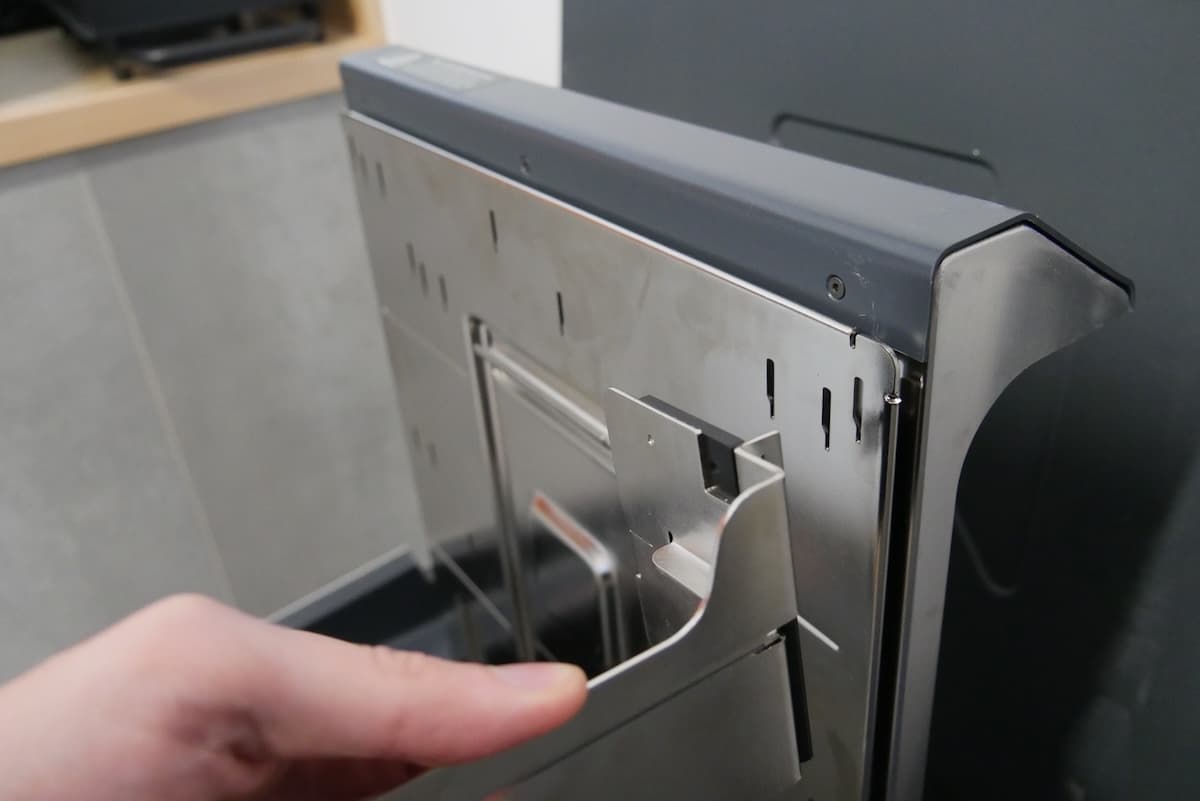
ビルドプラットフォームマウントアームを取り付けるには:

  1. Form Wash LのタッチスクリーンでRaise(上昇)をタップします。プラットフォームマウントがバケットからせり上がります。
  2. それぞれに適したマウントアームの取り付け位置で使用してください。
  3. 選択したスロットにタブを挿入し、アームを下にスライドさせて固定します。
Universal Build Platform Adapterにビルドプラットフォームアームを取り付ける
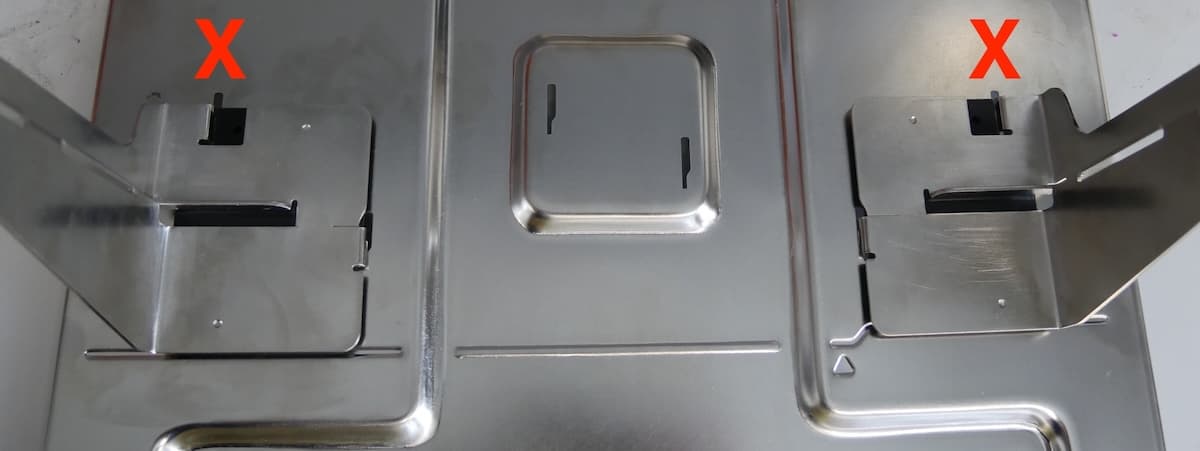
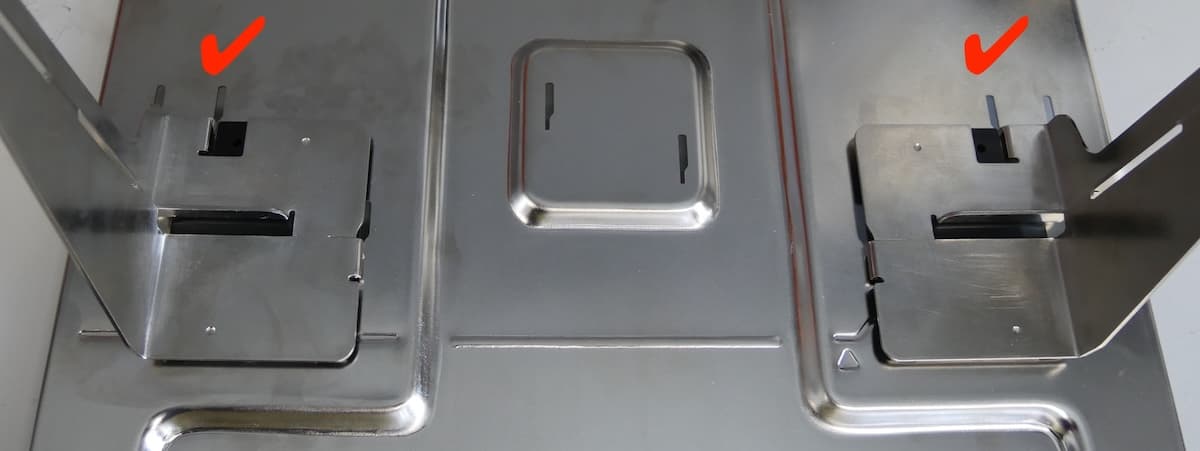
  1. ビルドプラットフォームマウントアームがスロットに完全に挿入されていることを確認します。アームが完全に挿入されると、スロットの広い部分がアームの上に完全に見えるようになります。
ビルドプラットフォームマウントアームが正しく取り付けられていない
ビルドプラットフォームが正しく取り付けられている
Form Wash Lのタッチスクリーンで
  1. Lower(下げる)をタップします。プラットフォームマウントがバケット内に向けて降下します。