技術白書
Formlabs Logo

Fine Tuning Formlabs LFS printers

Fine Tuning Formlabs LFS printers

Z Axis Fine Tuning is an advanced troubleshooting feature on Formlabs LFS printers (Form 3 and Form 3L product lines). Use Z Axis Fine Tuning to correct any consistent, small-scale dimensional errors or to mitigate model adherence issues.

ヒント:

PreFormのZ-Compression Correction(Z軸圧縮補正)の値を調整すると、1つのモデルの寸法をZ軸に沿って正確に直すことができます。

過剰圧縮を補正する

Printed prints are sometimes shorter than their intended design. This dimensional inaccuracy is referred to as Z-compression, and can be adjusted by either raising the build platform or by recalibrating the Z-axis.

備考:

その前に、お使いのファームウェアPreFormのバージョンが最新であることをご確認ください。お使いのプリンタのファームウェアのバージョンを確認するには、Formlabsが発行しているサポート記事Checking the firmware version for Formlabs SLA printers(Formlabs SLA プリンタのファームウェアのバージョンを確認する)をご参照ください。PreFormのバージョンの更新方法は、FAQ記事にあるPreFormの更新手順を参照してください。

Step 1: Recalibrate the Z-axis

Recalibrating the Z-axis may correct Z-compression by resetting the build platform’s height back to factory settings.

To recalibrate the Z-axis:

  1. Update the printer’s firmware.
  2. Put on a pair of clean, nitrile gloves.
  3. Make sure the build platform is clean of any resin.
  4. Remove the resin tank from the printer.
  5. Ensure that the printer is not running a print job and is currently Idle.
  6. Calibrate your printer’s Z-axis.
    1. Form 3 product line: Tap the gear icon on the printer’s touchscreen. The Settings screen appears. Tap Maintenance > Calibration > Calibrate Z-axis. Follow the onscreen prompts to complete the procedure. The process may take several minutes.
    2. Form 3L product line: Tap the wrench icon on the printer’s touchscreen. The Maintenance screen appears. Tap Calibration > Calibrate Z-axis. Follow the onscreen prompts to complete the procedure. The process may take several minutes.
  7. Print small models to test the change. If the problem persists, fine tune the printer’s Z-axis.

Step 2: Fine tune the Z-axis

Z Axis Fine Tuning changes the height of the build platform above the tank’s elastic layer before the first layer adheres to the build platform. Small adjustments adding to the build platform’s height may correct Z-compression in models.

ヒント:

Z軸を調整しても、PreFormの設定は変更されません。

To fine tune the Z-axis on a Formlabs LFS printer:

  1. Update the printer’s firmware.
  2. Ensure that the printer is not running a print job and is currently Idle.
  3. Access the Z Axis Fine Tuning screen.
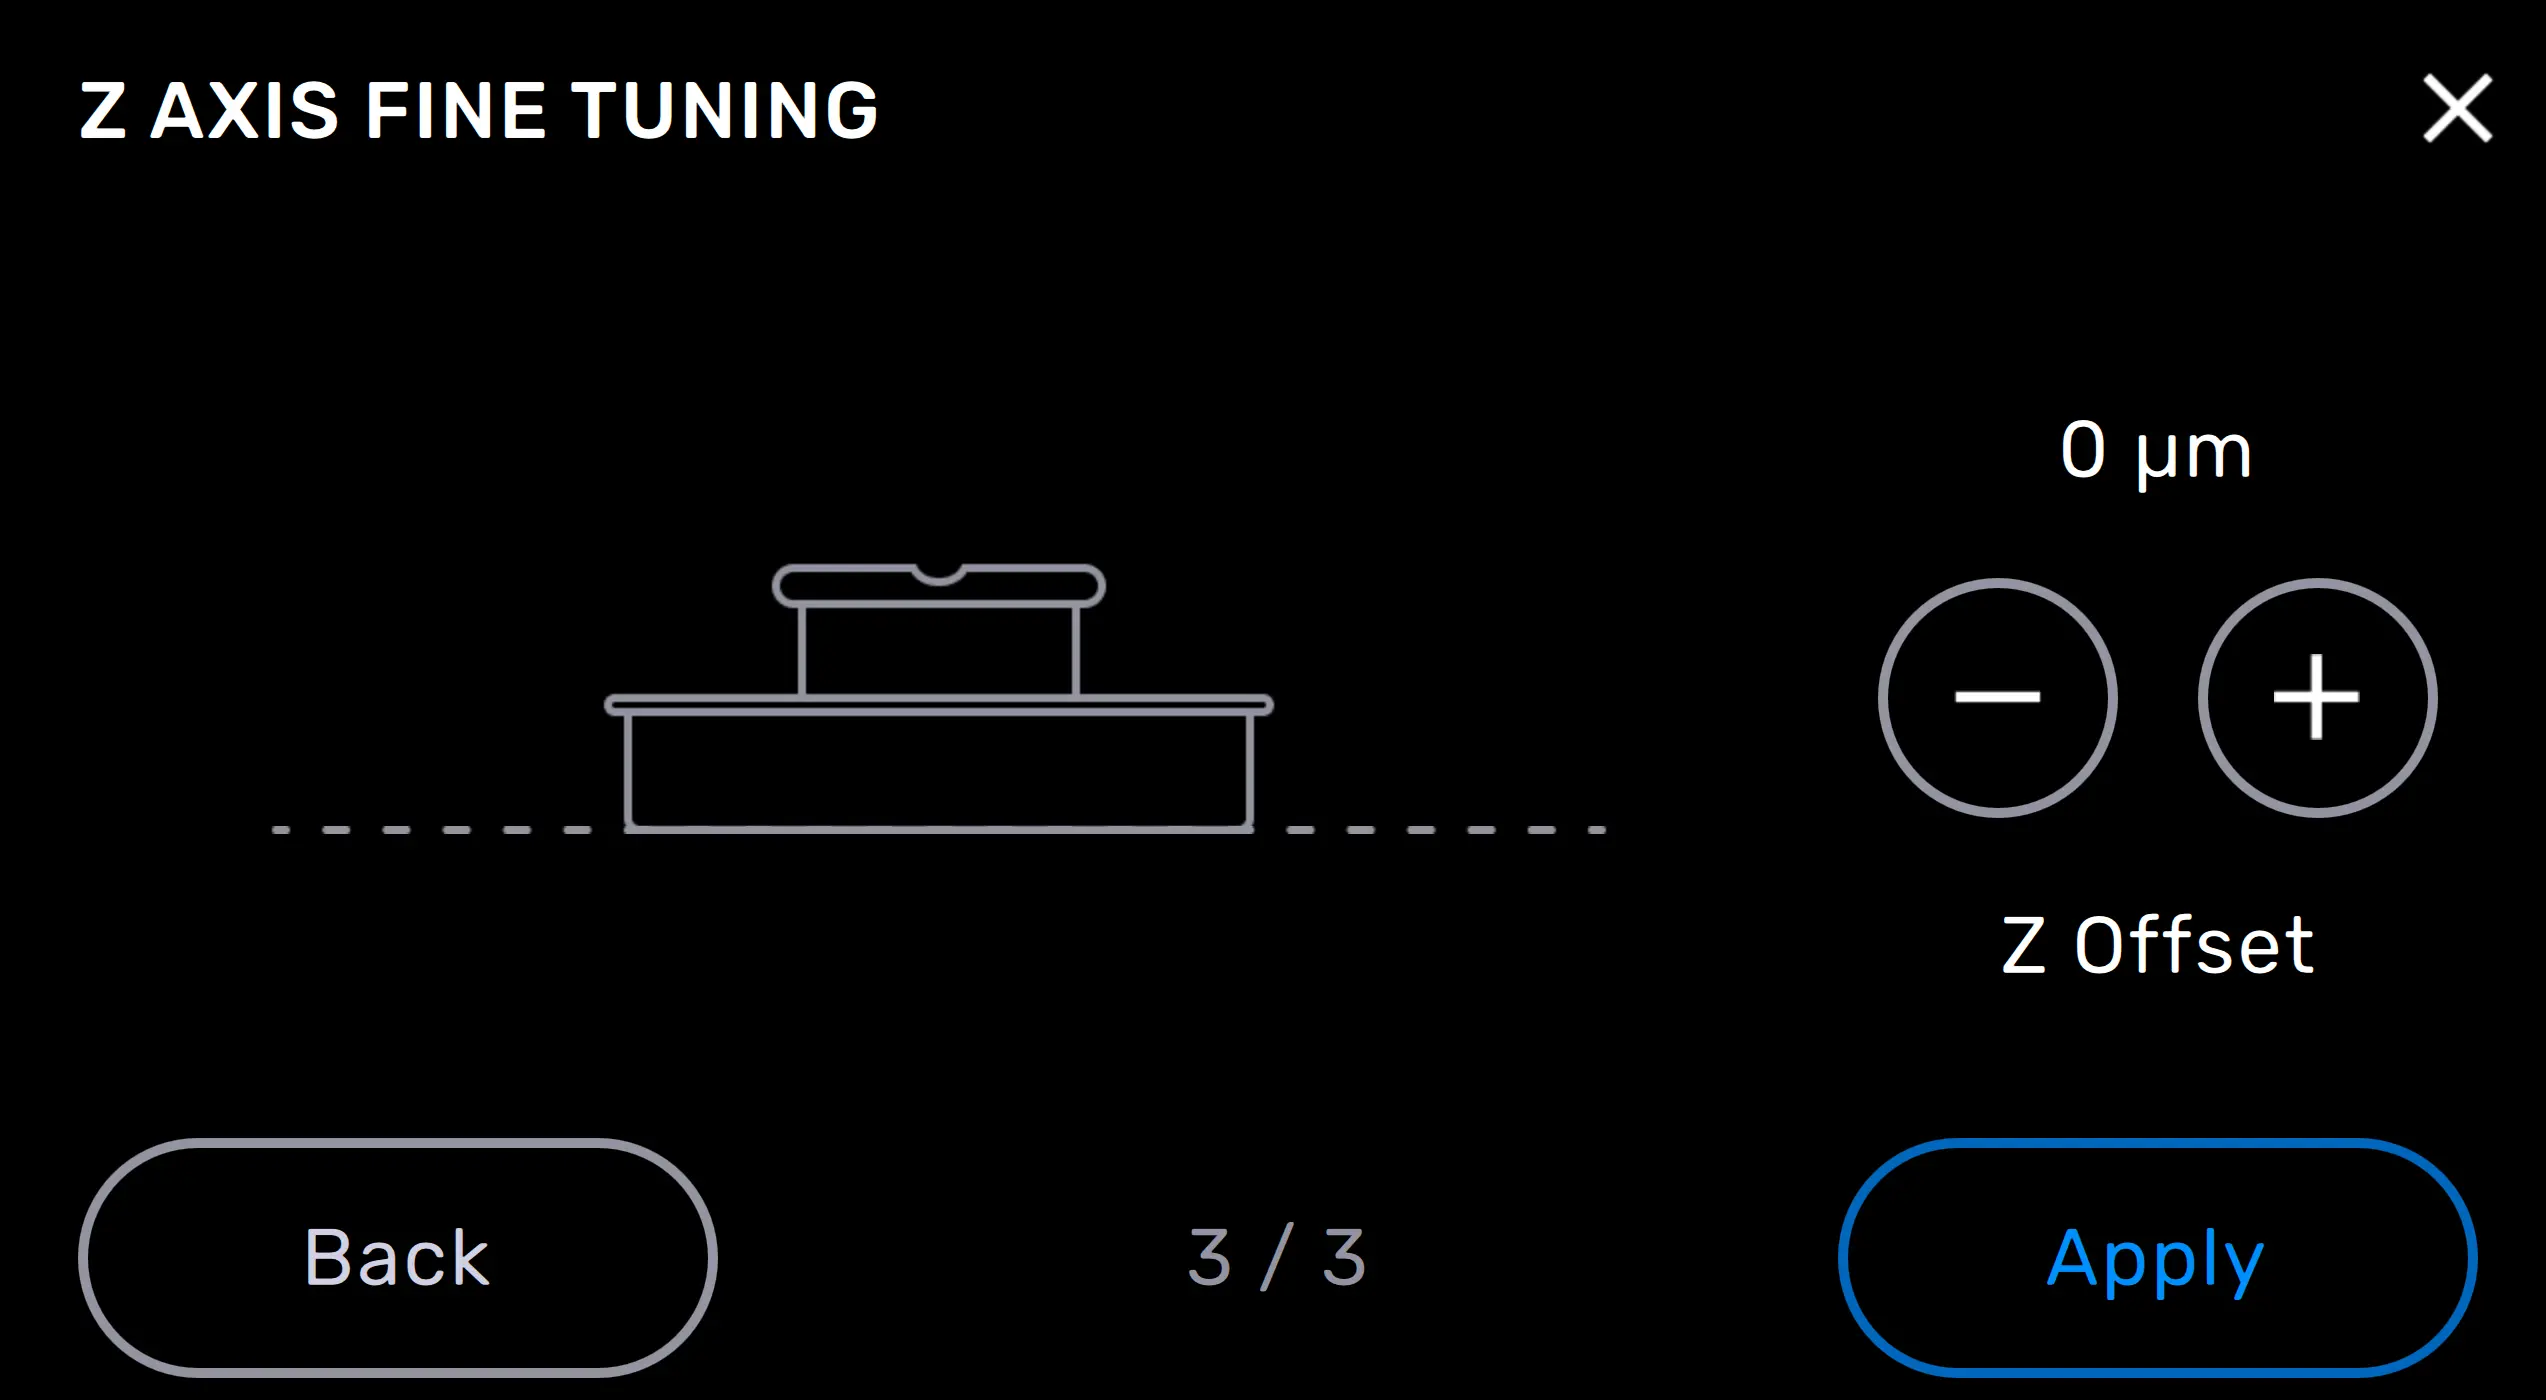
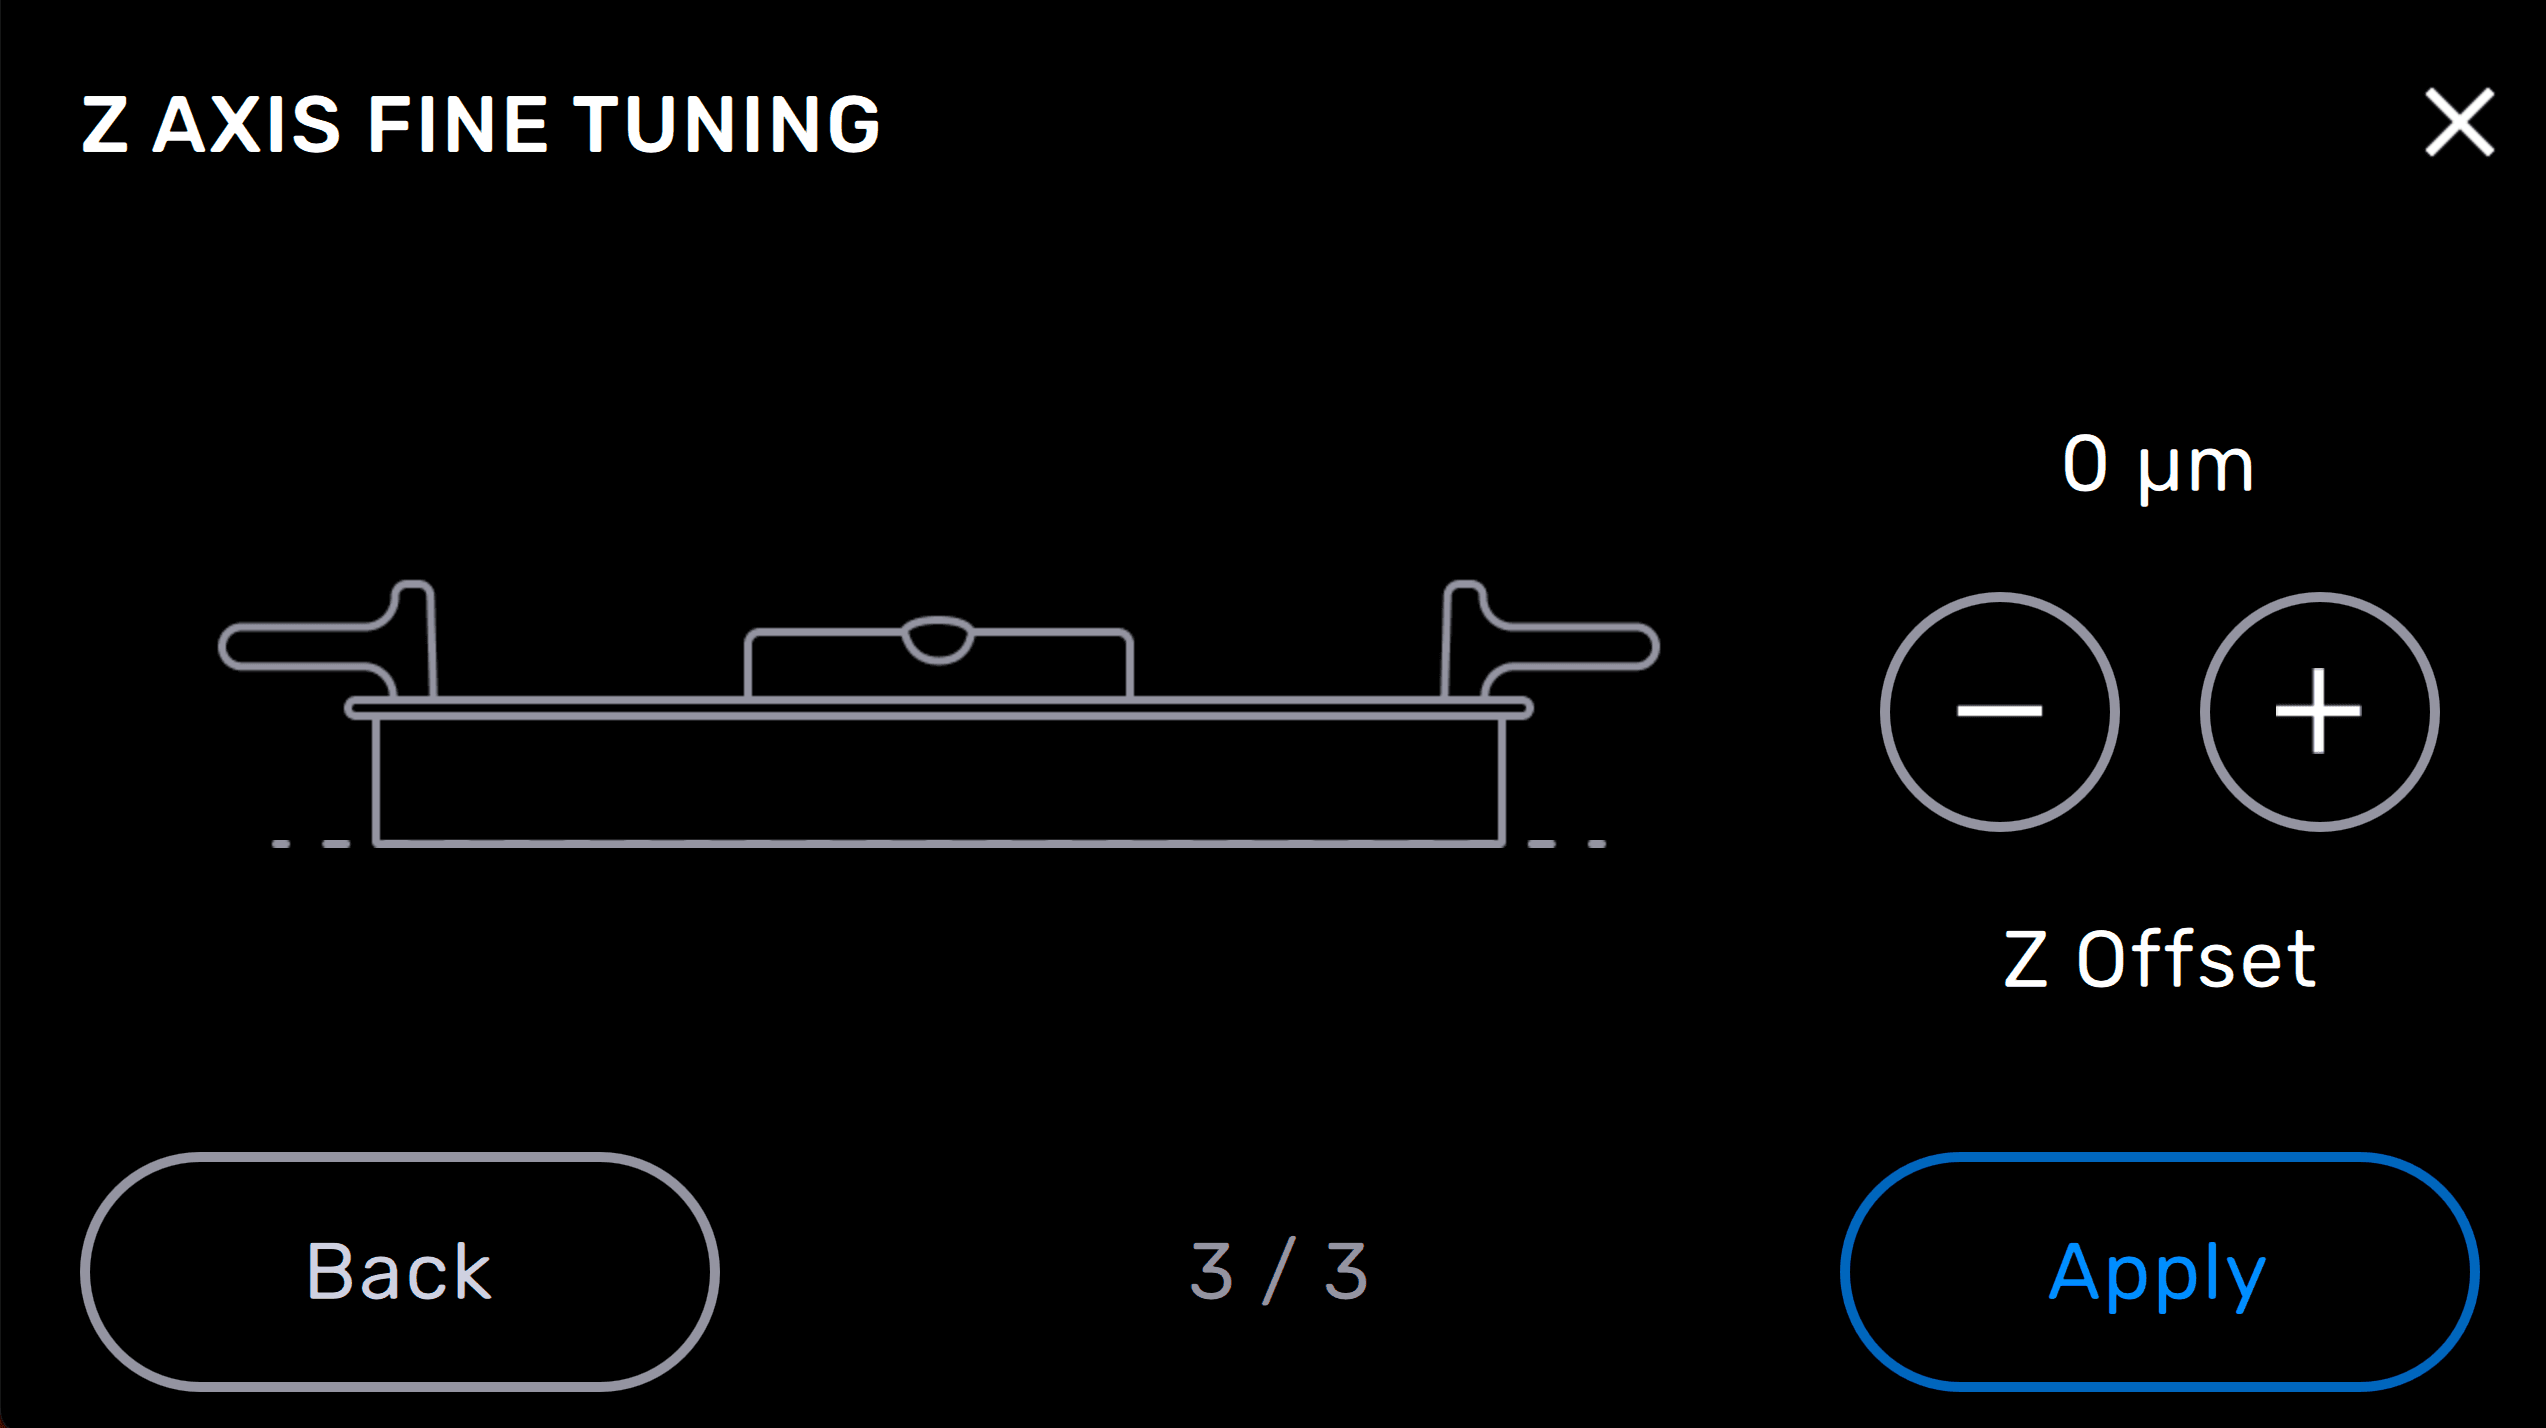
    1. Form 3 product line: Tap the gear icon on the printer’s touchscreen. The Settings screen appears. Tap Maintenance > Calibration > Fine Tune Z-Axis. The Z Axis Fine Tuning screen appears.
    2. Form 3L product line: Tap the wrench icon on the printer’s touchscreen. The Maintenance screen appears. Tap Calibration > Fine Tune Z-Axis. The Z Axis Fine Tuning screen appears.
  4. Tap the + button above Z Offset to raise the default position of the build platform and increase the value in increments of 50 µm. The highest available Z Offset value is 1000 µm.
  5. Start by changing the Z Offset value to 50 µm. Tap Apply to save the value and return to the Settings screen.
  6. Print small models to test the change and continue to adjust the value until models print with consistent supports and rafts.

ヒント:

ビルドプラットフォームの高さを50µm単位で調整した後、小さなモデルを試験的に造形して出来栄えを確認します。サポート材とラフトが安定した状態で造形できるようになるまで、微調整を続けます。
alttext
alttext

非付着性を直す

Prints that complete but leave the build platform empty are the result of non-adherence. This can be corrected by either raising the build platform or by recalibrating the Z-axis.

備考:

その前に、お使いのファームウェアPreFormのバージョンが最新であることをご確認ください。お使いのプリンタのファームウェアのバージョンを確認するには、Formlabsが発行しているサポート記事Checking the firmware version for Formlabs SLA printers(Formlabs SLA プリンタのファームウェアのバージョンを確認する)をご参照ください。PreFormのバージョンの更新方法は、FAQ記事にあるPreFormの更新手順を参照してください。

Step 1: Recalibrate the Z-axis

Recalibrating the Z-axis may correct non-adherence by resetting the build platform’s height back to factory settings.

To recalibrate the Z-axis:

  1. Update the printer’s firmware.
  2. Put on a pair of clean, nitrile gloves.
  3. Make sure the build platform is clean of any resin.
  4. Remove the resin tank from the printer.
  5. Ensure that the printer is not running a print job and is currently Idle.
  6. Calibrate your printer’s Z-axis.
    1. Form 3 product line: Tap the gear icon on the printer’s touchscreen. The Settings screen appears. Tap Maintenance > Calibration > Calibrate Z-axis. Follow the onscreen prompts to complete the procedure. The process may take several minutes.
    2. Form 3L product line: Tap the wrench icon on the printer’s touchscreen. The Maintenance screen appears. Tap Calibration > Calibrate Z-axis. Follow the onscreen prompts to complete the procedure. The process may take several minutes.
  7. Print small models to test the change. If the problem persists, fine tune the printer’s Z-axis.

Step 2: Fine tune the Z-axis

Z Axis Fine Tuning changes the height of the build platform above the tank’s elastic layer before the first layer adheres to the build platform. Small adjustments lowering the build platform’s height may correct non-adherence in models.

Tip:

When adjusting the Z-axis your PreForm settings do not change.

To fine tune the Z-axis on a Formlabs LFS printer:

  1. Update the printer’s firmware.
  2. Ensure that the printer is not running a print job and is currently Idle.
  3. Access the Z Axis Fine Tuning screen.
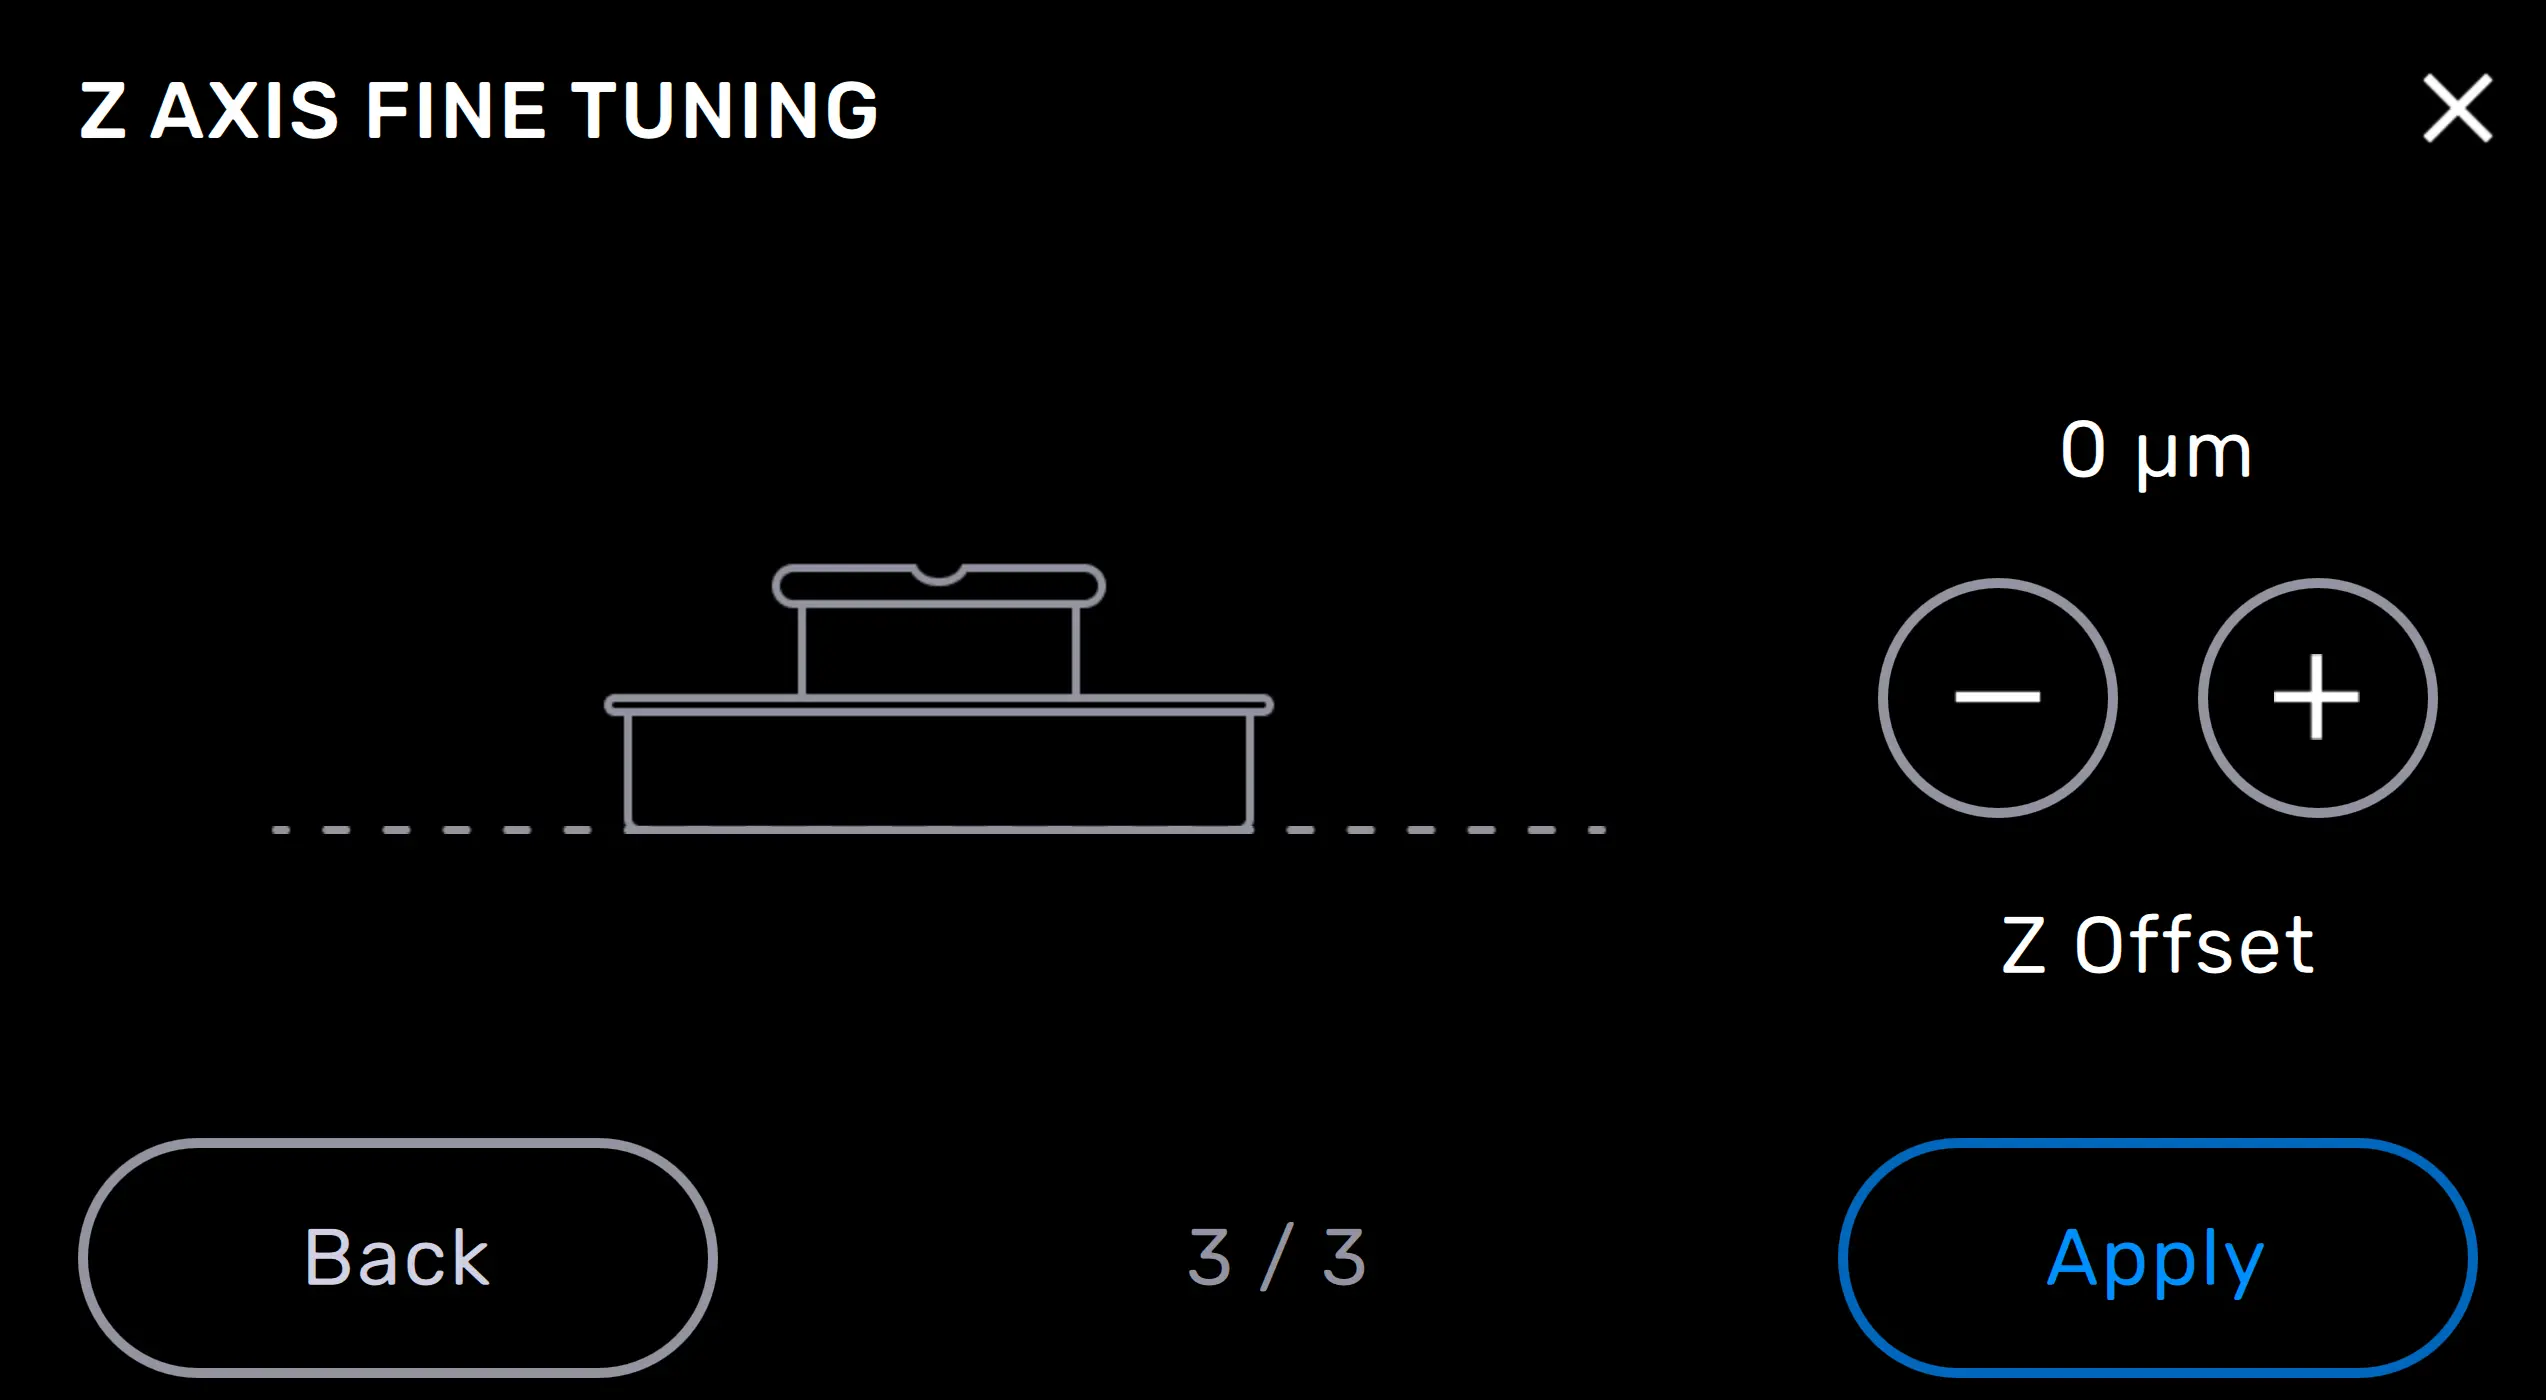
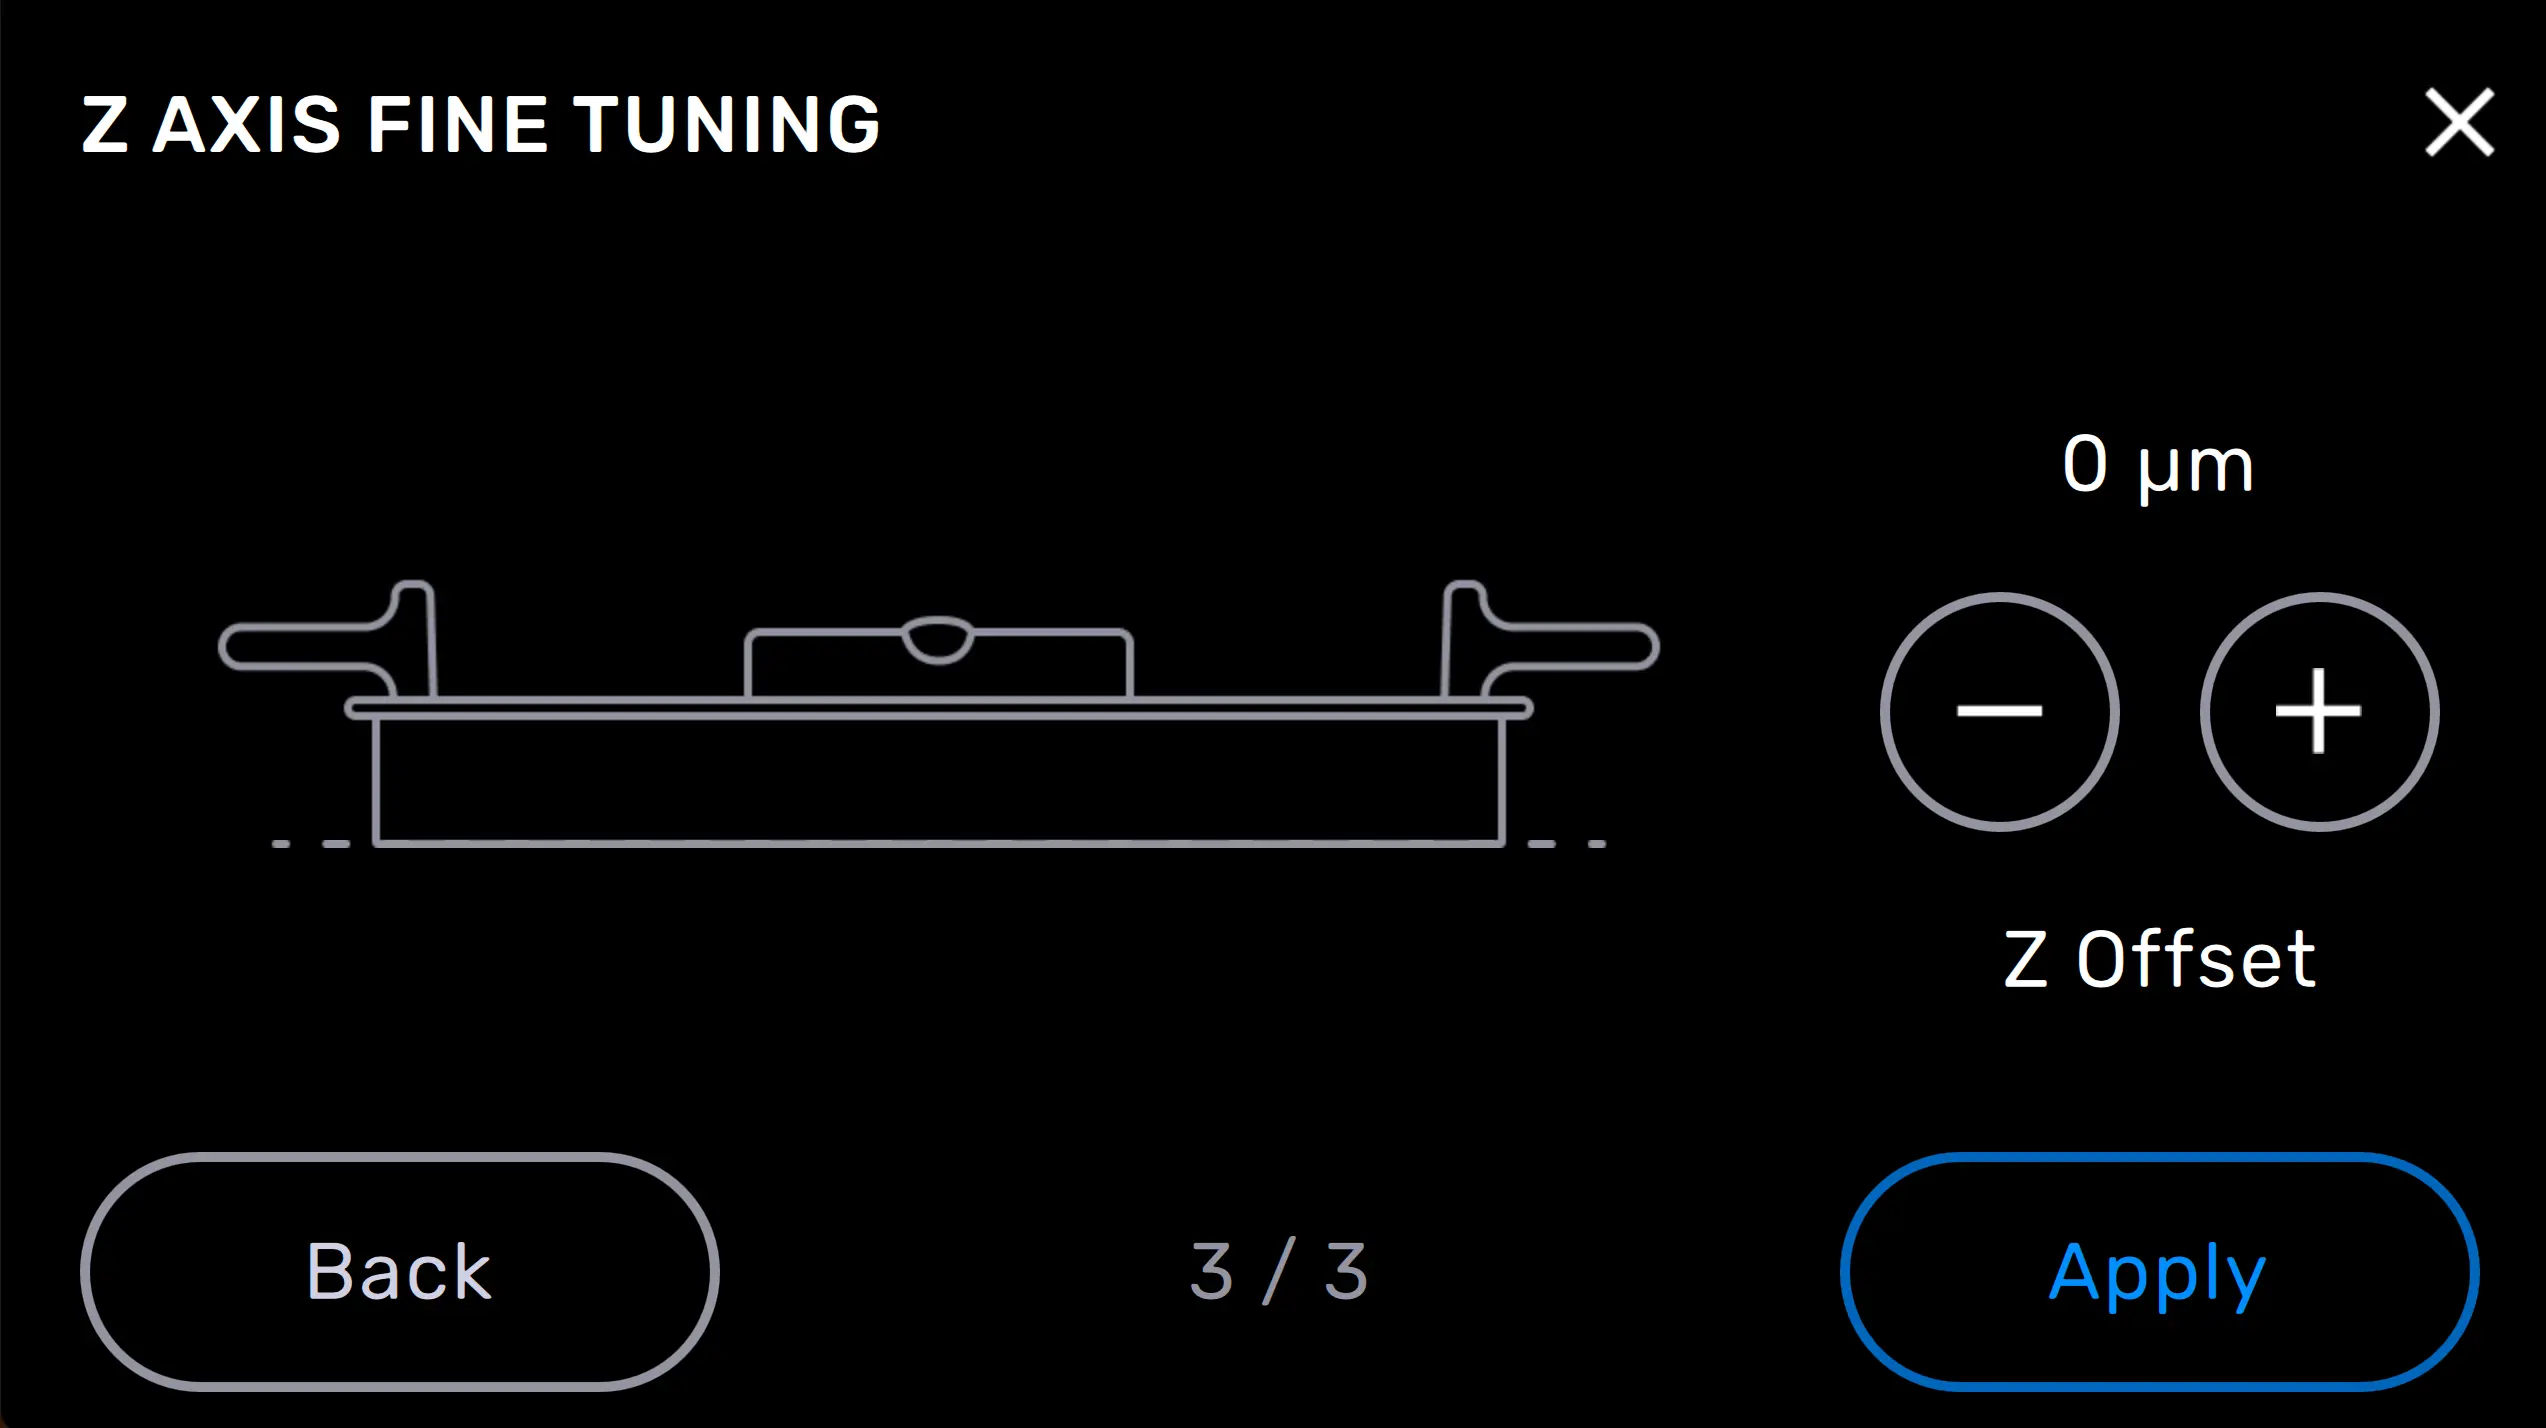
    1. Form 3 product line: Tap the gear icon on the printer’s touchscreen. The Settings screen appears. Tap Maintenance > Calibration > Fine Tune Z-Axis. The Z Axis Fine Tuning screen appears.
    2. Form 3L product line: Tap the wrench icon on the printer’s touchscreen. The Maintenance screen appears. Tap Calibration > Fine Tune Z-Axis. The Z Axis Fine Tuning screen appears.
  4. Tap the - button above Z Offset to lower the default position of the build platform and decrease the value in increments of 50 µm. The lowest available Z Offset value is -1000 µm.
  5. Start by changing the Z Offset value to -50 µm. Tap Apply to save the value and return to the Settings screen.
  6. Print small models to test the change. Continue to adjust the value until models print with consistent supports and rafts.

ヒント:

ビルドプラットフォームの高さを-50µm単位で調整した後、小さなモデルを試験的に造形して出来栄えを確認します。サポート材とラフトが安定した状態で造形できるようになるまで、微調整を続けます。
alttext
alttext

Formlabs Supportに連絡する

If your parts never adhere or continue to shift location on the build platform, reset all Z Axis Fine Tuning settings to default values and contact Formlabs Support or your authorized reseller.

To help us provide the fastest and most effective response to your issue, please provide the following information:

  • Upload diagnostic logs.
  • Serial name of the printer:
  • Troubleshooting steps attempted:
    • Example: “I raised the build platform to overcompression.”
  • Resin formulation and lot number:
  • Layer thickness:
    • Tap the queue icon on the printer’s touchscreen. The Jobs screen appears.
  • Relevant FORM files:
    • If available, attach FORM files of the model to the support request.
  • Previous attempts to print the part and any successful prints:
    • Example: “I printed the file part2.form three times previously. The first and second were successful. The third one failed.”