
ヒント:
レジンのこぼれが広範囲に及んでいる場合や、レジンがプリンター内部にまで達している可能性がある場合は、直ちにFormlabsサポートまたは正規販売代理店にご連絡ください。技術白書
レジンがこぼれた際のクリーニング方法(Form 4世代)
レジンがこぼれた際のクリーニング方法(Form 4世代)
レジンがこぼれた場合は、プリンターの外観や機能への影響を最小限に抑えるため、すぐにレジンを拭き取りプリンターを点検してください。ここでは、レジンこぼれの主な原因やレジンこぼれを防ぐ方法についてご説明します。
レジンがこぼれた直後の対処方法
プリンタを使用している間に、少量のレジンがプリンタの外側に付着する場合がありますが、影響はありません。より広範囲に渡ってレジンがこぼれた場合は、クリーニングをより念入りに行い、プリンターが故障する可能性を確認・軽減するためのサポートが必要になる可能性があります。プリンタ内にレジンが入り込むと、内部の重要な部品やコンポーネントが汚れるか、腐食する原因になる恐れがあります。レジンが非常に広い範囲にこぼれてしまった場合は、その状況全体が分かる写真を撮影し、その写真をFormlabsサポートまたは正規販売代理店に送り、適切な指示を仰いでください。
- プリント中にレジンがこぼれた場合は、Form 4のタッチスクリーン上でプリントを一旦キャンセルします。
- その後、できるだけ早くレジンこぼれを拭き取ってください。
- レジンがこぼれた後すぐに拭き取ることが難しい場合、オレンジ色のカバーを閉めた状態にしておくと、環境光によってレジンが硬化してしまうのを防ぐことができます。
概要
警告:
レジンが肌に触れると、皮膚炎またはアレルギー性皮膚反応の原因になる恐れがあります。液体レジンまたはレジンが付着した表面に触れる際は、必ず手袋を着用してください。レジンが皮膚に付着したら、石鹸と水で念入りに洗い流してください。
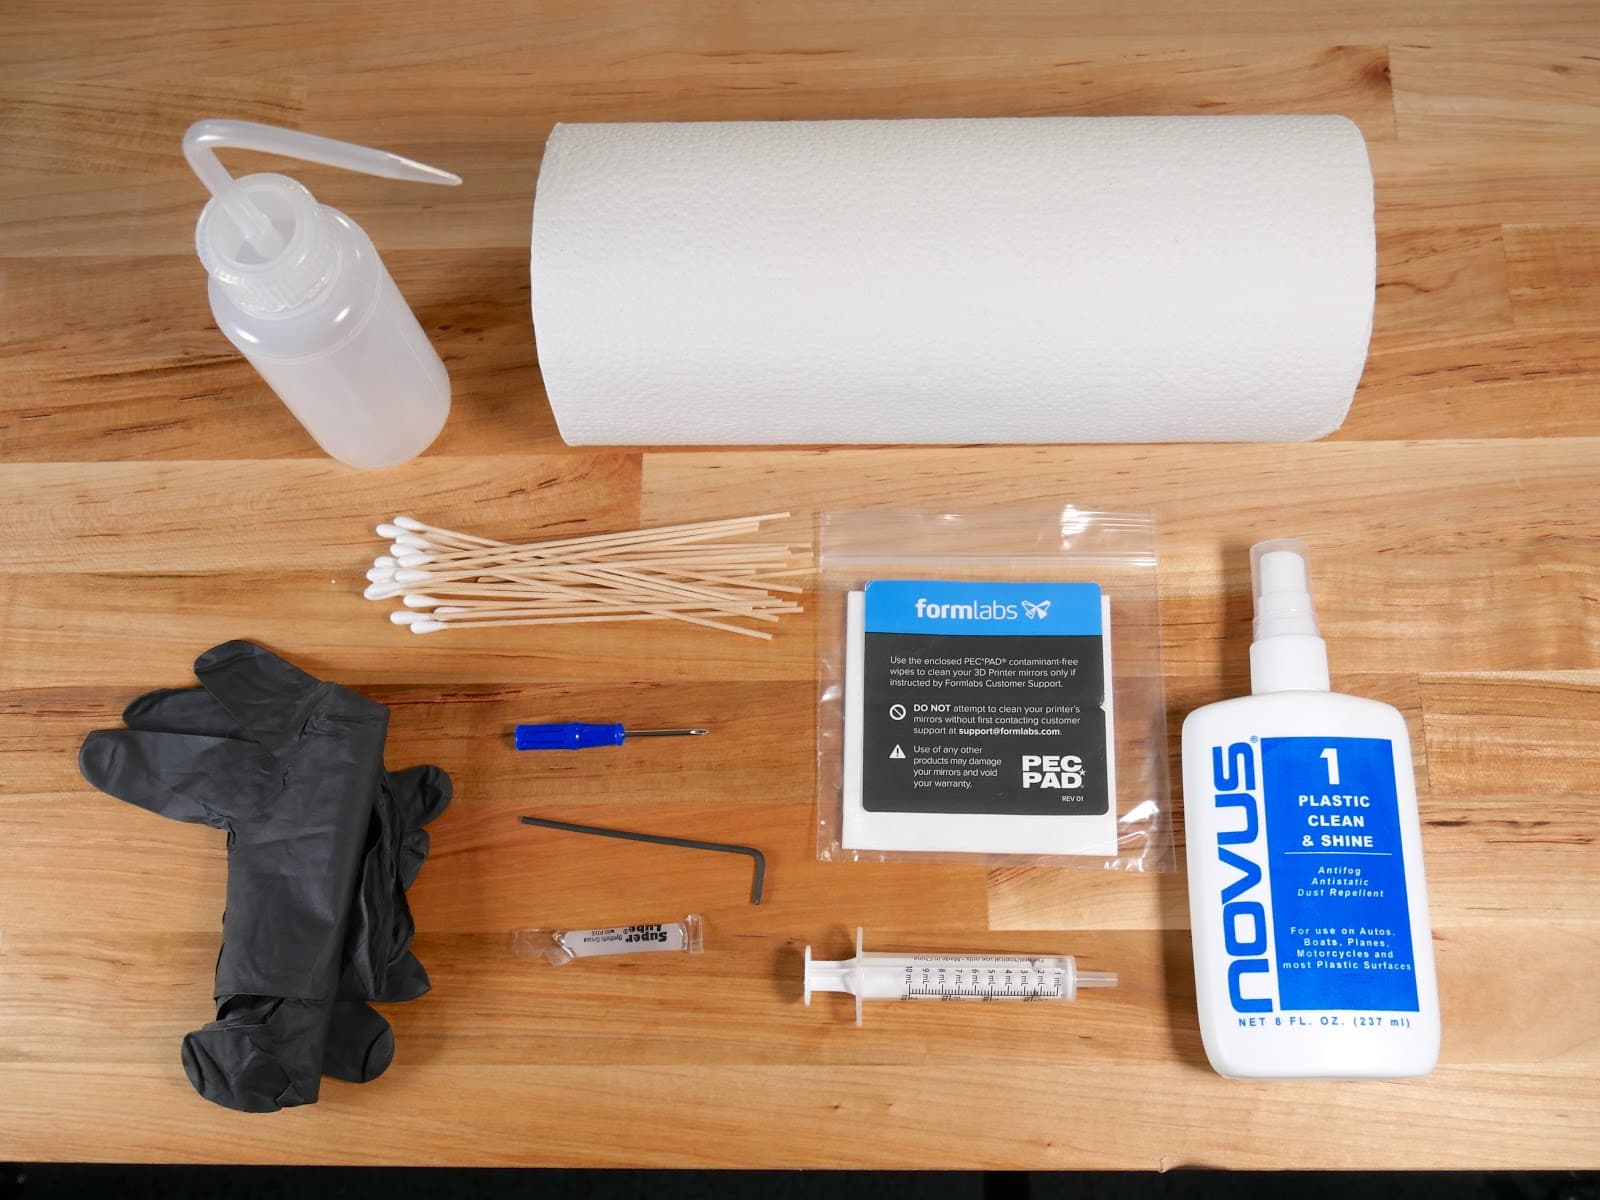
推奨する備品:
- ニトリル手袋
- 石鹸と水
- 低繊維のペーパータオルまたは使い捨てのマクロファイバー不織布
- 純度70%以上の未使用のイソプロピルアルコール(IPA)
- 綿棒
- PEC*PAD
- Novus 1: Plastic Clean & Shine、または類似のプラスチック専用クリーナー
- プラスチック製のヘラまたは類似品
- 懐中電灯
- 使い捨てシリンジまたはスポイト
プリンタを準備する
プリンタを点検またはクリーニングする時は、その準備として、プリンタの電源を抜き、プリンタに付いている消費財をすべて取り除きます。
- プリンターの電源スイッチを0の位置にします。プリンタから電源ケーブルを外します。
- LPUにレジンが垂れないよう、まずはビルドプラットフォームから取り外します。
- ビルドプラットフォームの表面にレジンが付いている場合はすべて拭き取ります。金属プレートに液体レジンが付着したまま放置すると環境光でレジンが硬化してしまい、プレートから剥がれなくなってしまう可能性があります。
- レジンカートリッジを取り外し、ベントキャップを閉じます。
- レジンミキサーのラッチを解除します。レジンタンクに蓋をし、レジンタンクとミキサーをプリンターから取り外します。タンクが漏れていないことを確認し、脇に置きます。
- レジンが非常に広い範囲にこぼれてしまった場合は、その状況全体が分かる写真を撮影し、その写真をFormlabsサポートまたは正規販売代理店に送り、適切な指示を仰いでください。
外側を点検・クリーニングする
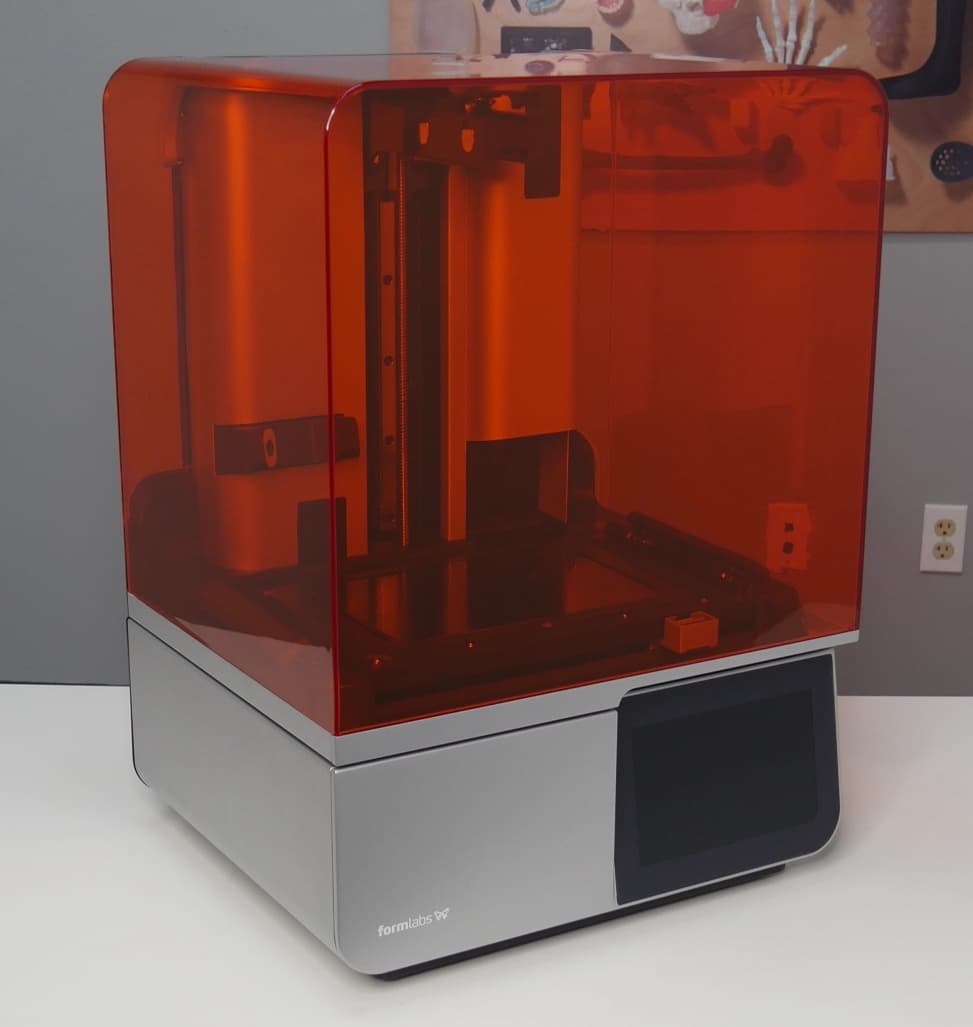
プリンターの外側に付いた液体レジンは、プリンターを使い難くすることもあれば、作業に影響する他の表面を汚す原因になることもあります。レジンがカバー、シェルやポートにこぼれたら、きれいに拭き取るようにしてください。
オレンジ色のカバー
- オレンジ色のカバーの内側と外側の両方を調べます。
- カバーに液体レジンが付着している場合は、石鹸と水で湿らせたペーパータオルで拭き取ります。
シェル
- シェルに液体レジンが付着している場合は、レジンをペーパータオルで吸い取ります。その際、表面にレジンが付かないようにご注意ください。
- レジンがシェルの表面で硬化した場合、プラスチックのヘラを使って削ぎ落としてください。金属ヘラを使用するとシェルを傷つける恐れがあります。
- プリンターの外側の表面にまだレジンが付着している場合は、水と石鹸で念入りに拭き取ります。
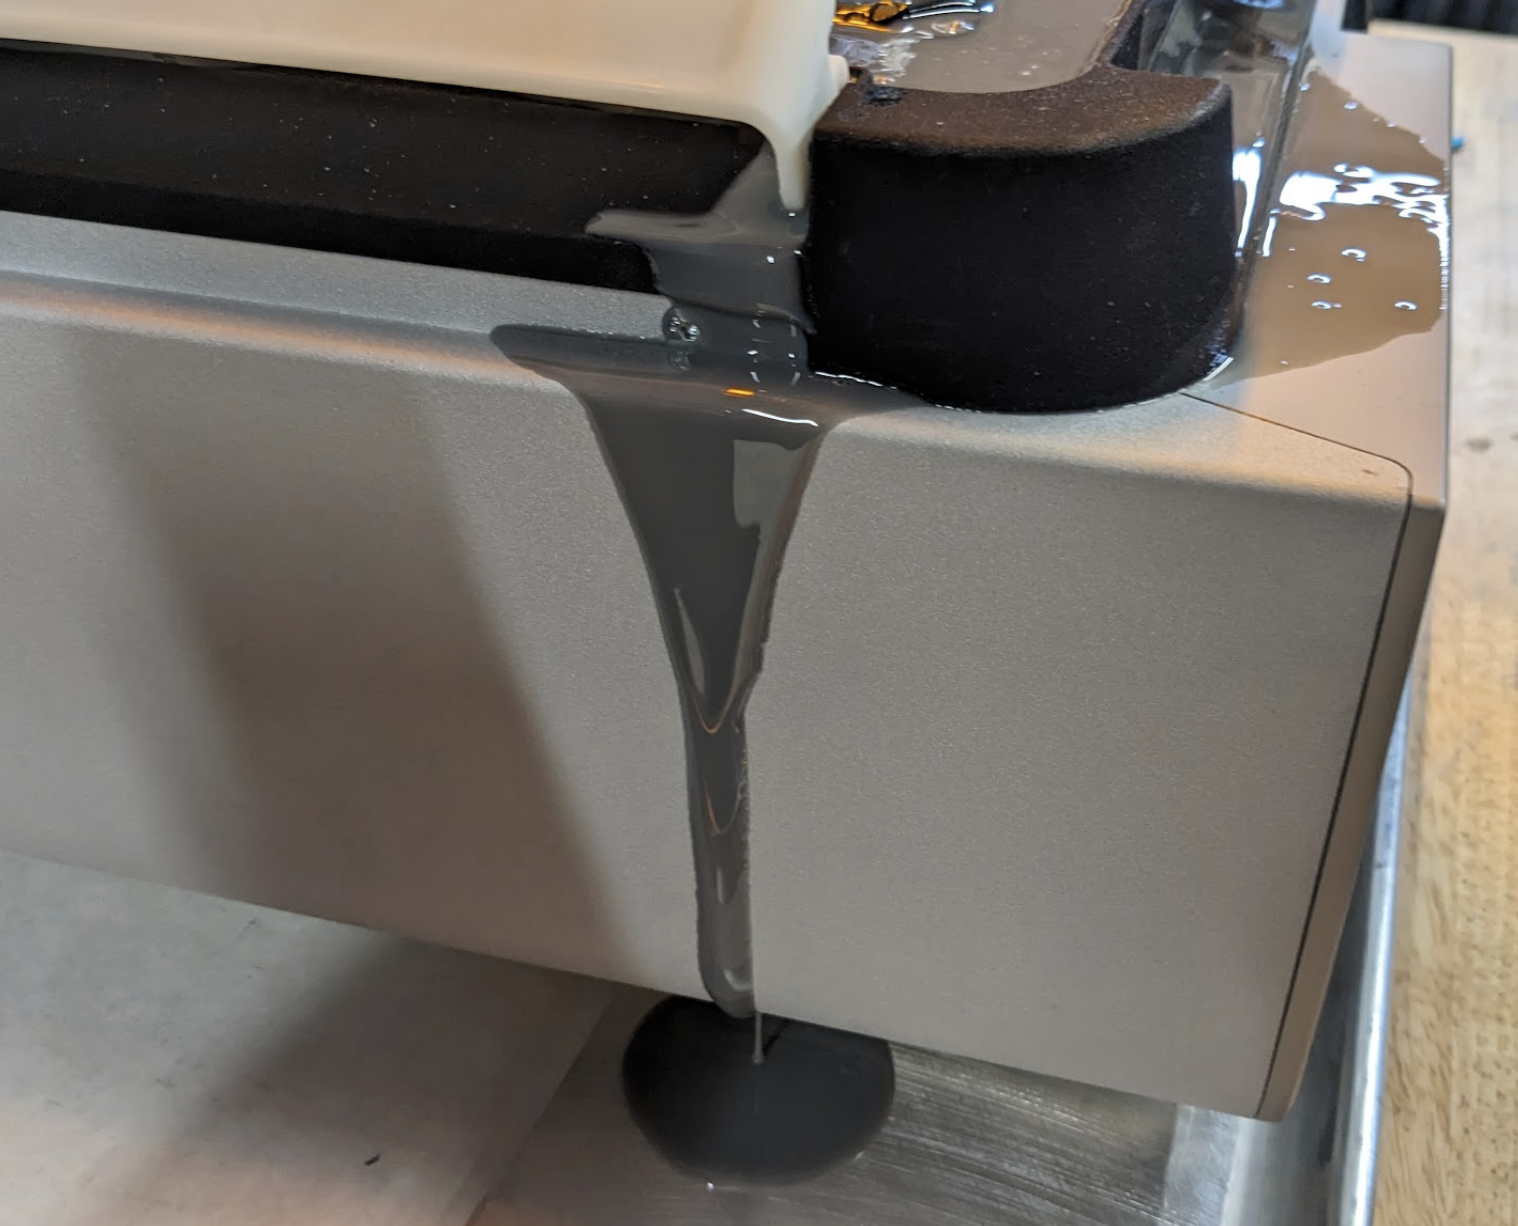
備考:
Form 4のレジンタンクは左側に溝がある設計で、これによりレジンがこぼれてもプリンターの外に流れ、庫内部品への損傷を防ぎます。
タッチスクリーン
- プリンターのタッチスクリーンを点検します。
- 液体レジンが付着している場合は、少量のIPAで湿らせたマイクロファイバー不織布で全て拭き取ってください。
USBポート、イーサネットポート、電源コネクタ、電源スイッチ
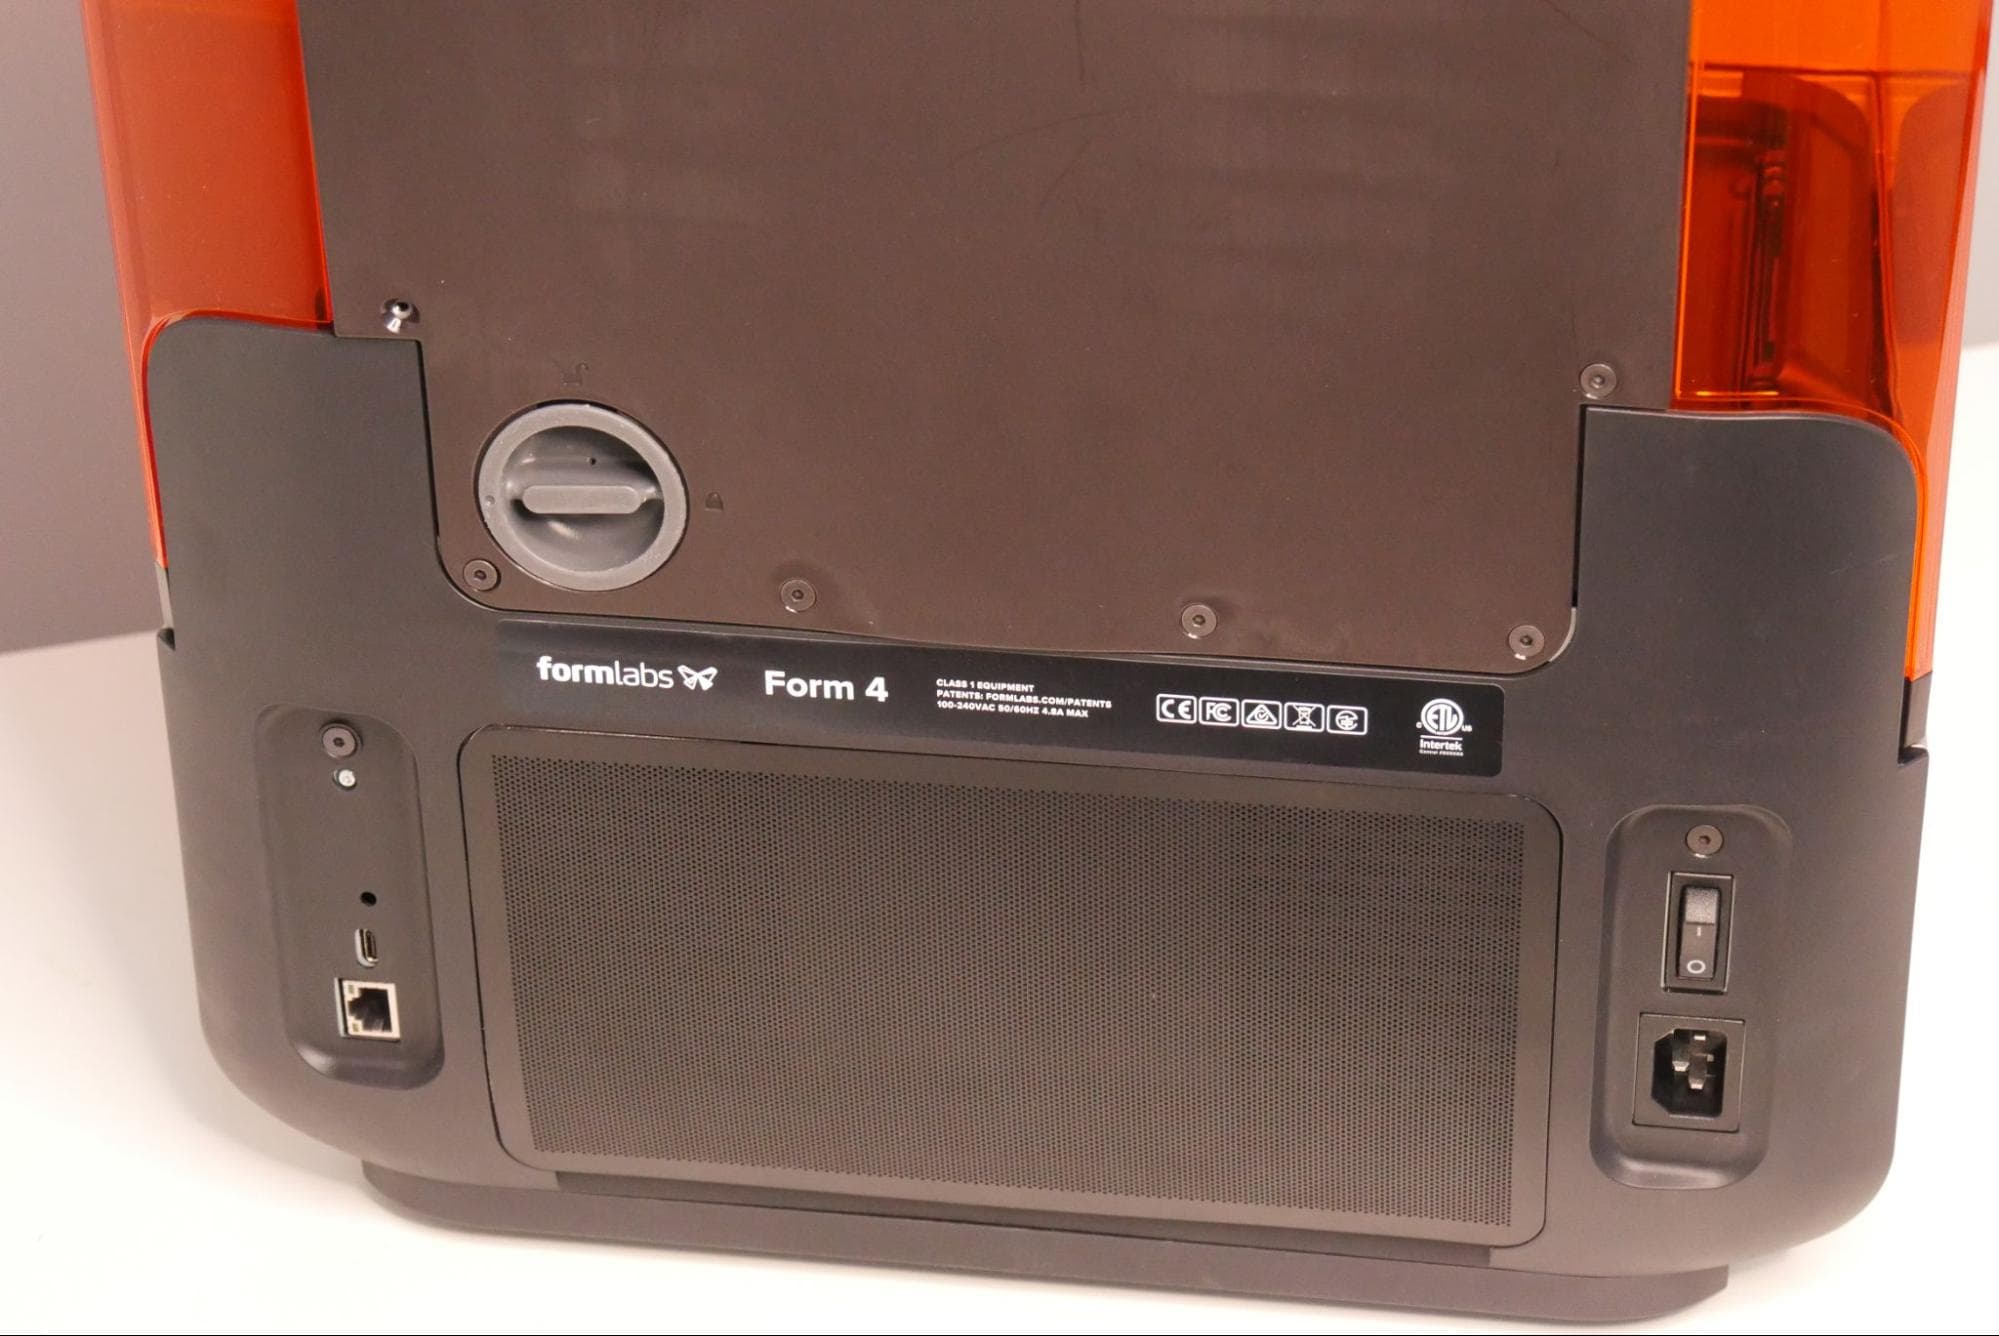
- プリンタ背面のUSBポート、イーサネットポート、電源コネクタ、電源スイッチにレジンが付着していないか点検します。
- ポートまたはコネクタ内部までレジンが入り込んでいる場合は、少量のIPAを含ませた綿棒を使ってレジンを全て取り除きます。
Z軸の点検
Z軸のアセンブリには、ビルドプラットフォームのキャリッジを動かすモーターと送りネジが含まれています。ビルドプラットフォームがスムーズ且つ正確に動くためには、モーターも送りネジも清潔な状態で保つ必要があります。カートリッジスロットの下には、レジンこぼれを防止・軽減できるようドリップキャッチャーが付属しています。
Z軸タワーとドリップキャッチャー
- Z軸タワーにレジンの飛沫が付着している場合は、石鹸水で湿らせたペーパータオルまたは綿棒で拭き取ります。
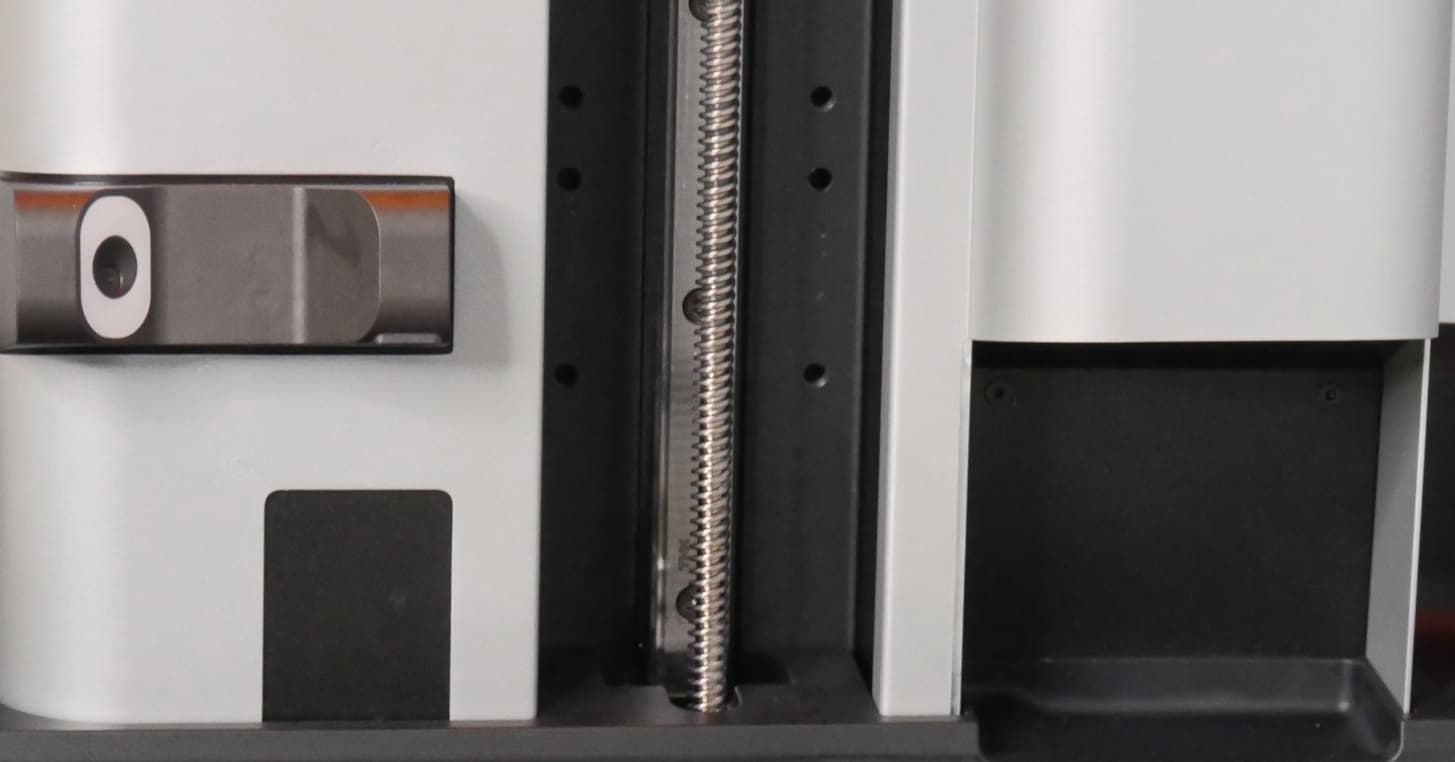
- タワーの土台にあるドリップキャッチャーを懐中電灯で照らし、レジンがこぼれていないか目視で点検します。
- レジンこぼれが水溜まりのようになっている場合、シリンジやスポイトを使って吸い取ります。吸い取った液体レジンは適切な手順で廃棄処分するようにしてください。
- まだレジンが残っている箇所があれば、ペーパータオルに染み込ませるようにして可能な限り吸いとります。
- 吸い取り切れずに最後まで残ったレジンは、少量の石鹸水とペーパータオルで拭き取ります。
Z軸モーターと送りネジ
- 送りネジの下の方を懐中電灯で照らし、タワー最下部の内部にあるZ軸モーターを点検します。液体レジンが送りネジを伝ってベアリング機構の中まで流れ込んでいないか確認してください。レジンがベアリングまたはモーター部まで達している場合は、写真を取ってFormlabsサポートまたは正規販売代理店にご連絡ください。
- レジンが送りネジには付着しているもののZ軸モーターには達していない状態であれば、少量のIPAを染み込ませたペーパータオルまたは綿棒で送りネジに付着しているレジンを取り除いてください。
ヒント:
送りネジをIPAで洗浄した場合は、Rheolube 362HBで送りネジに潤滑剤を塗布してください。 ビルドプラットフォームの動作不良を防ぐために、再度プリントを開始する前に
レジンタンクを点検する
レジンこぼれは、プリント失敗によって引き起こされる場合もあります。また、プリントが失敗するとレジンタンク内に硬化したレジンが残ってしまうこともあります。プリントを再開する前に、レジンタンクを点検し、必要に応じて、タンク内をきれいにしておきます。
- レジンタンクを点検する プラスチック製のタンクスクレーパーを使って、失敗したプリントやタンクの損傷がないか確認します。
- 失敗した造形品をすべて取り除き(プラスチック製のタンクスクレーパーを使用し、その後クリーニングシートを造形)、レジンをろ過します。
- レジンタンク内のフィルムの消耗・摩耗が激しい場合、またはタンクに亀裂がありそこからレジンが漏れている場合は、タンクを廃棄してください。
リリーステクスチャの点検
リリーステクスチャに液体レジンが付着すると、レジンタンクの底が汚れ、次回以降のプリント品質に影響を及ぼす可能性があります。
PEC*PADでリリーステクスチャに付着しているレジンを拭き取ります。必要に応じてPEC*PADをイソプロピルアルコール(IPA)で湿らせ、レジンを完全に拭き取ります。

大量のレジンがこぼれた後の光学部品の取り外しとクリーニング
場合によっては、液体レジンがLPUの端の下に染み出し、LPU、ディフューザーパネル、バックライトユニットを汚染することがあります。クリーニング中にレジンがLPUの端の下に入り込んでいるのが見えた場合は、これらの光学部品を取り外してクリーニングすることができます。
以下のパーツ交換ガイドに従って、LPU、バックライトユニット、ディフューザーパネルを取り外します。ディフューザーパネルにアクセスするには、バックライトユニットを取り外す必要があります。液体レジンやその他の汚れが付着している場合は、糸くずの出ない布に少量のIPAを含ませて拭き取ります。再装着する前に、自然乾燥させます。
清掃
レジンおよびレジンで汚染された消耗品は、必ずSDSに従って廃棄してください。石鹸水の入った容器と汚れたペーパータオルまたは綿棒を数日、窓やその他の日当たりの良い場所に置き、レジンが環境光で硬化するようにします。レジンが硬化したら、通常の家庭ごみと一緒に廃棄できるようになります。
備考:
プリンターを電源に再接続する前に、すべてのコンポーネントを完全に乾かしてください。
Formlabs Supportに連絡する
レジンのこぼれが広範囲に及んでいる場合や、レジンがプリンター内部にまで達している場合は、
Formlabsサポートまたは正規販売代理店にお問い合わせください。サポートリクエストには以下の情報を含めてください。
- レジンがこぼれた箇所の写真
- リリーステクスチャの上からの写真
- レジンの種類とバージョン
- レジンがこぼれた時にプリントしていたFORMファイル
- 診断ログ
- こぼれた原因:
- プリント失敗
- レジンタンクの破損
- レジンカートリッジのバイトバルブの破損
- その他(追加情報を記載してください)
レジンこぼれを防ぐ
ここでは、レジンこぼれの主な原因とレジンこぼれを最大限に防ぐ方法についてご説明します。
レジンがこぼれてしまう原因はいくつかありますが、最も一般的な原因は、レジンタンク内に失敗した造形品の残骸が残っていた、レンジタンクが損傷していた、またはレジンカートリッジのバイトバルブが損傷していた、のいずれかです。
造形失敗
造形が失敗すると、造形品全体または一部がレジンタンクに落下することがあります。ミキサーによってそうした状態を検知したらプリンターが一時停止するよう設計されていますが、それでもレジンがこぼれてしまうことがあります。
造形失敗を回避するために、Form 4のベストプラクティスを実践してください。
レジンタンクの損傷
レジンタンクが損傷すると、レジンがプリンターに漏れる可能性があります。レジンタンクの保管方法が適切でない(例:別の物体の上に重ね置きした)場合、またはレジンタンクを手荒く扱った(例:硬化したレジンを鋭利なツールで取り除こうとした)場合などは、タンク底部の軟質フィルムに傷がつくことがあります。同様に、タンクに衝撃または強い力が加わると、レジンタンクのプラスチックのフレームが割れてしまうことがあります。タンクフィルムを点検する際は付属のレジンタンク用スクレーパーを使用するようにし、それ以外でもレジンタンク取り扱いの際は常に十分にご注意いただくようご留意ください。
バイトバルブの損傷
レジンカートリッジのバイトバルブが損傷していると、プリンターが過剰にレジンを吐出し、まれにレジンタンクが溢れることがあります。こちらのリンクから、バイトバルブを点検・保護する方法をご確認ください。