
備考:
機器の破損を防ぐために、サポート記事Choosing the right material(適切な材料を選定)に記載されているレジンタンクの互換性テーブルを参照し、お使いのレジンタンクに使用予定の材料との互換性があるかどうかを事前に確認してください。

備考:
機器の破損を防ぐために、サポート記事Choosing the right material(適切な材料を選定)に記載されているレジンタンクの互換性テーブルを参照し、お使いのレジンタンクに使用予定の材料との互換性があるかどうかを事前に確認してください。
Flexible 80Aレジンとカラーピグメントをデジタルインプラント補綴物のワークフローに組み込むことで、歯科医療従事者は歯科インプラントのモデリングに使用する歯肉をよりリアルに再現した軟組織部品を3Dプリントできるようになりました。カスタマイズ可能な着色顔料を使用すれば、最終的なプリントモデルの色と不透明度を調整することができます。
Soft Tissue Resinは、積層ピッチを50ミクロンまたは100ミクロンに設定してプリントできます。
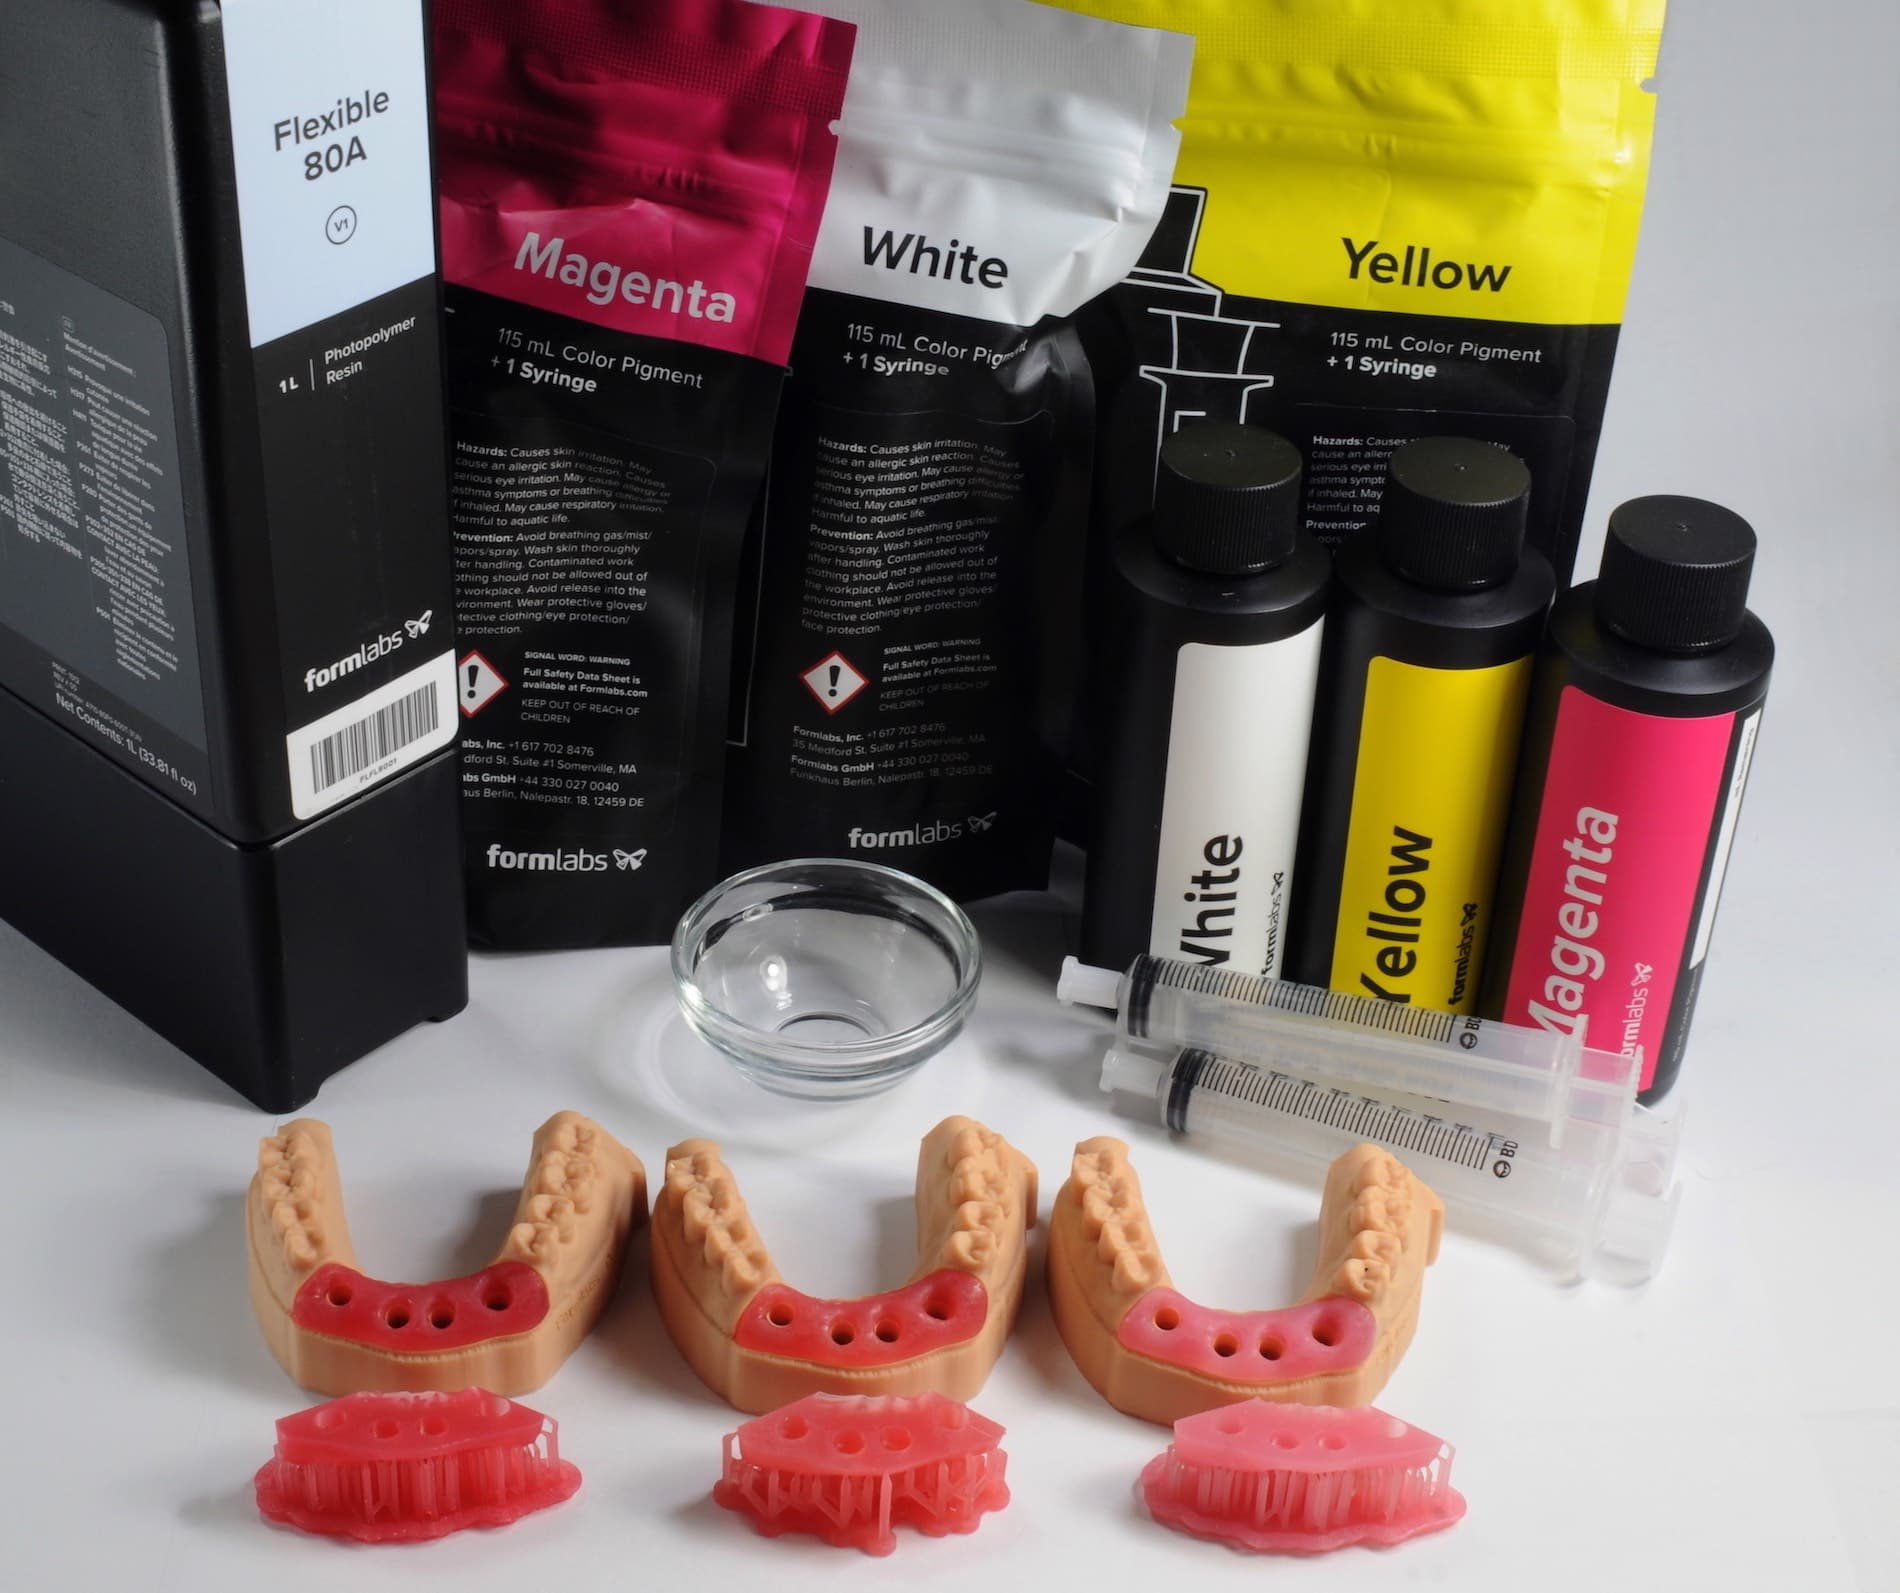
備考:
Soft Tissueレジンの性能や特定の材料特性の詳細については、安全データシート(SDS)およびテクニカルデータシート(TDS)を参照してください。Formlabsの材料の安全性や取扱方法の詳細は、SDSを一次情報源としてご参照ください。
必要な備品
ワークフローの概要
備考:
本記事は、アプリケーションガイド「歯科用モデルの歯肉マスク用軟組織を3Dプリントする」の短縮版です。[en] Soft Tissue Resinのワークフローの詳細については、応用ガイドブックをご参照ください。
スキャン
永久歯冠やその他の修復物を3Dプリントするためには、スキャナを使用して患者の歯列の解剖学的データを収集します。方法としては、口腔内スキャナを使って直接スキャンするか、デスクトップ型のオプティカルスキャナとポリビニルシロキサン(PVS)印象材を使って患者の歯列データのPVS印象または歯型のスキャンデータを採得します。
設計
プリントの事前準備の一環として、歯科医療用CADソフトウェアを使ってモデルを設計します。歯科医療用CADソフトウェアには、STL形式のオープンファイルをエクスポートできるソフトウェアを選んでください。
プリント
備考:
機器の破損を防ぐために、サポート記事Choosing the right material(適切な材料を選定)に記載されているレジンタンクの互換性テーブルを参照し、お使いのレジンタンクに使用予定の材料との互換性があるかどうかを事前に確認してください。
適切な色合いのSoft Tissueレジンを混ぜるには、アプリケーションガイド「歯科用モデルの歯肉マスク用の3Dプリント」[en]の指示に従ってください。
PreFormをインストールまたは最新バージョンに更新してから、次のプリントジョブをセットアップしてください。
PreFormでプリント用のモデルを準備するには:
PreFormのFlexible 80Aレジン用設定:積層ピッチ50ミクロン、100ミクロン
仕上げ
Form Washは、造形品を溶剤が入った浴槽の中で攪拌しながら洗浄し、事前に設定した洗浄時間に達したら、自動的に造形品を取り出します。Form Washを使った造形品の洗浄方法は、サポート記事Form Washの時間設定に記載の手順をご確認ください。機械特性や生体適合性に関する要件に影響のある情報は、特に注意してご確認ください。
モデルに空洞や内部チャネルがある場合は、その中に残っている液体レジンがすべて取り除かれていることを確認します。造形品の洗浄後は、完全に乾くのを待ってから二次硬化に移ります。
二次硬化の要件
Soft Tissue Resinは、最適な機械的特性を発揮できるようになるためには、二次硬化が必要です。
二次硬化の設定については、Formlabsが提供するサポート記事Form Cure time and temperature settings(Form Cureの時間と温度設定)をご参照ください。
その他資料