
Notice:
Before using TPU 90A Powder, check that the firmware on your Fuse Sift is up to date.

TPU 90A Powder is a tough SLS elastomer with high tear strength and elongation that is safe for skin contact. Use TPU 90A Powder to print strong and flexible parts for end-use applications, bridge manufacturing, or functional prototyping.
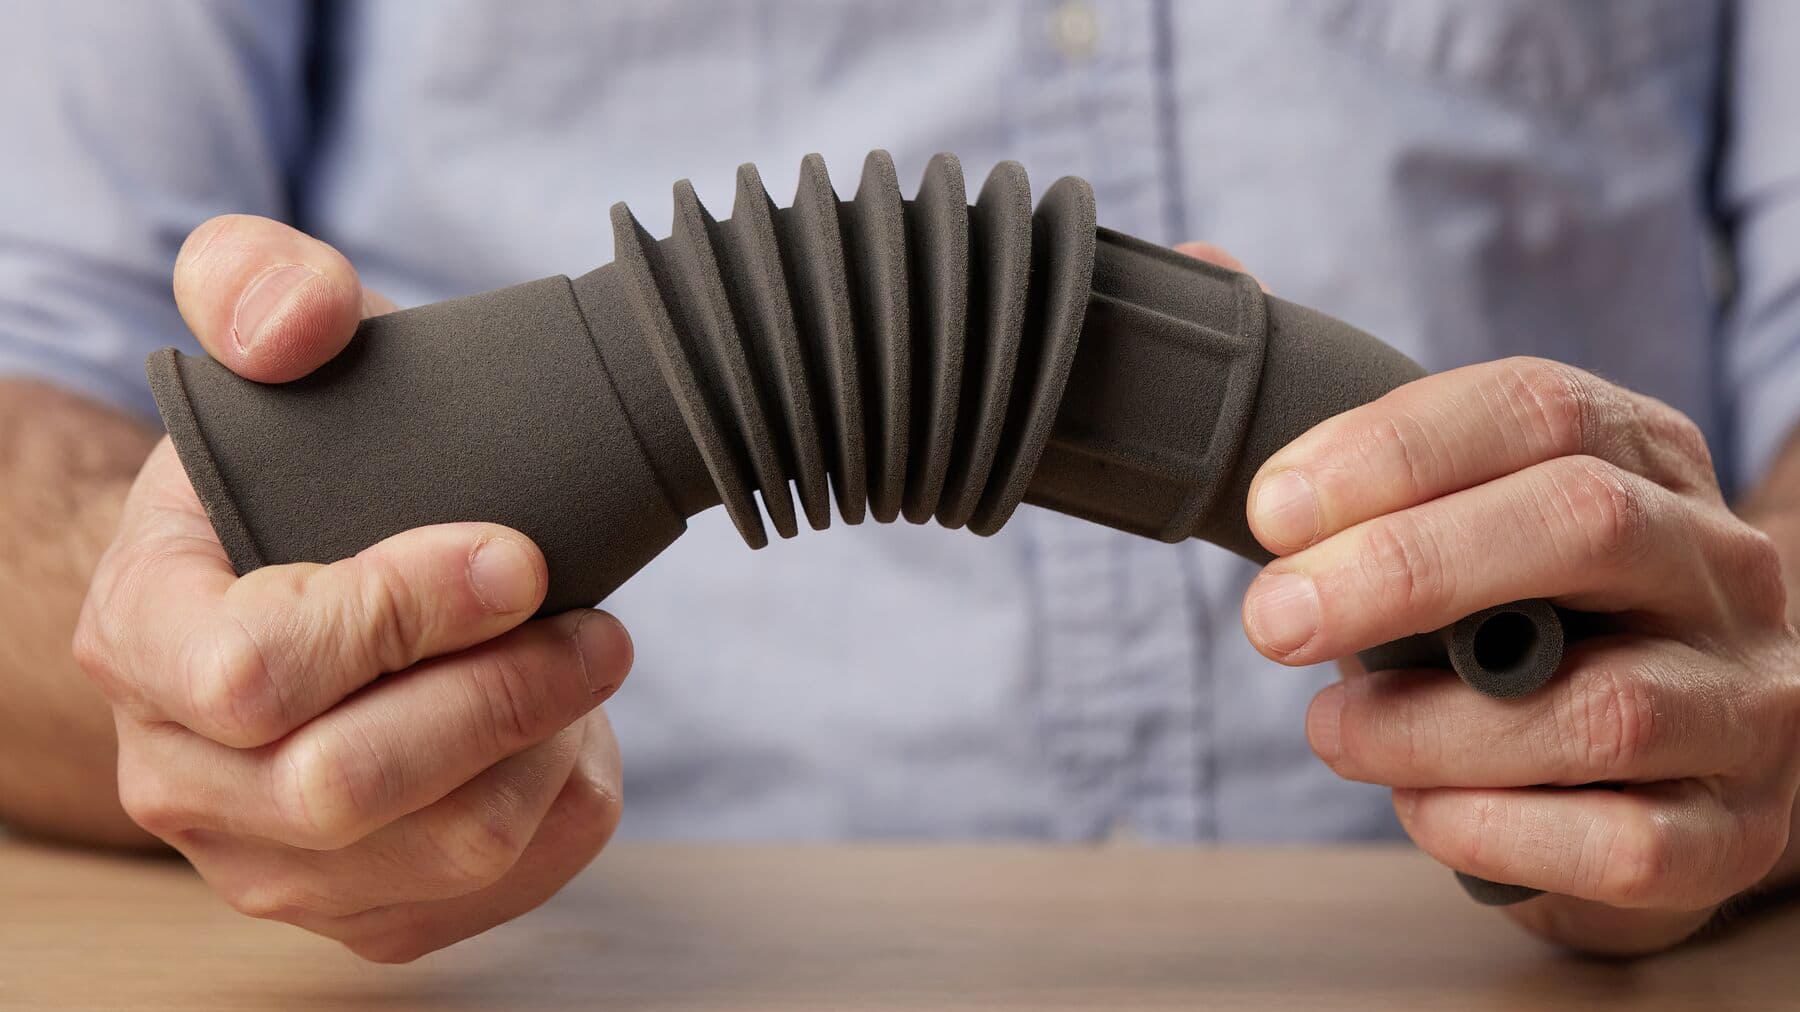
Recommended for:
Notice:
Before using TPU 90A Powder, check that the firmware on your Fuse Sift is up to date.
Formlabs recommends using a 20% refresh rate and an ambient air printing atmosphere for TPU 90A Powder to achieve consistent results. Formlabs does not recommend printing TPU 90A with an inert gas atmosphere as it provides no known benefit for this material.
Comparison with other materials
See the table below for a comparison of relevant material properties:
| TPU 90A | Nylon 11 | Nylon 12 | |
|---|---|---|---|
| Ultimate tensile strength (MPa) | 8.7 | 49 | 50 |
| Tear strength X/Y (kN/m) | 66 | - | - |
| Tear strength Z (kN/m) | 39 | - | - |
| Elongation at break X/Y (%) | 310 | 40 | 11 |
| Elongation at break Z (%) | 110 | - | 6 |
| Durometer/Shore Hardness | 90A | - | - |
To learn more about the performance properties of Formlabs resins, refer to the library of material properties data sheets.
Preparing a print with TPU 90A Powder
Printing with TPU 90A Powder requires special considerations for print setting choice, part design and layout, printing, and post-processing procedures.
Benefits of V2.1 print settings
TPU 90A V2.1 print settings offer the following key benefits compared to V1.1 settings:
Part design considerations
Layout considerations
Printing with TPU 90A Powder
Note:
TPU 90A Powder requires stirring to ensure that it flows properly. Use the recommended stirring rod or other wooden rod to agitate the powder in the hopper before printing.
For the best results, follow Formlabs design specifications for SLS printing. Refer to the support article Starting a print (SLS) to open the model in PreForm, orient it, and send it to the printer.
Note:
The powder sensors in Fuse 1 generation printers and the Fuse Sift are disabled when printing with TPU 90A Powder.
Using TPU 90A with the Fuse 1+ 30W
TPU 90A has a tendency to settle over the course of days and requires stirring to bring the powder back to a state where it will flow successfully. Stir the powder in the hopper before printing, particularly if the printer has been sitting unused for more than three days. Take care not to strike or damage the agitator at the bottom of the hopper when stirring the powder.
When printing jobs that use the entire print volume, fill the powder hopper to the brim, past the viewing window.
Using TPU 90A with the Fuse 1
Due to the Fuse 1's sensitivity to powder jams, only fill the Fuse 1 hopper with slightly more powder than the amount required for an upcoming print job as indicated by Preform. The weight of additional powder can lead to powder clumping and subsequent underdosing. Print smaller jobs with fewer parts whenever possible to help prevent jams.
Remove the debris catcher from the hopper before printing with TPU 90A, as the material will clump if the debris catcher is left in place.
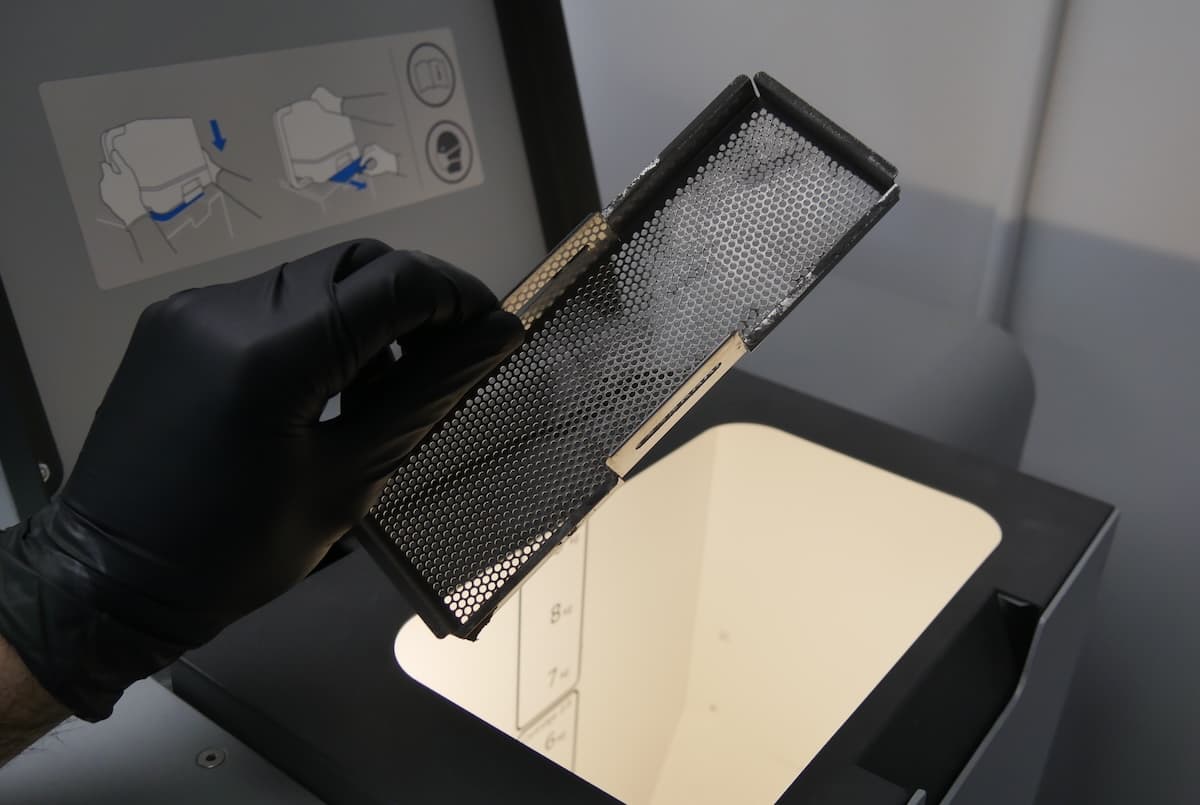
If the Fuse 1 has not printed within the last week and there is TPU 90A Powder in the hopper, empty the hopper completely by following the instructions below:
Using the Fuse Sift with TPU 90A Powder
Notice:
TPU 90A Powder can only be used with Fuse Sift model 1.1 and later.
To check whether your Fuse Sift model is compatible with TPU 90A Powder, look for a gray sticker that indicates the version number. This sticker will either be in the cartridge drawer or on the back panel of the unit next to the Ethernet port.
If your Fuse Sift does not have this sticker, please contact Formlabs Support or your certified service provider before using your Fuse Sift with this material.
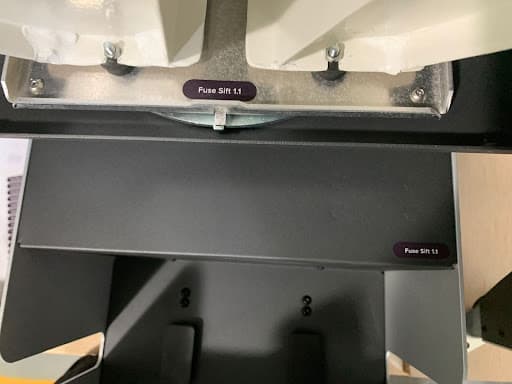
Before using TPU 90A Powder, check that the firmware on your Fuse Sift is up to date.
Best practices for sifting TPU 90A Powder:
TPU 90A Powder usually requires a longer sifting time than other SLS powders. If sifting time increases, the sieve may have become clogged with powder. If this occurs, clean or replace the sieve. TPU 90A Powder is compatible with the 150 micron mesh that comes standard with the Fuse Sift.
Sifting TPU 90A Powder
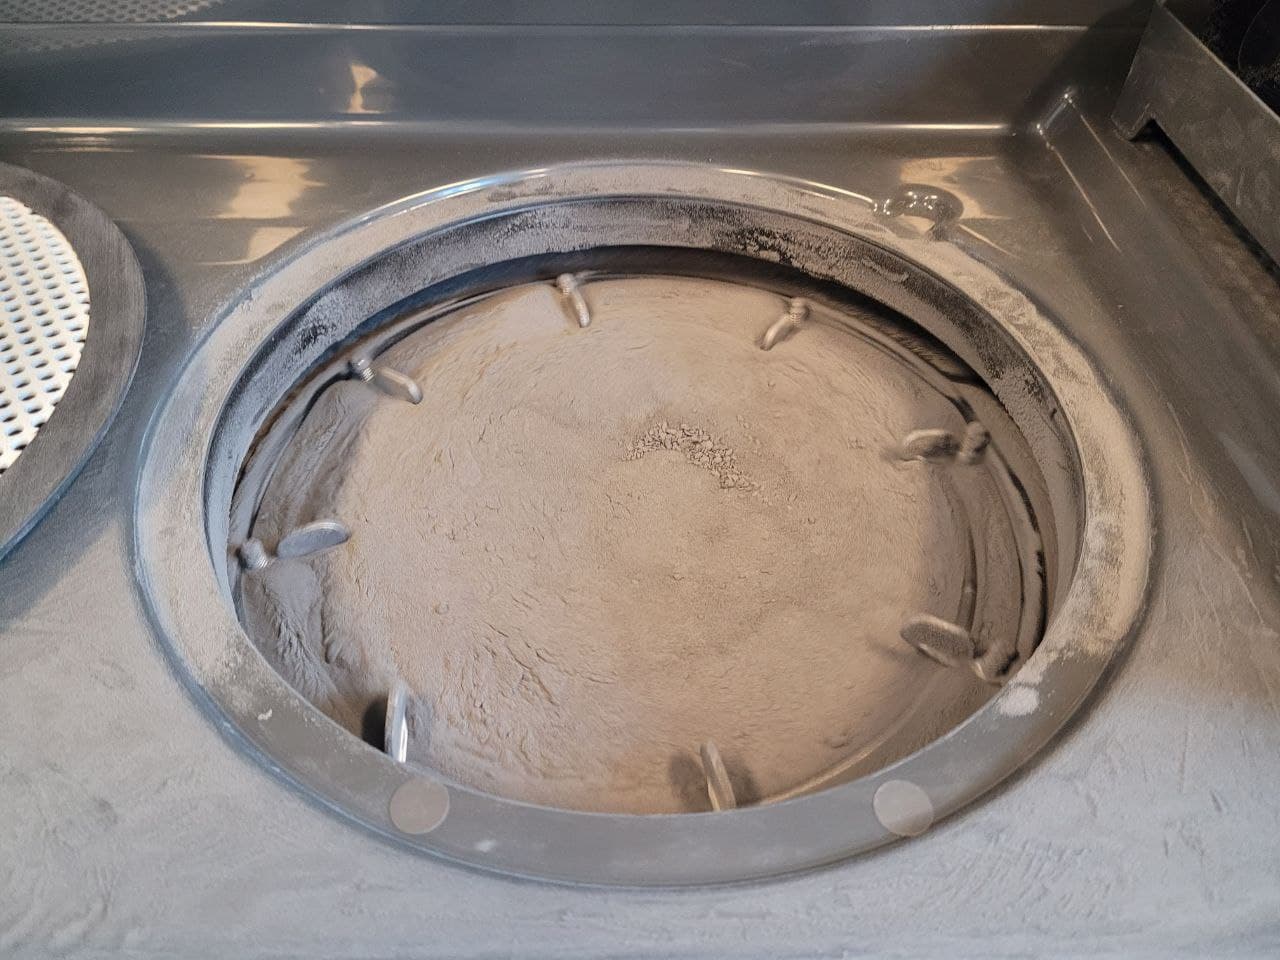
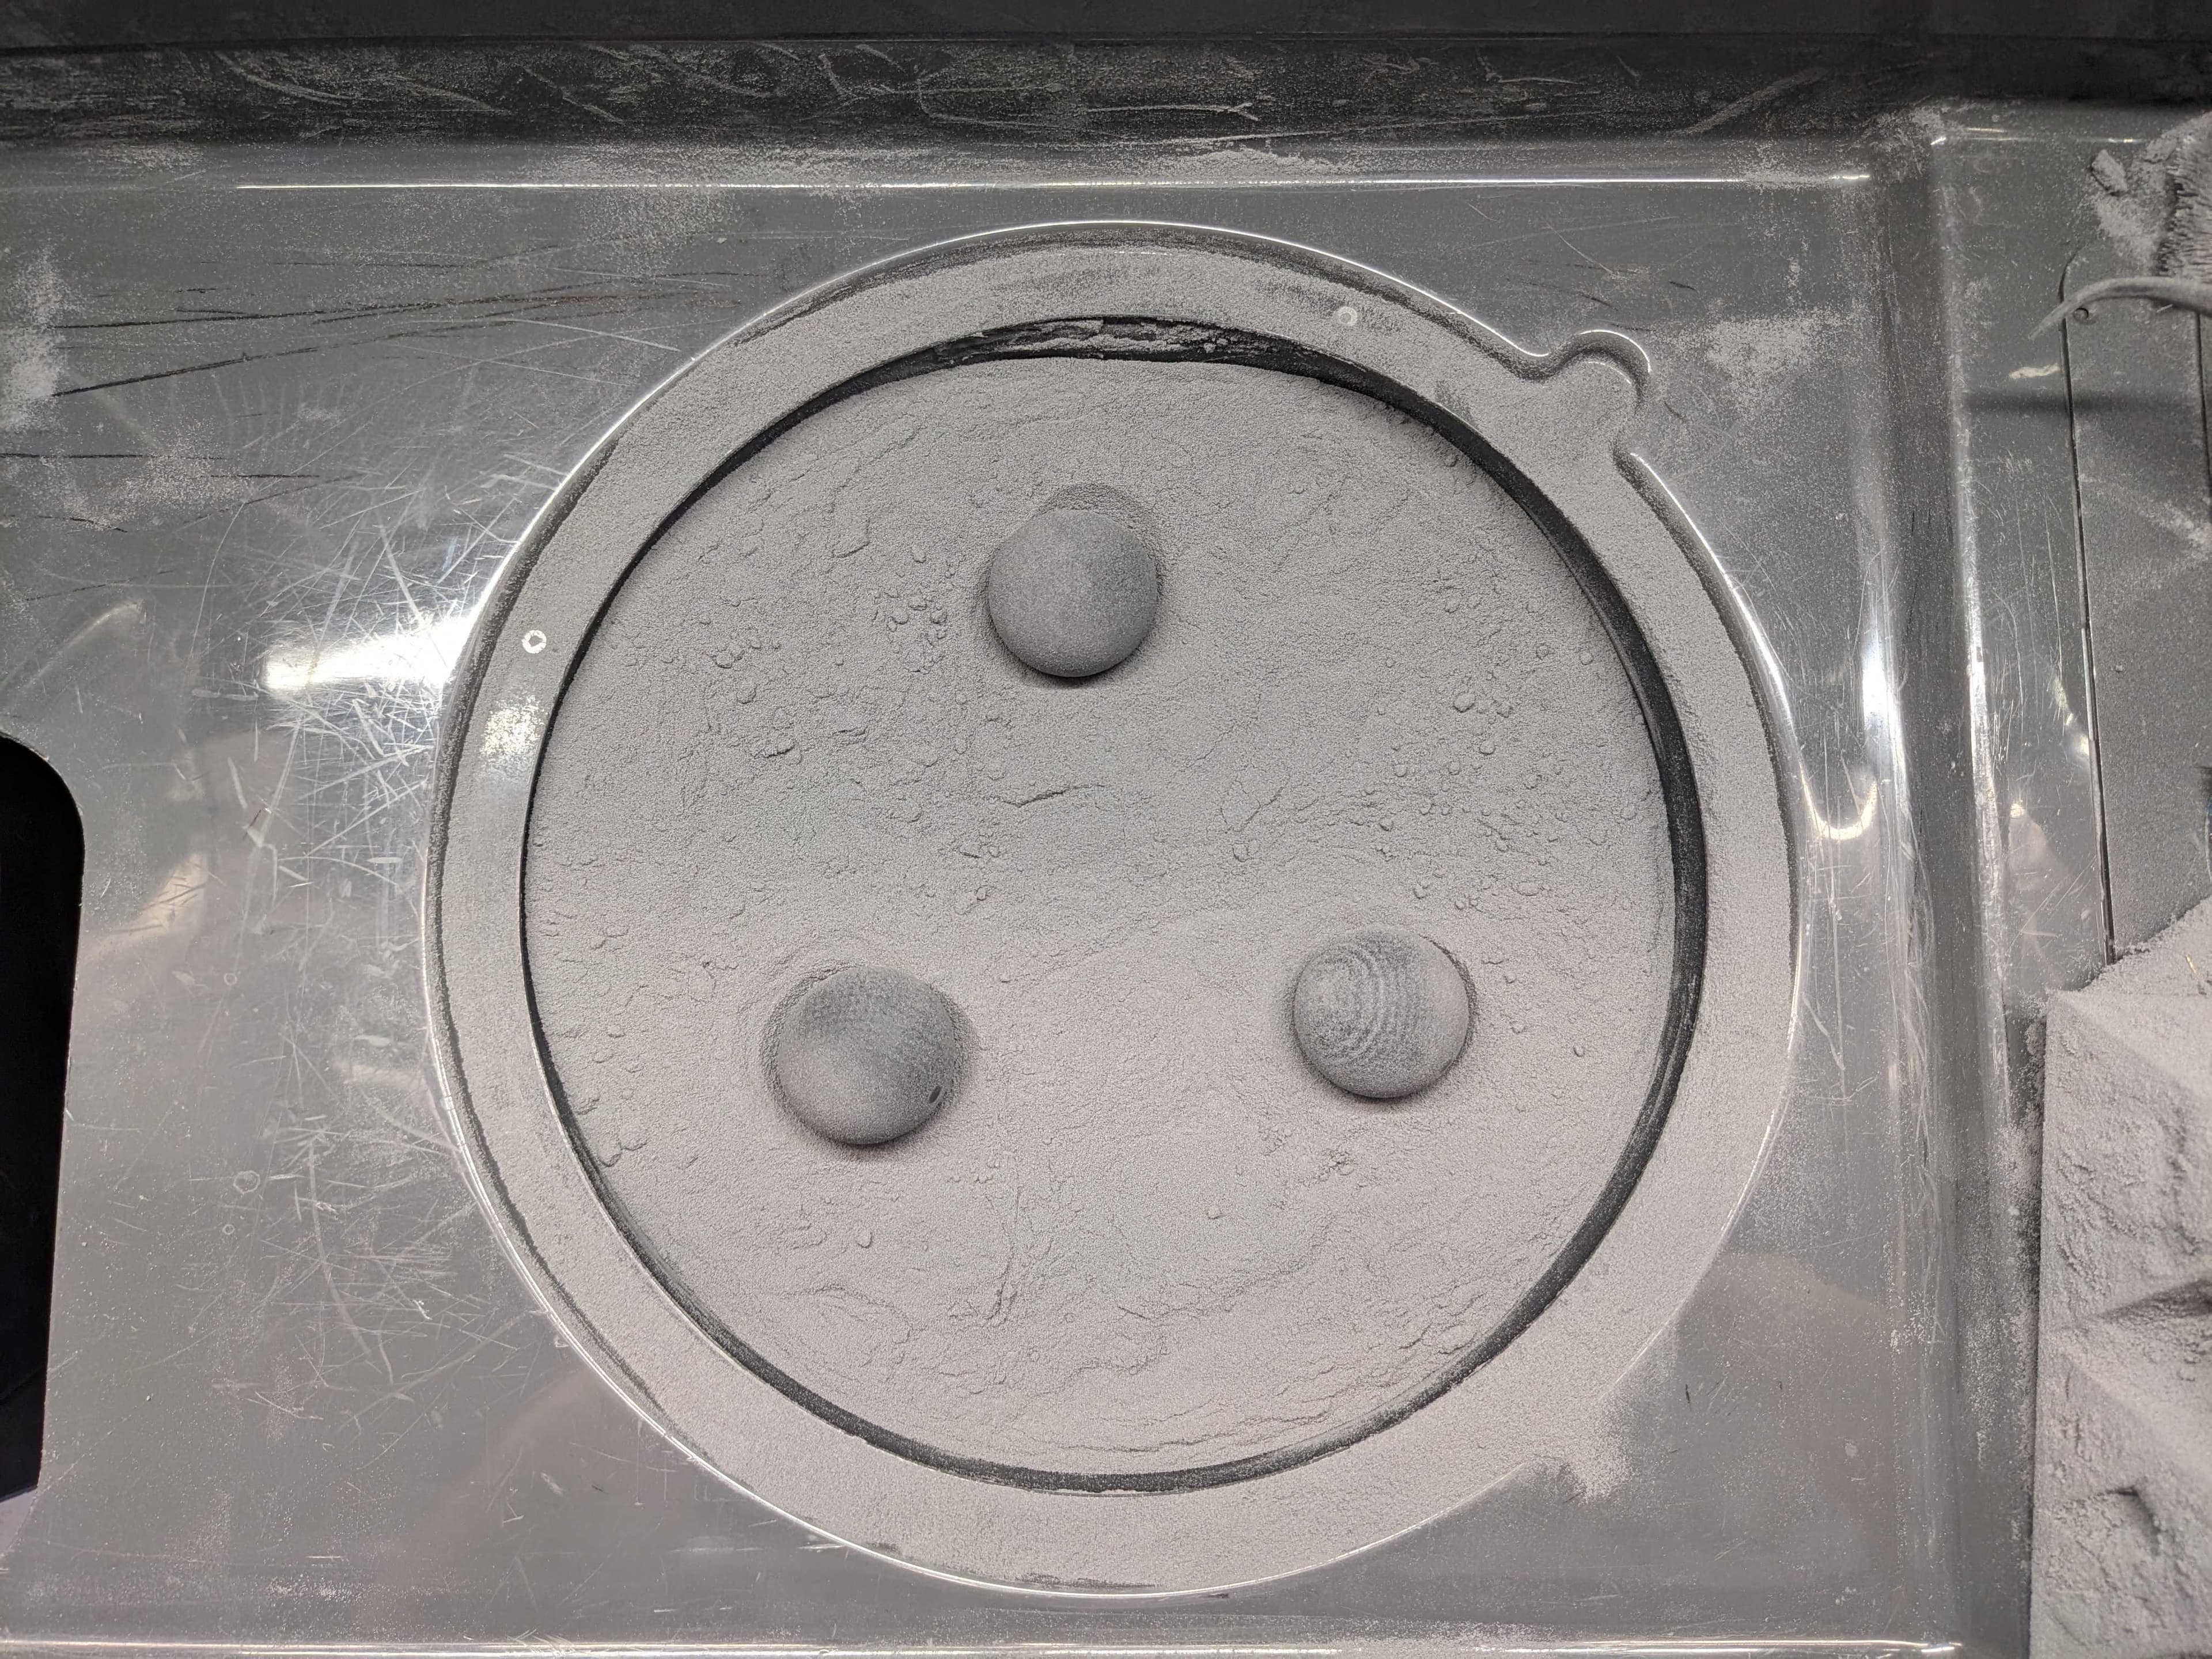
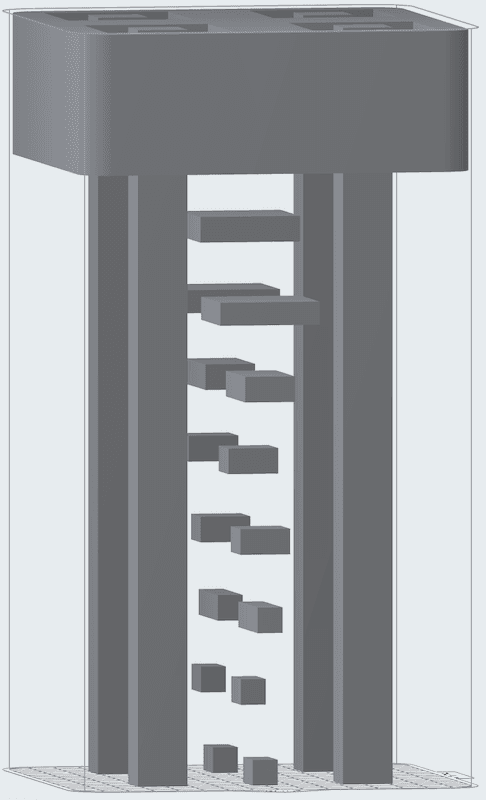
Formlabs recommends printing three mesh clearing balls in TPU 90A Powder and placing them on top of the sieve to reduce powder clogging.
Tip:
Printing three mesh clearing balls at the bottom of the build chamber requires around 750 grams of TPU 90A Powder and should take around three hours to complete.
Filling a powder cartridge with TPU 90A Powder
In some instances, TPU 90A Powder may not flow smoothly through the Fuse Sift hoppers, resulting in failed powder dosing attempts. If this happens, tap Manual Dosing. Follow the instructions on the touchscreen, tapping Dose Used and Dose Fresh while manually stirring the powder in the hoppers. Use the recommended stirring rod or other wooden rod to agitate the powder in the fresh and used powder hoppers. When mixing the fresh powder hopper, uninstall the entire rectangular cover and set it and its screws aside for better access.
Cleaning parts printed with TPU 90A Powder with the Fuse Blast
When blasting parts printed with TPU 90A Powder, Formlabs recommends using 40–50 grit (313–387 μm) glass media. This is larger than the 212–300 µm / 50–70 mesh size media generally recommended for the Fuse Blast. For parts printed in TPU 90A, this leads to:
Between prints
Stray powder particles can cause print failures in future print jobs if not properly cleaned out after each print. Perform the following maintenance tasks between prints:
Cleaning the top of the print enclosure
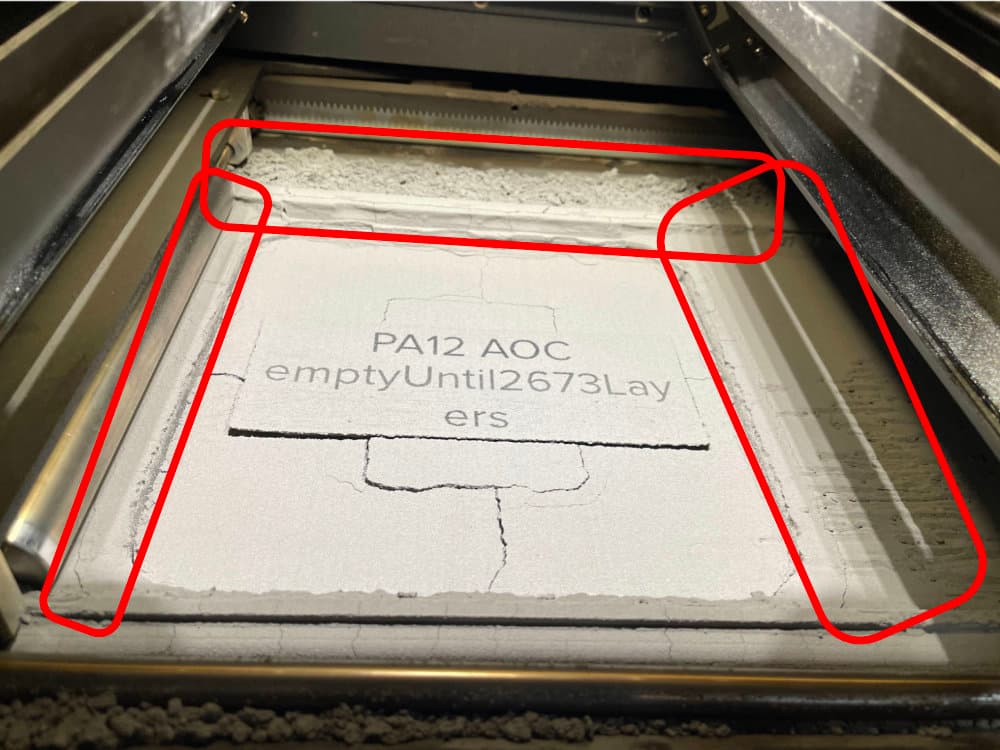
Powder can accumulate at the top of the print enclosure, particularly on the runways, the areas between the powder troughs and the top of the build chamber. This excess powder may fuse and be dragged into the build chamber during subsequent prints. Vacuum this area thoroughly to help prevent print failures.
Vacuuming the troughs
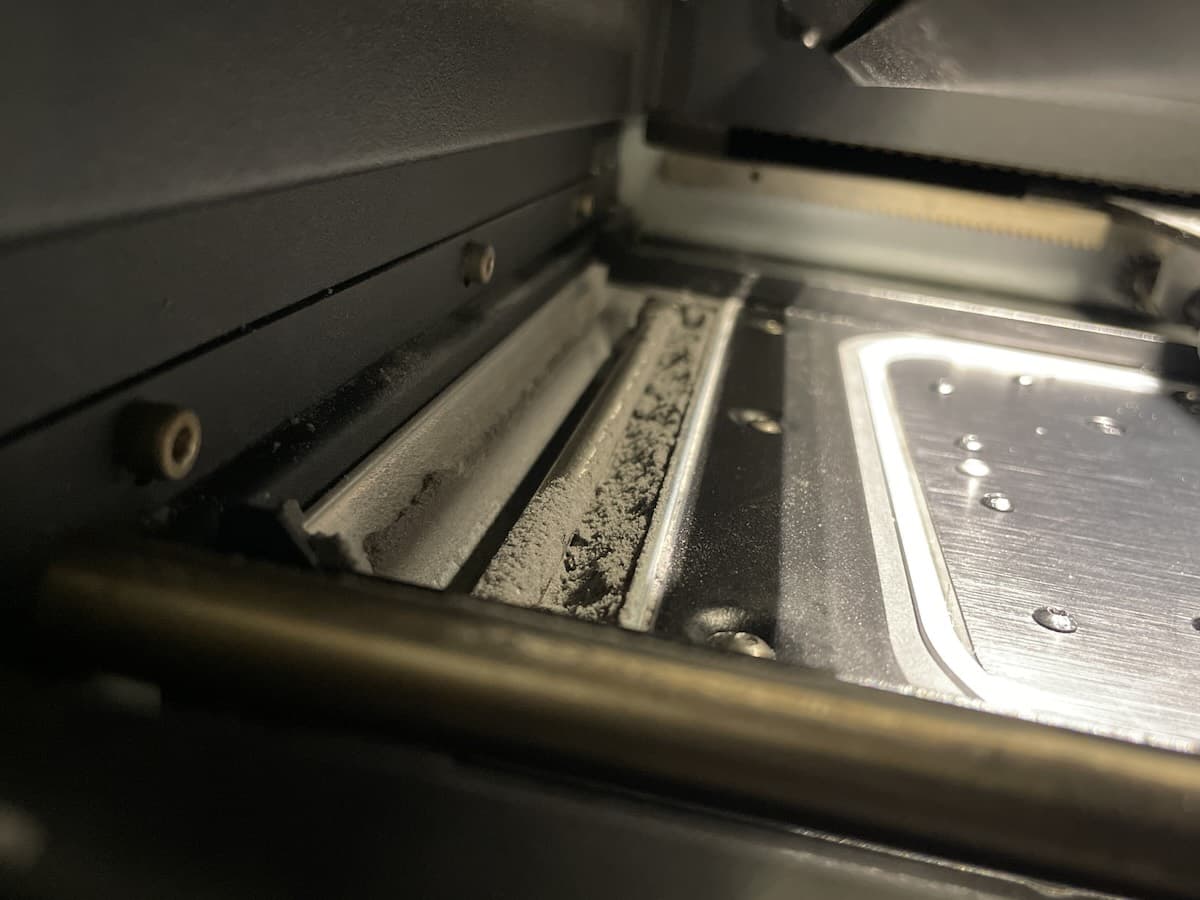
Between prints, clean both troughs and the area around the recoater’s path using a compliant vacuum with static dissipative components. Use the vacuum, fitted with a small brush attachment or the flexible hose attachment, to clean all powder out of the troughs. If needed, use compressed air or a gas duster to remove powder from hard-to-reach areas. Check in particular for powder buildup along the inner walls and corners of the troughs.
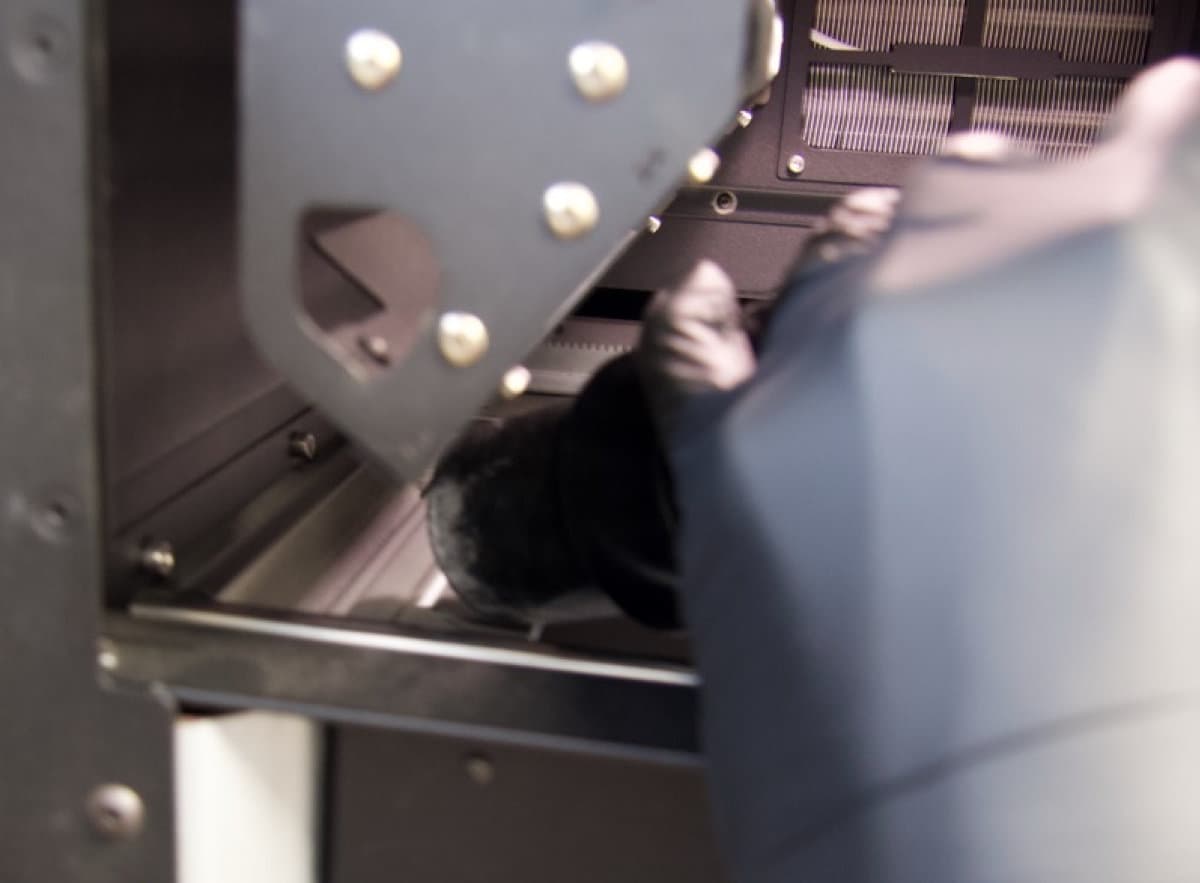
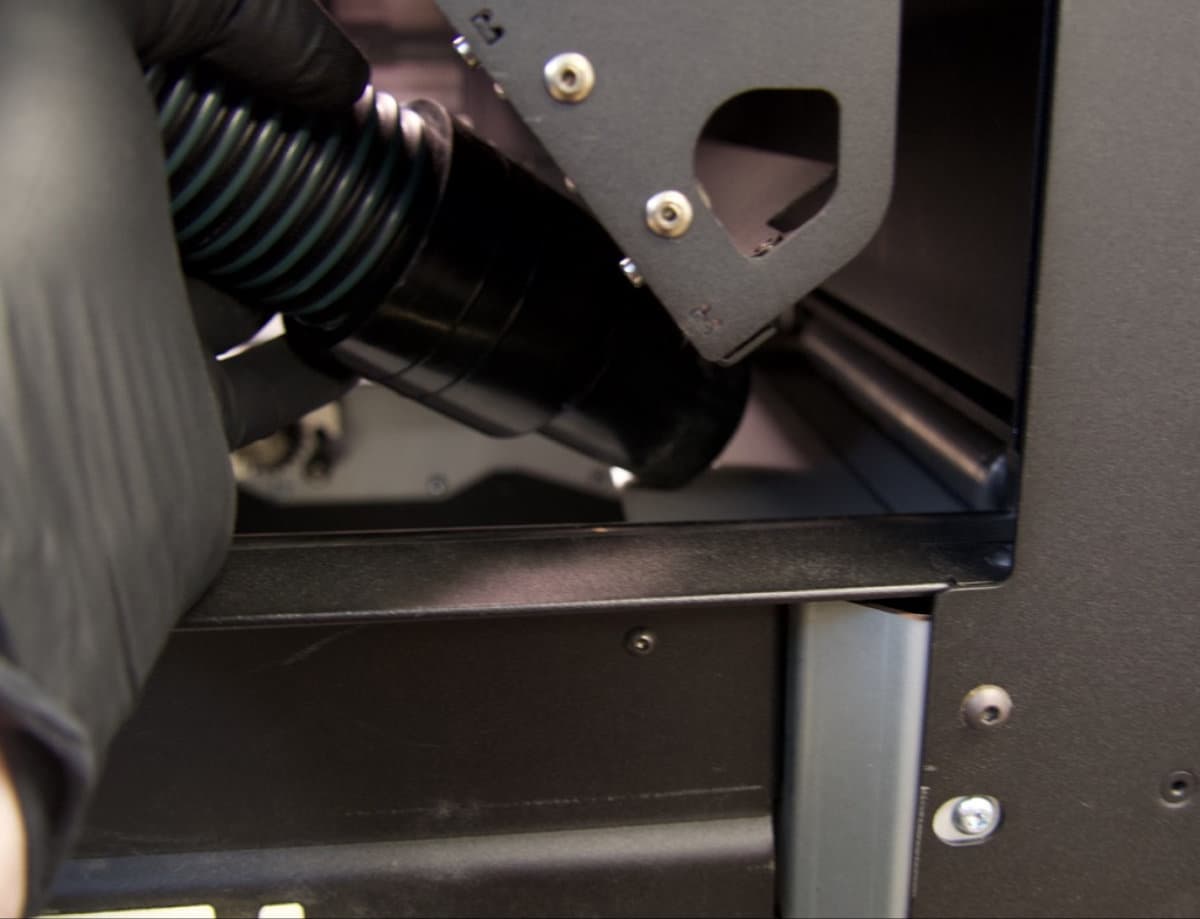
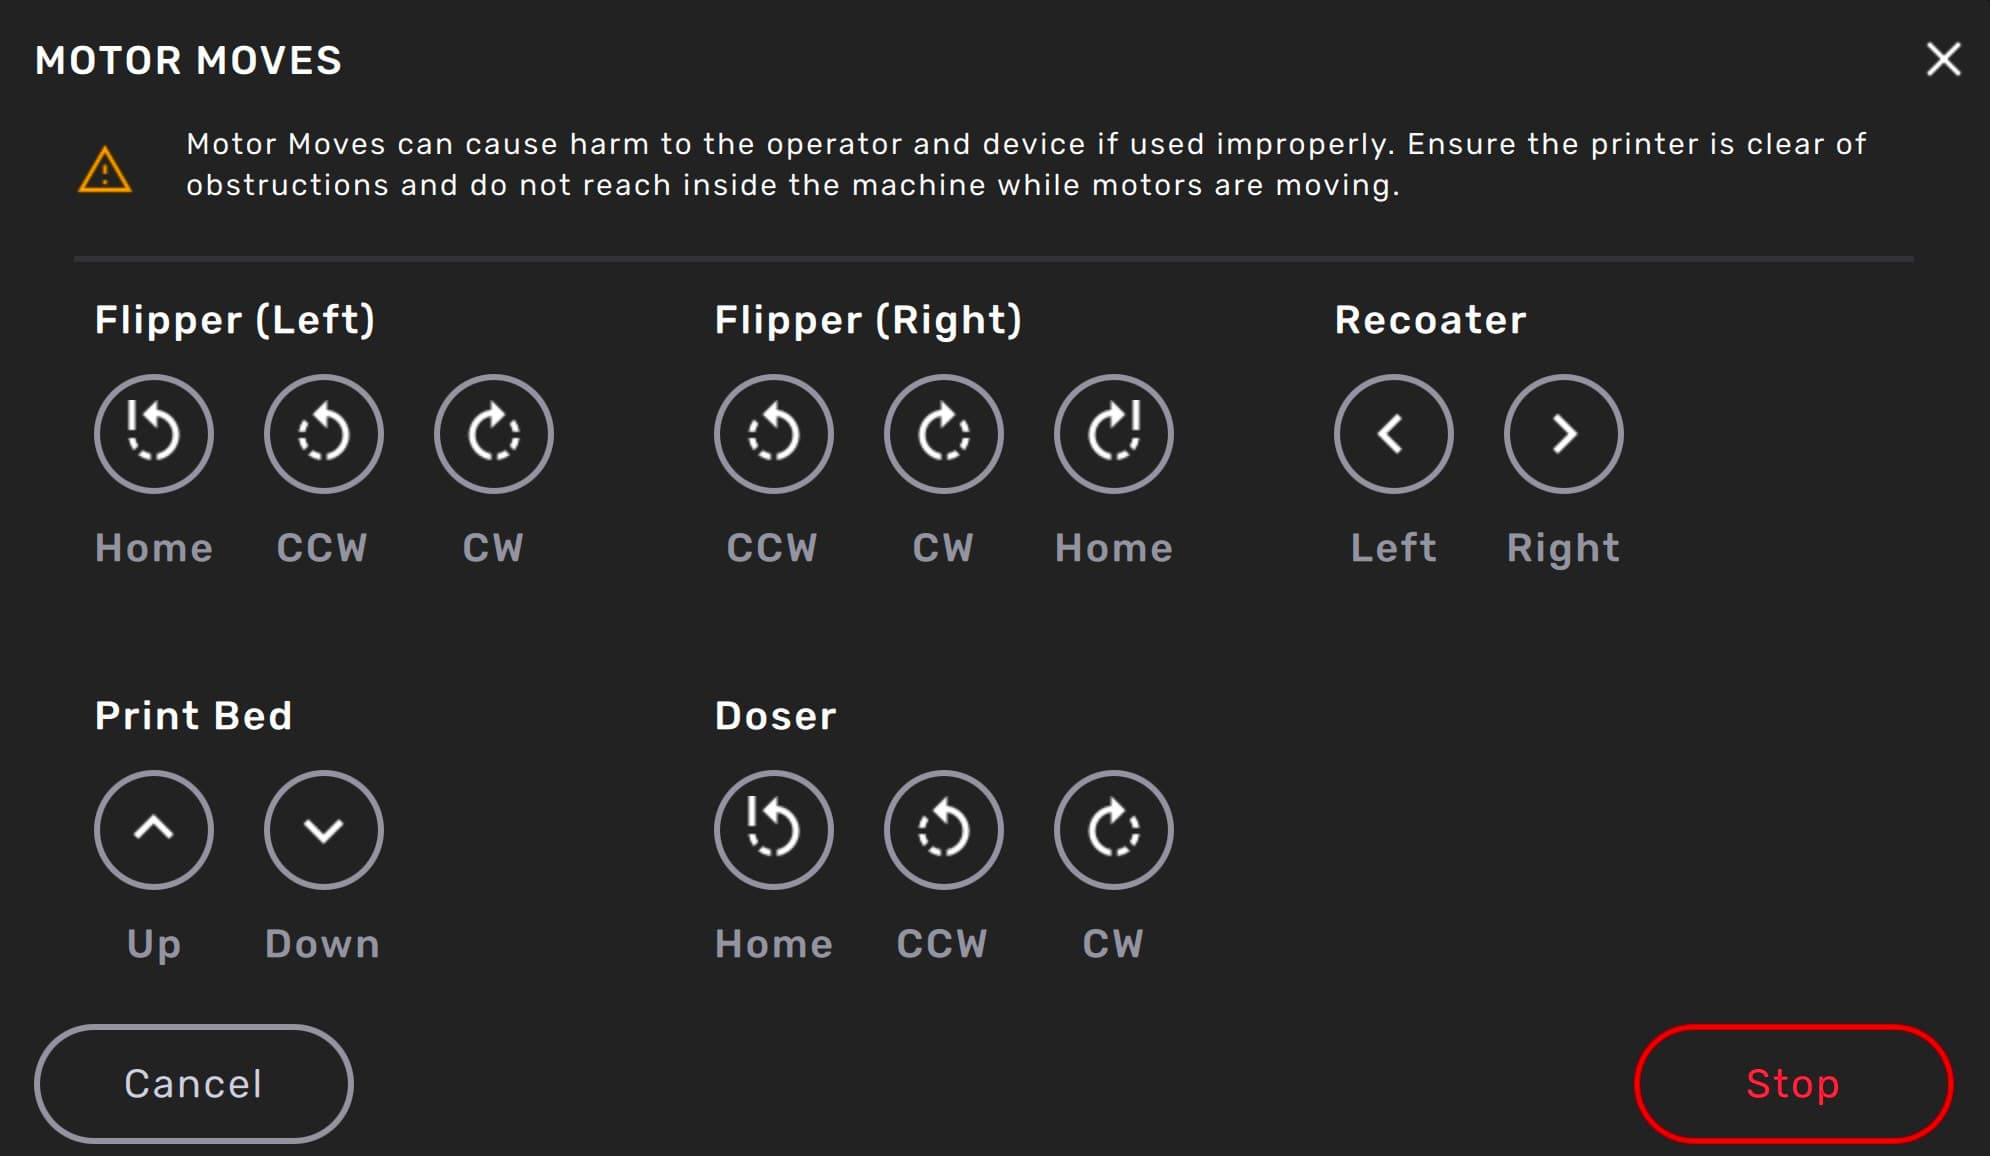
Close the print enclosure door and move the flipper motors to dislodge powder for cleaning.
To move the flipper motors:
Caution:
Unless specifically advised, do not select any of the options in the Motor Moves menu while the print enclosure door is open or any objects are in the path of the powder handling mechanisms at the top of the print enclosure. Moving parts present a crushing or tangling hazard. If necessary, tap the Stop button on the touchscreen to stop a motor movement.
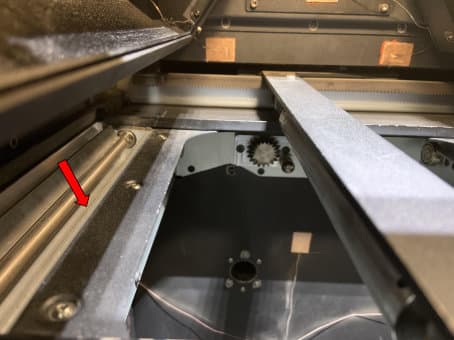
Cleaning the recoater
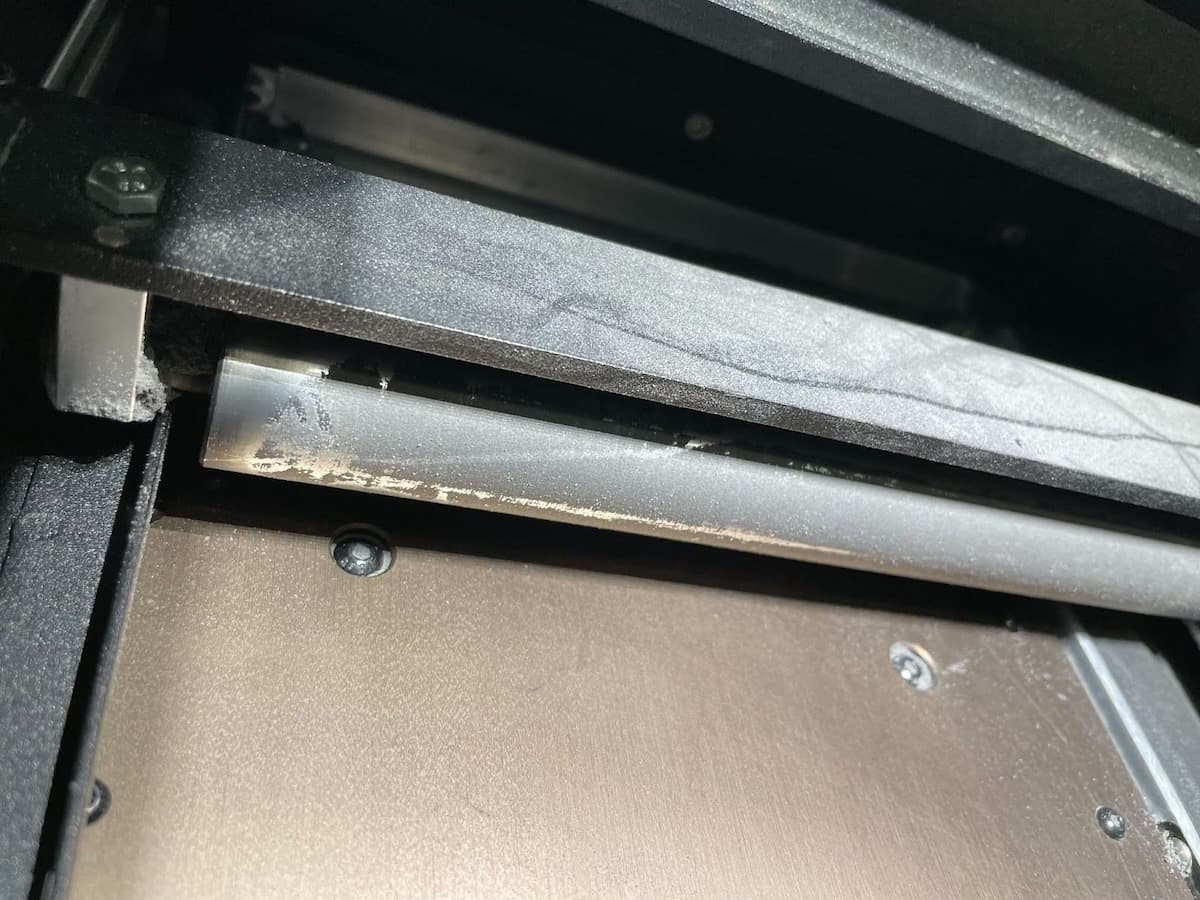
Move and inspect the recoater. If it appears coated with semi-sintered powder, clean the recoater before running another print.
To clean the recoater:
Fine tuning your printer
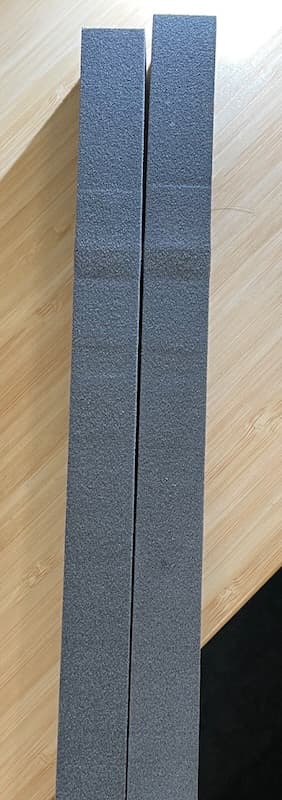
If you observe any of the following defects in your printed parts when using TPU 90A Powder, consider reducing the printer's Bed Temperature Target. Decrement the setting by 1–1.5 °C and retry the print.
Changing materials
Fuse 1 generation printers, the Fuse Sift, and related accessories are designed to be used with only one powder type at a time. Make sure to clean each device thoroughly, following Formlabs instructions, before switching powder types. Mixing powders can lead to print failures or permanent damage to the machine.
If you plan to regularly print in multiple different materials, Formlabs recommends dedicating a separate printer and Fuse Sift for each material type.
TPU 90A Powder melts at a lower temperature than other Formlabs SLS powders. As a result, be sure to thoroughly clean your printer, Fuse Sift, and build chambers when switching materials to or from TPU 90A. Follow the procedure listed below as applicable.
Consult the following support articles for additional information: